Creative idea
A tri-fold Card with Half a punched- out Heart using the Die-Cutting Machine
#v14900
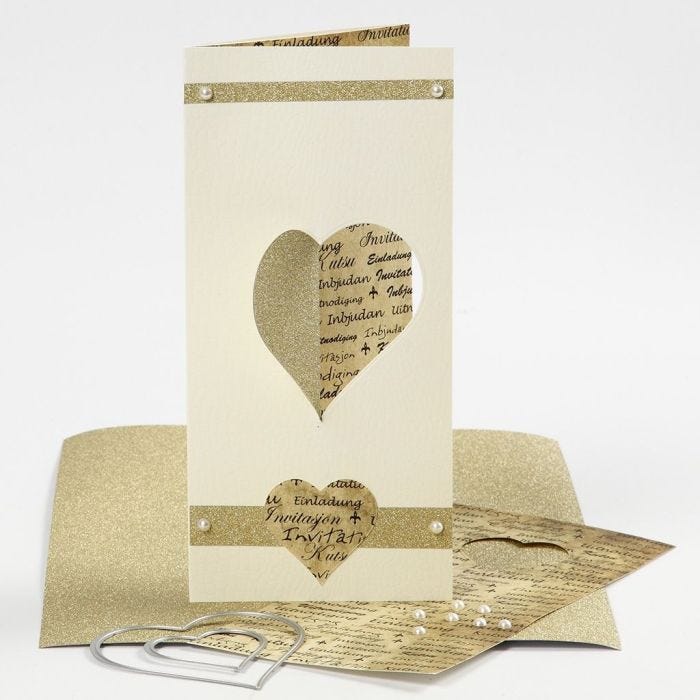
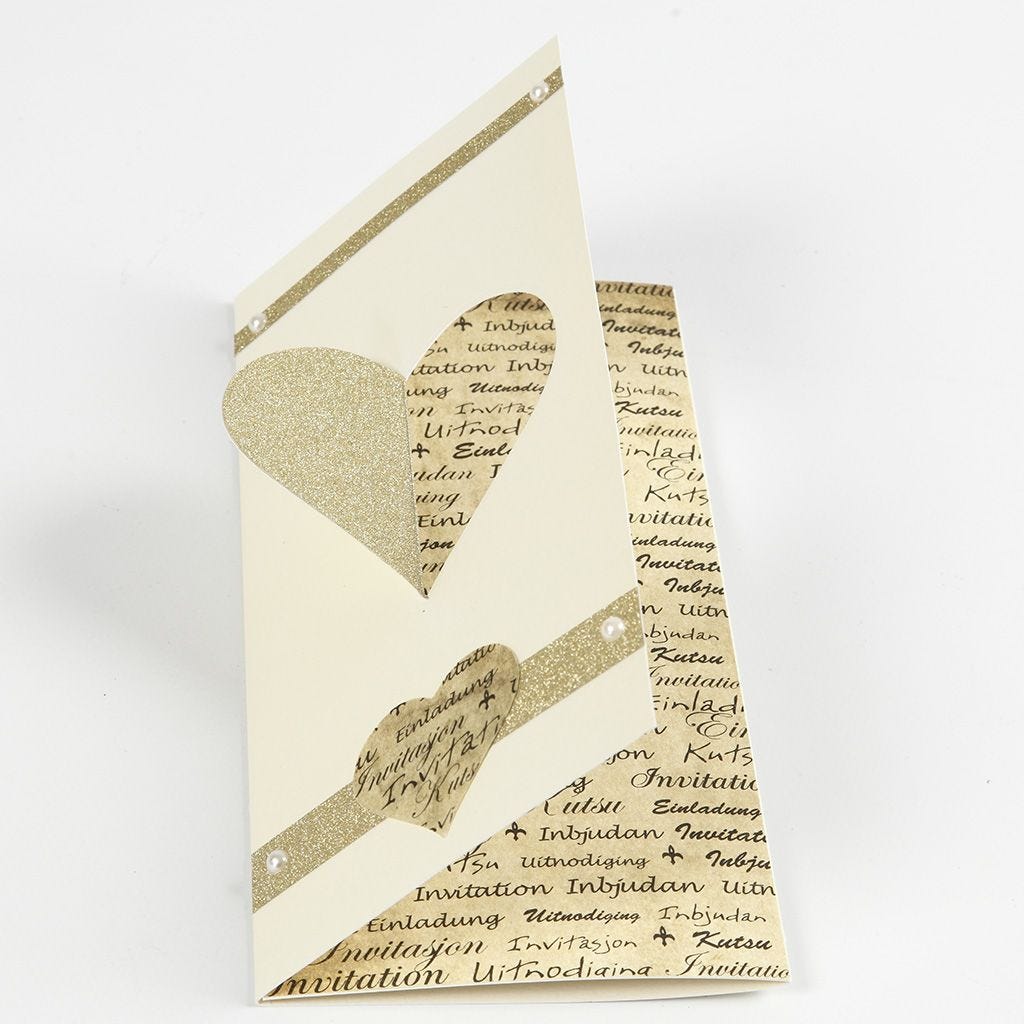
A textured card tri-fold wedding invitation. A heart is part punched out using a die and rolled through the die-cutting machine. Craft paper with text is glued onto the right hand section inside the card.
#v14900
How to do it
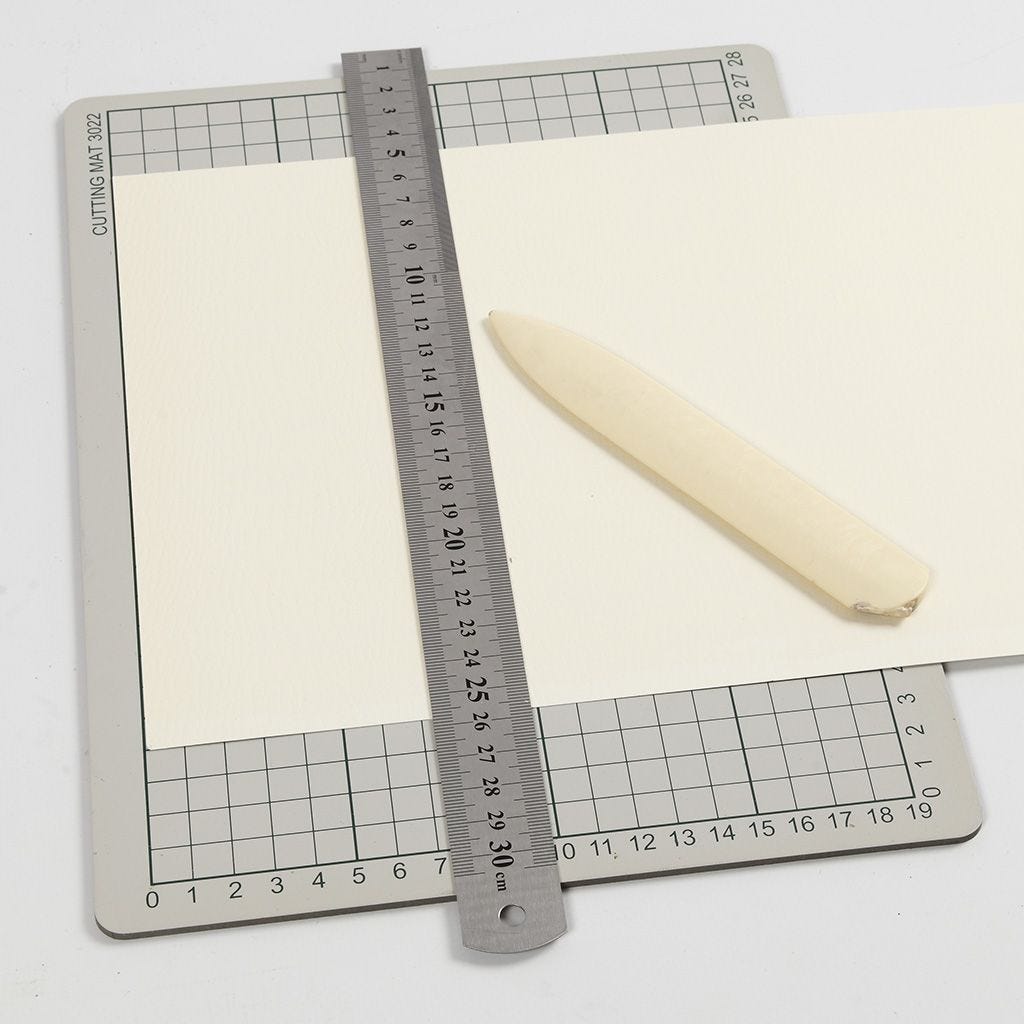
1 Measure three equal sections on the card and score the lines. Fold the card around a ruler for a sharper fold.
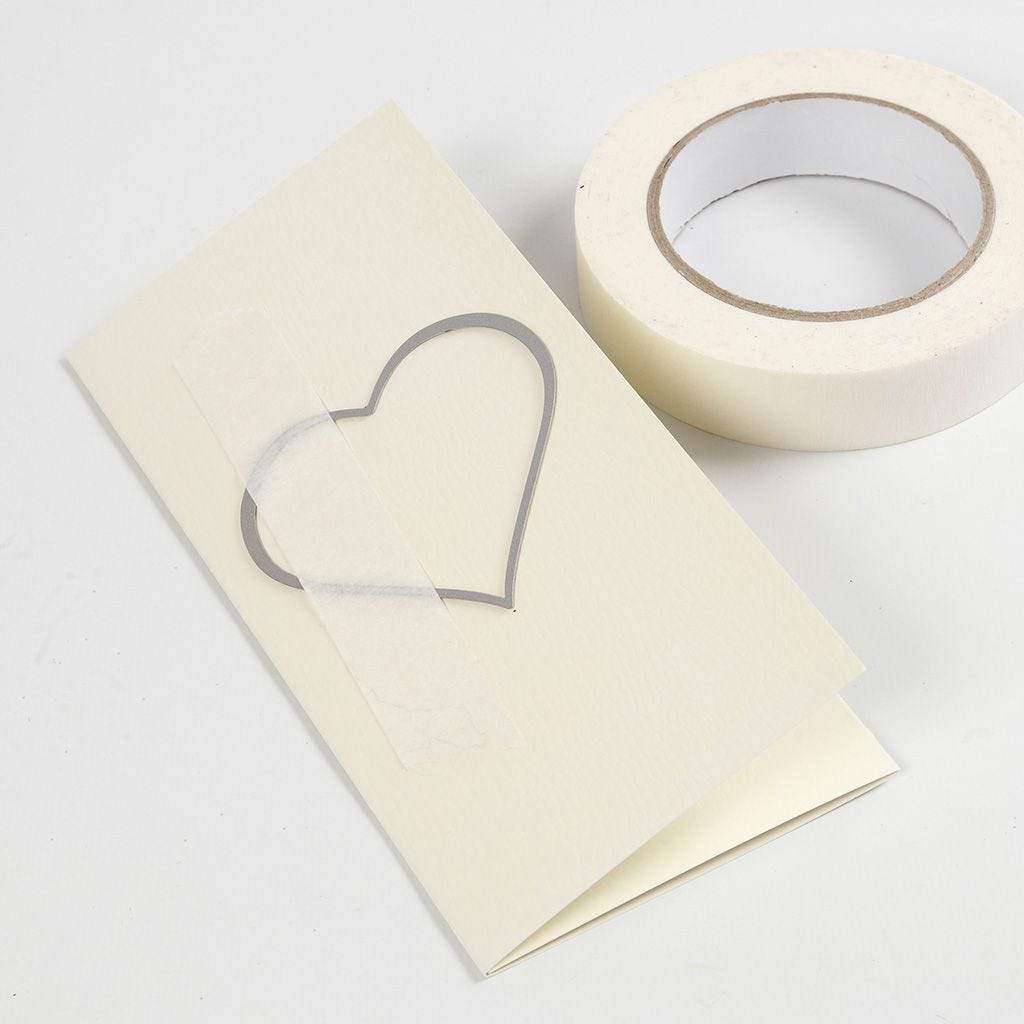
2 Place the heart from the die (No. 3 from the set) onto the front of the card and attach it loosely using masking tape. (The cutting side of the heart faces down towards the card). Push a thin needle through the top and the bottom to mark the middle line of the heart.
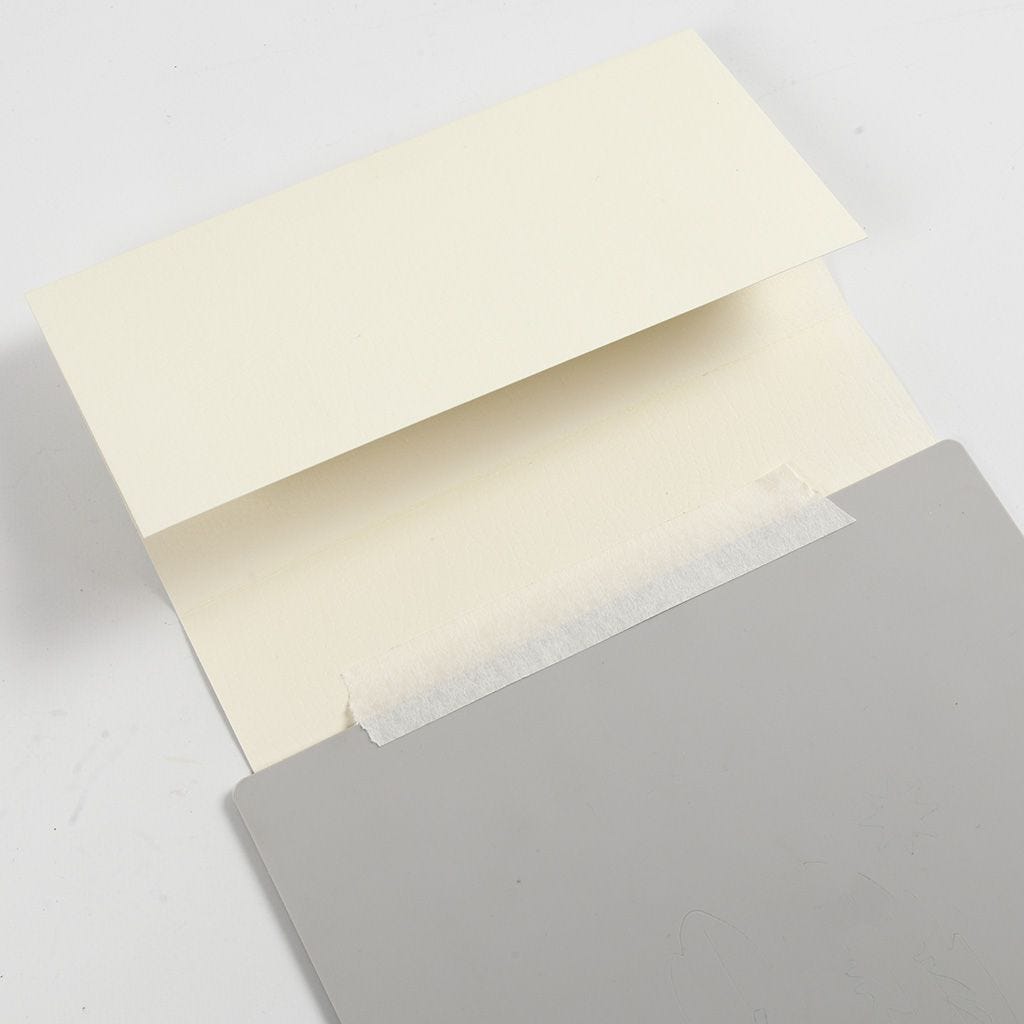
3 Place the cutting mat from the die-cutting machine onto the back of the card where the needle holes are marked. Attach the card onto the cutting mat with masking tape.
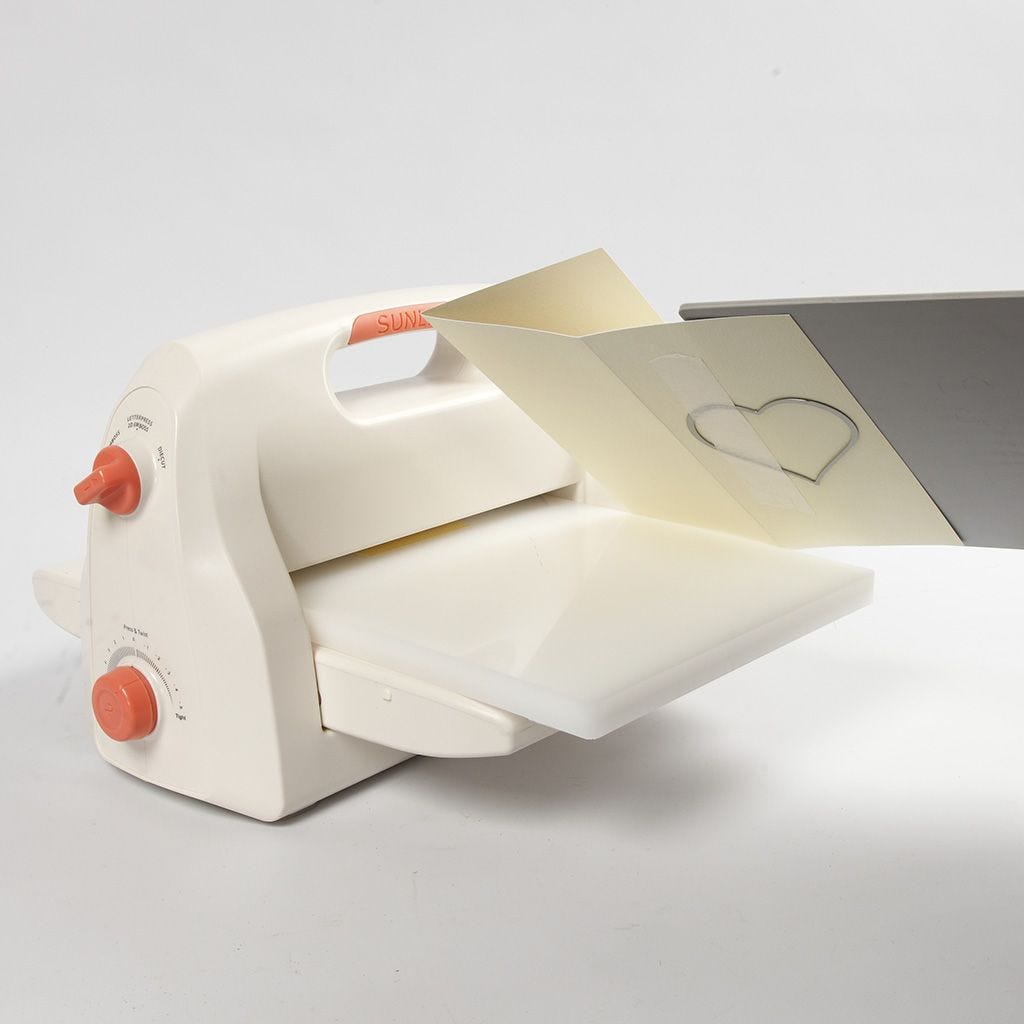
4 Place the card with the die and the cutting mat inside the die-cutting machine on top of the platform (the thick plate). Now roll the layers through the die-cutting machine.
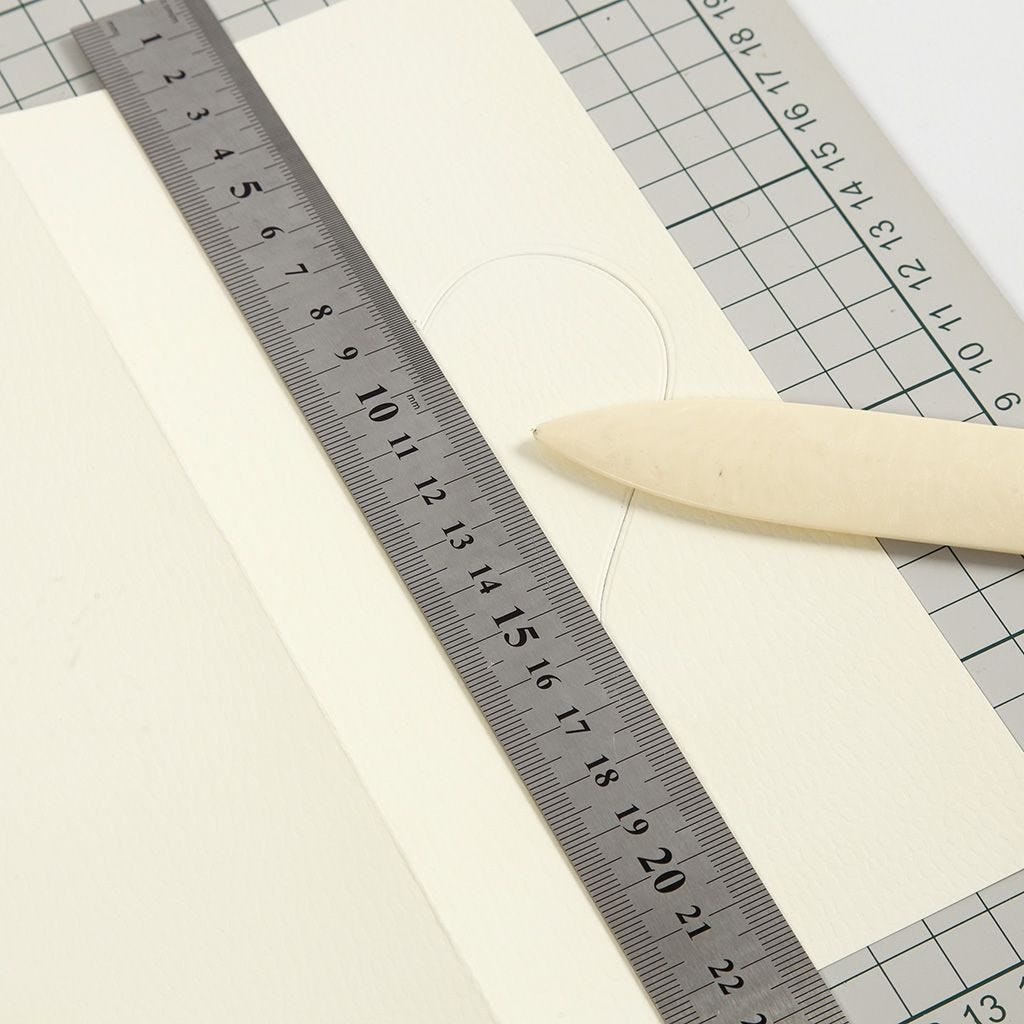
5 Score along the middle of the heart and fold the die-cut heart outward.
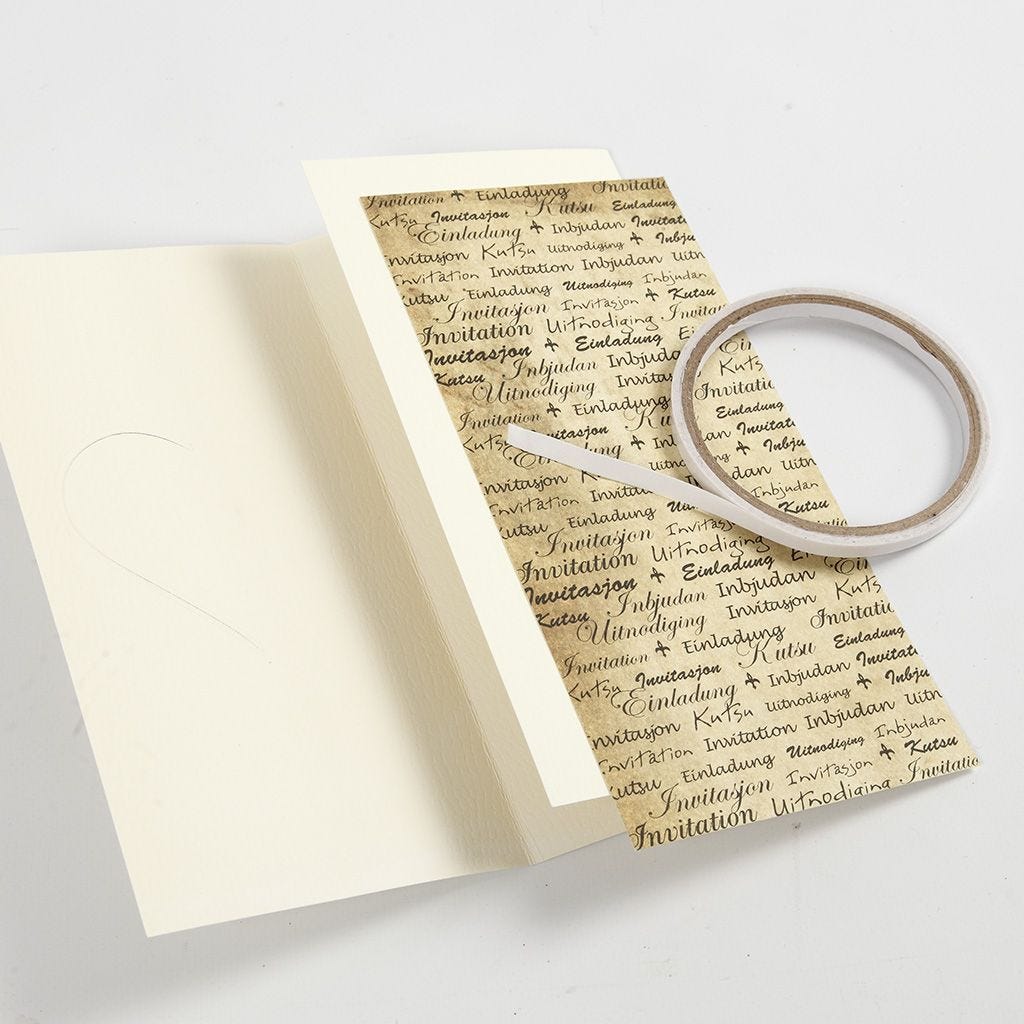
6 Cut a piece of text craft paper to fit a section. Attach it onto the right hand section inside the card with double-sided adhesive tape.
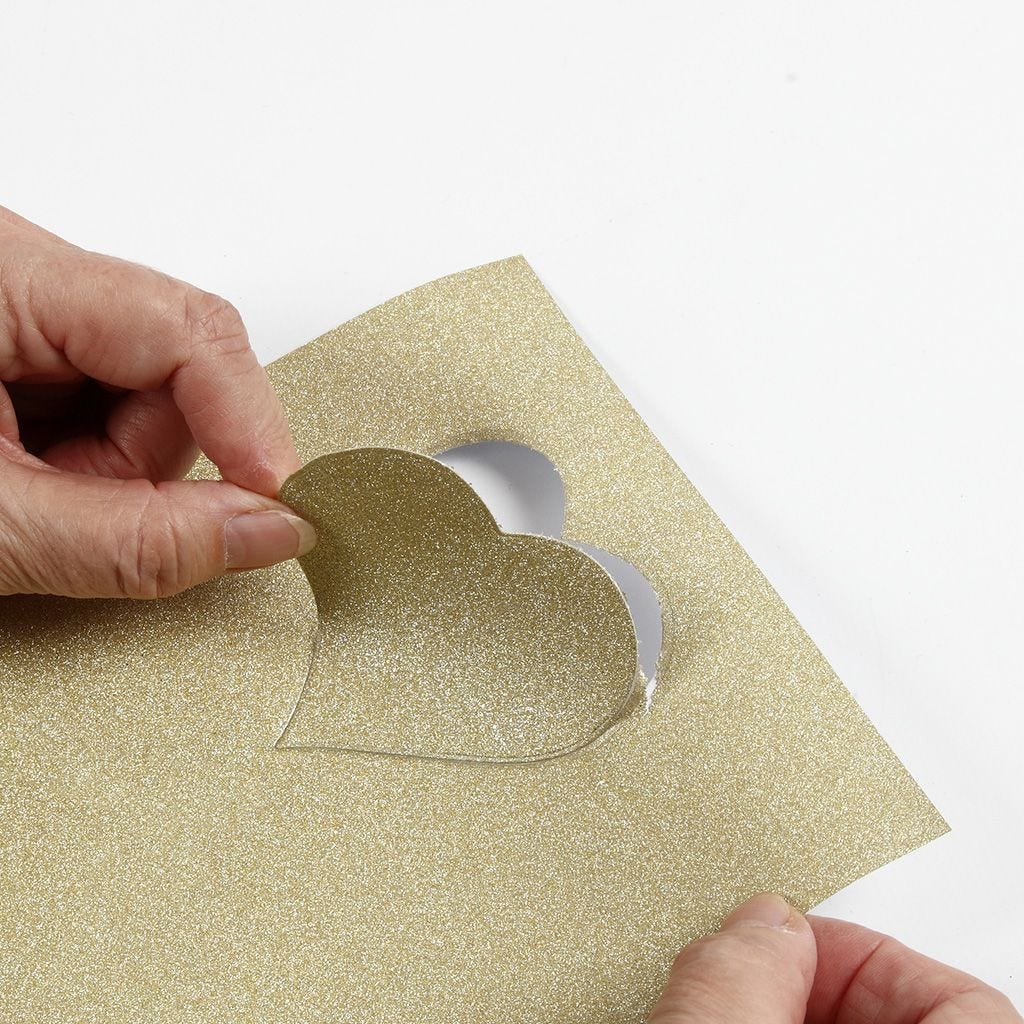
7 Punch out the same size of heart from glitter paper. Set the die-cutting machine on the firmest setting and punch it out.
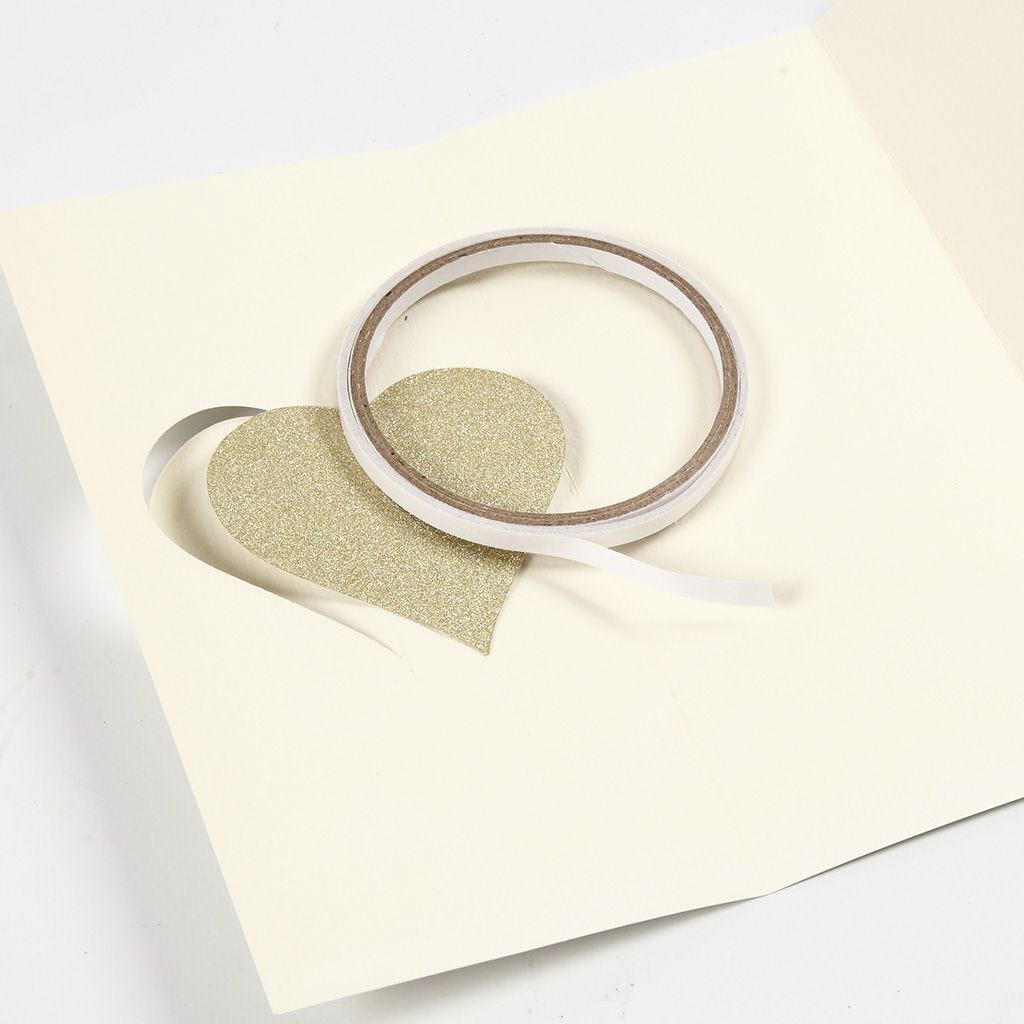
8 Attach the glitter paper heart onto the back of the die-cut heart using double-sided adhesive tape.
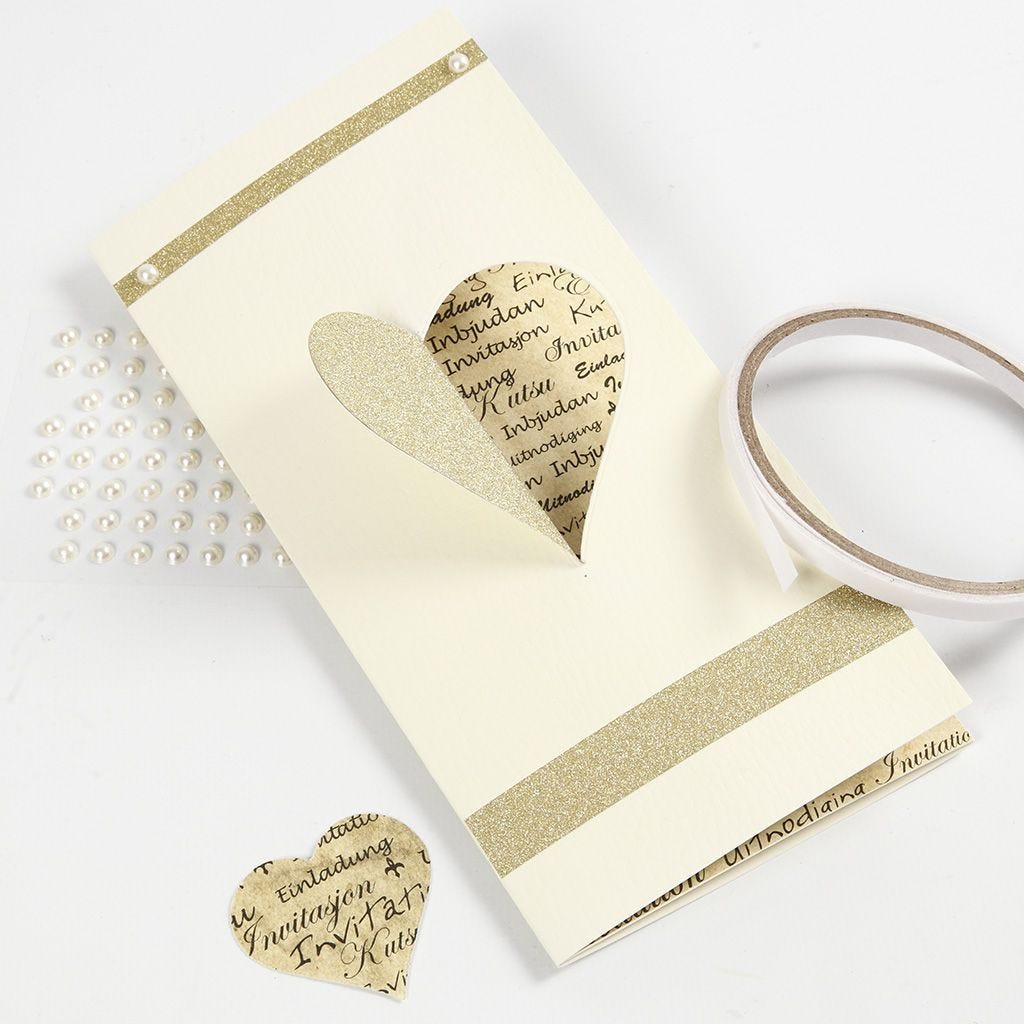
9 Cut glitter paper borders. Punch out a heart from text kraft paper using the smallest die and glue all the parts onto the front of the invitation. Attach rhinestone half pearls.
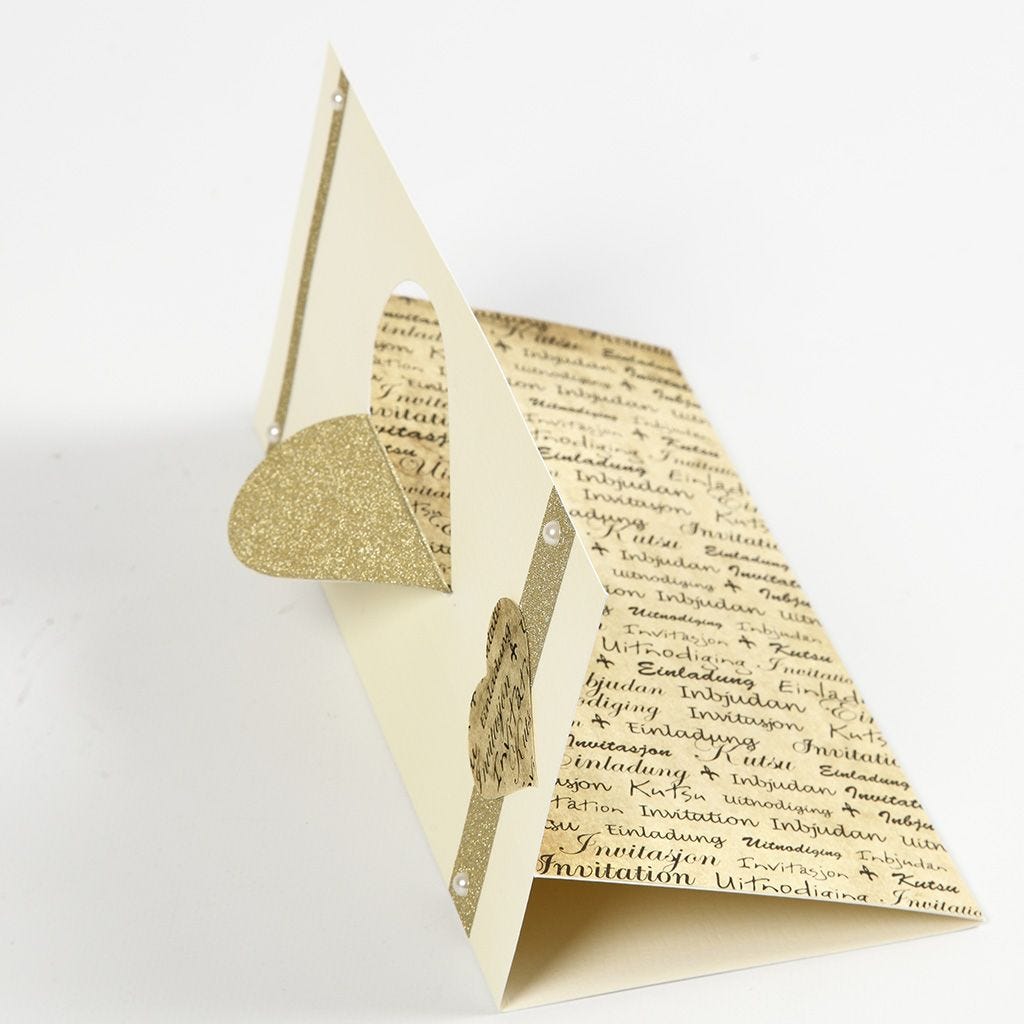
10 The finished wedding invitation. Write text, print it out, trim and glue it onto one of the sections inside the invitation.
Another variant -
Also go exploring in