
New
Creative idea
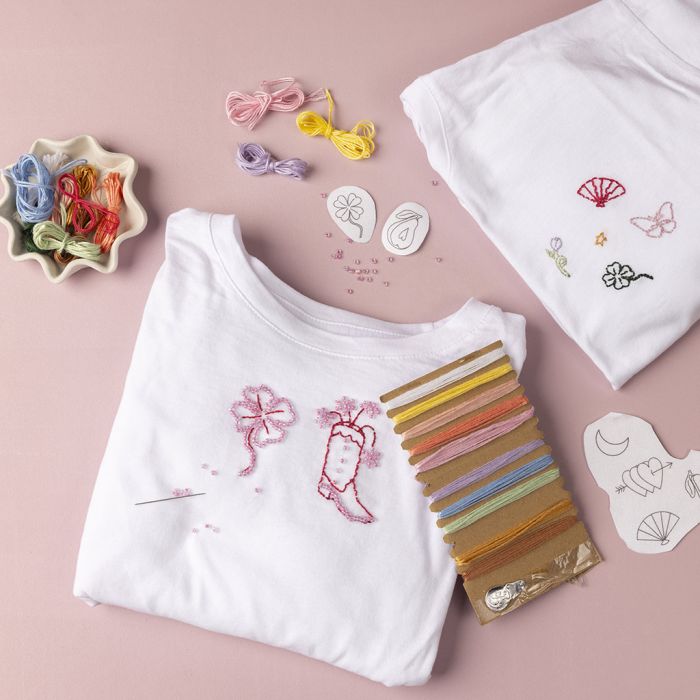
T-shirt decorated with embroidery and beads
#v17229
Add a personal touch to your T-shirts with beautiful embroidered details. You use embroidery thread, rocaille seed beads and embroidery paper with printed illustrations. Place and stick the paper where you want to embroider and once the design is finished, gently rinse off the paper with water, so that only your beautiful embroidery remains.
#v17229
How to do it
1 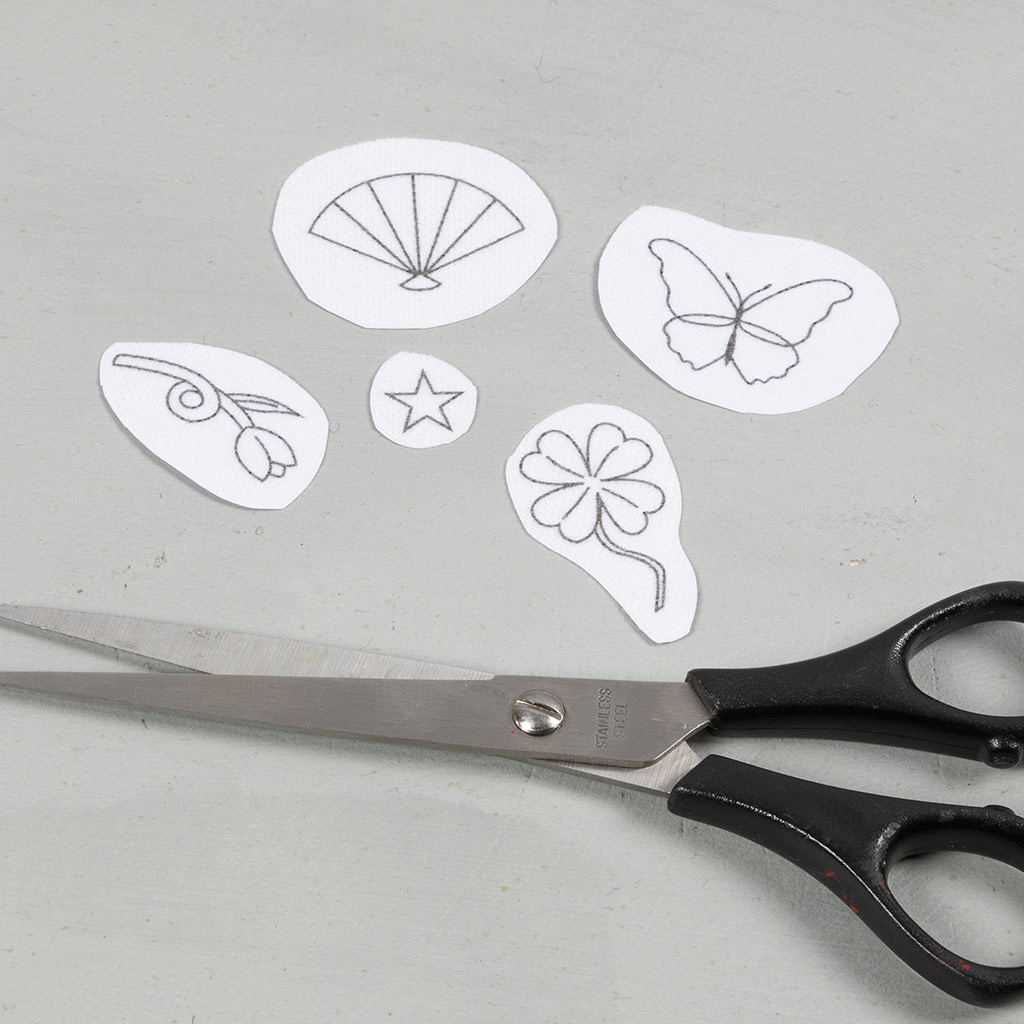 Cut out the illustrations you want to use.
Cut out the illustrations you want to use.2 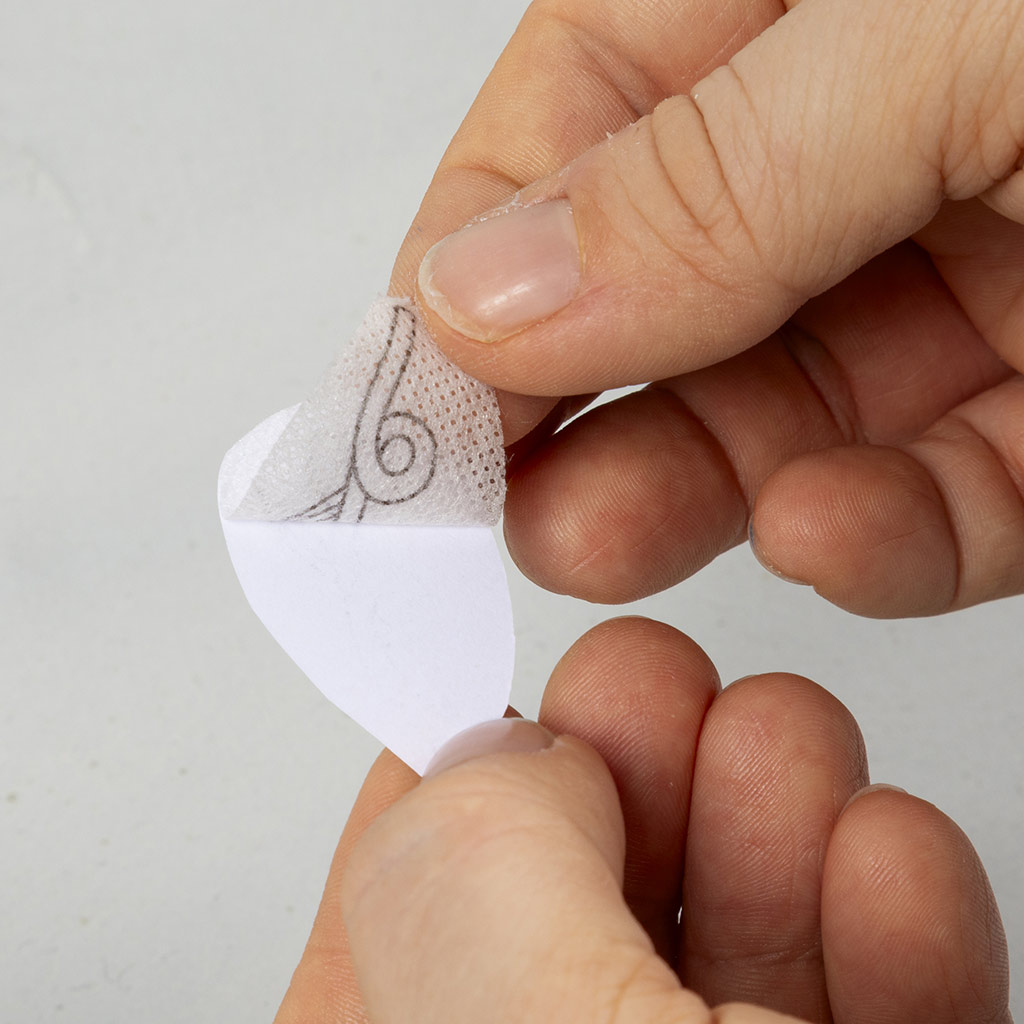 Remove the paper.
Remove the paper.3 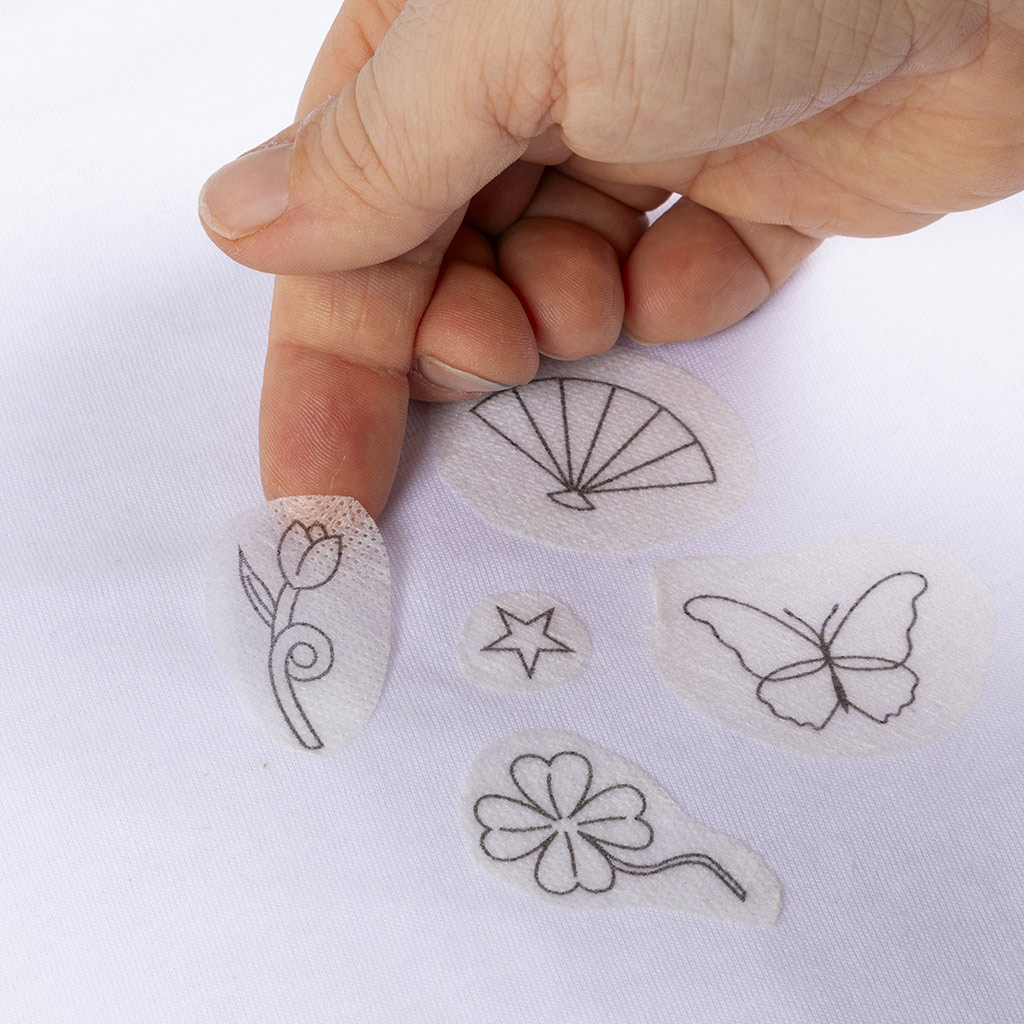 Place it wherever you want it and press firmly to make sure it is securely attached.
Place it wherever you want it and press firmly to make sure it is securely attached.4 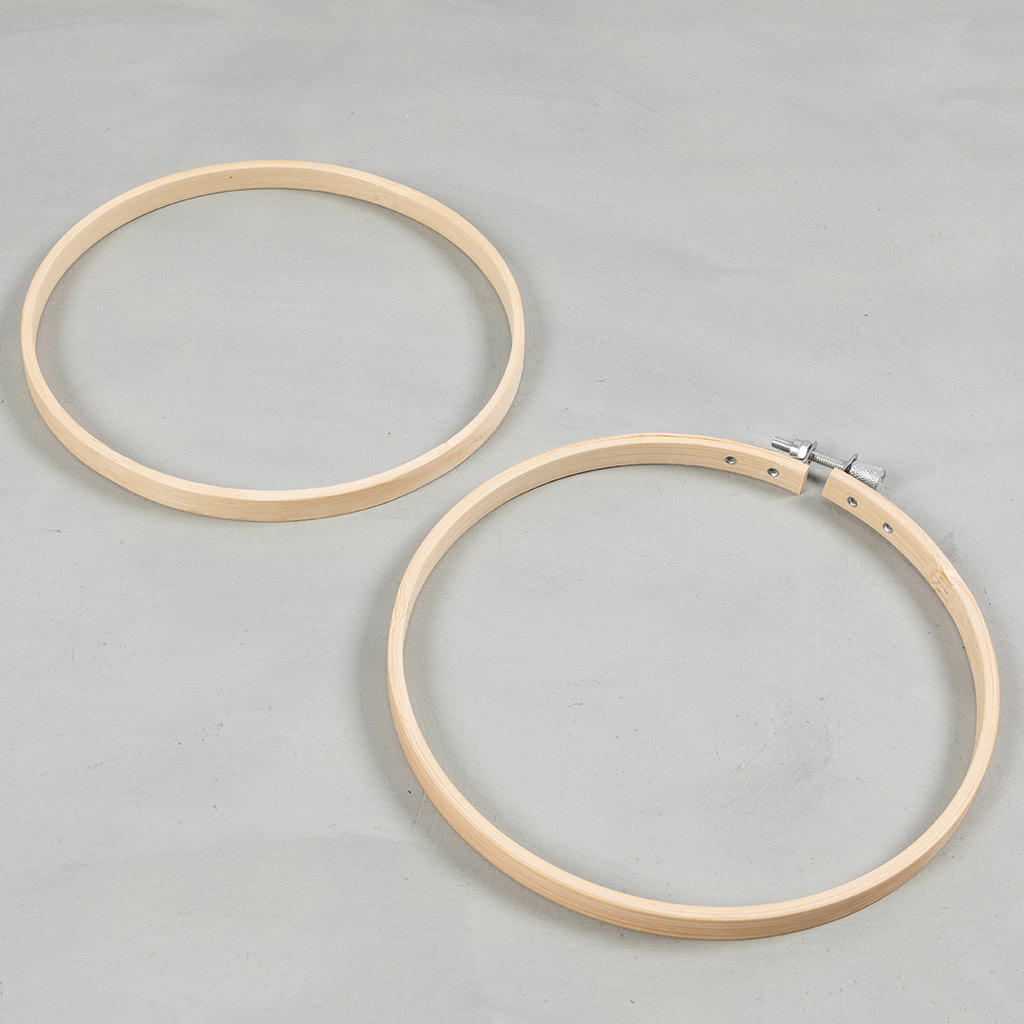 Separate the embroidery frame.
Separate the embroidery frame.5 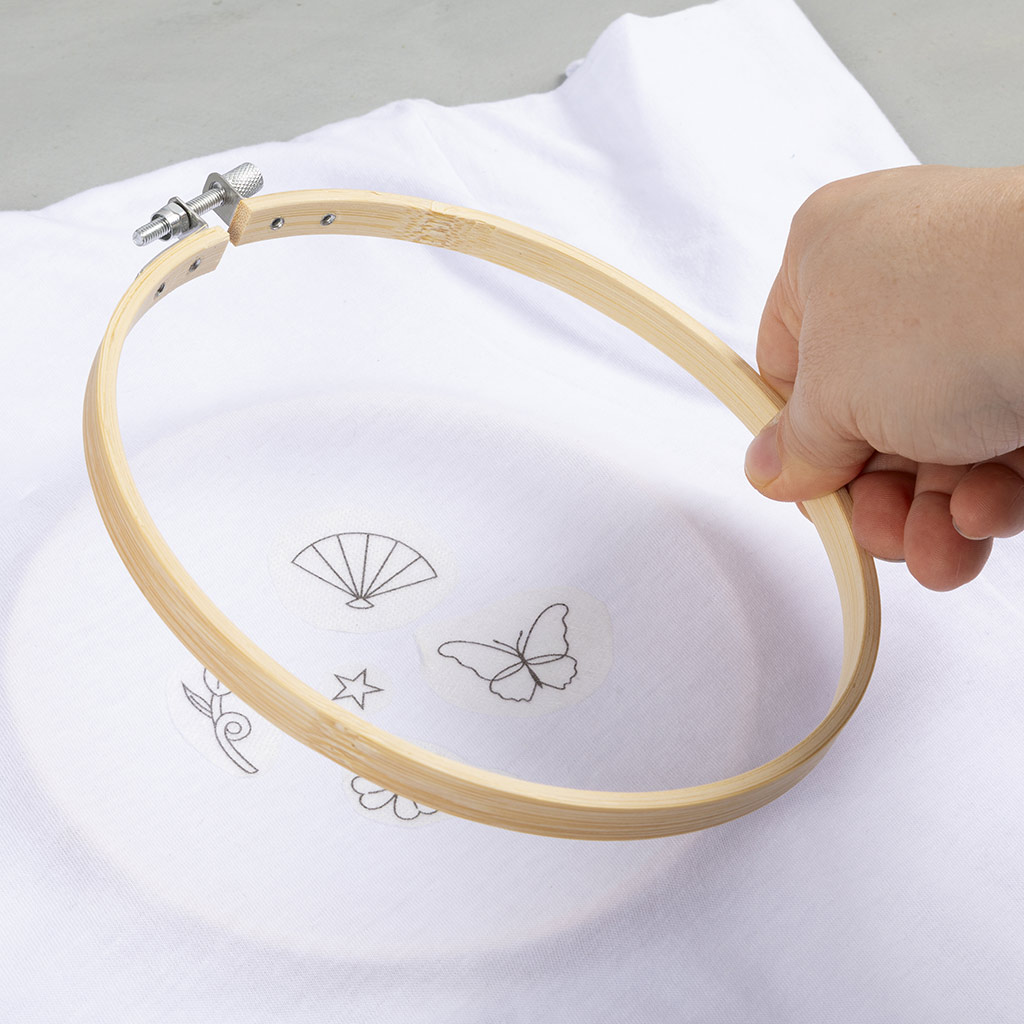 Place the smallest frame on the inside of the shirt and the largest frame on the outside.
Place the smallest frame on the inside of the shirt and the largest frame on the outside.6 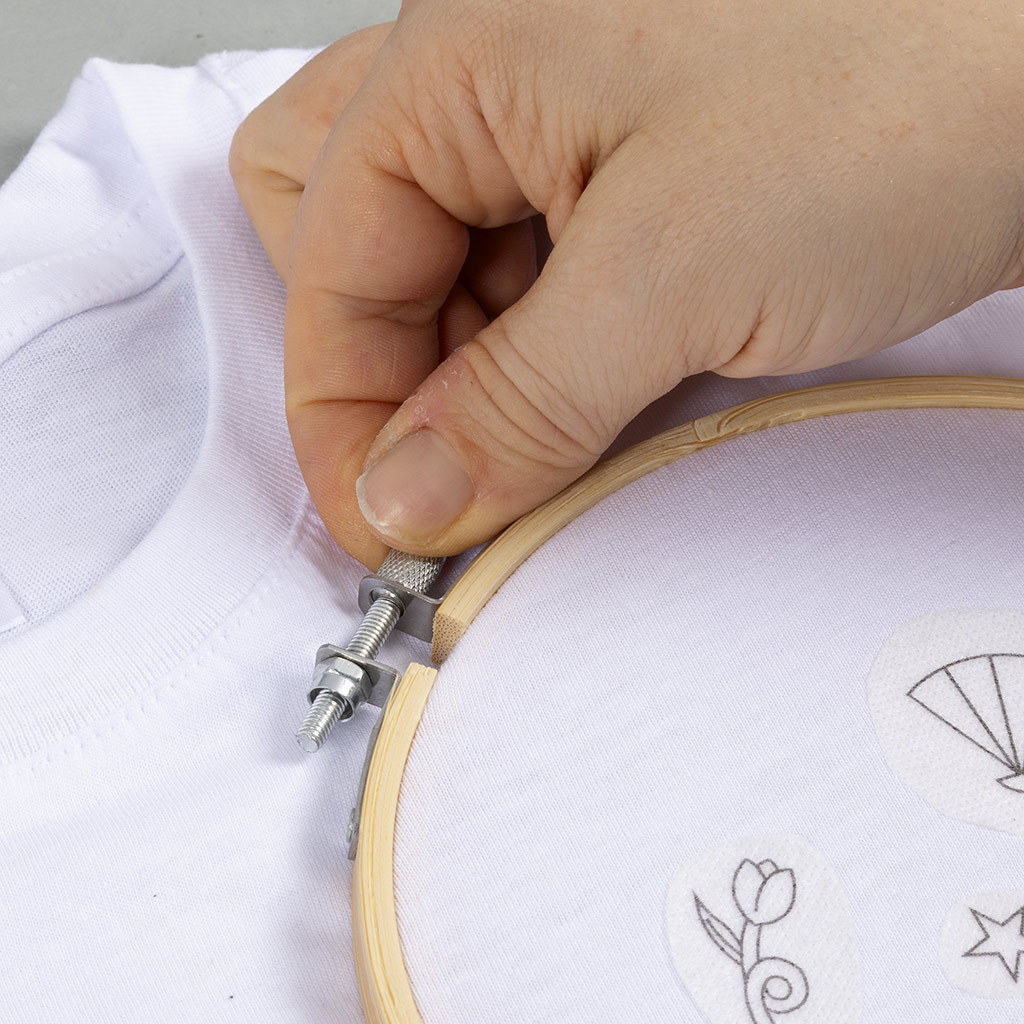 Tighten the frame securely.
Tighten the frame securely.7 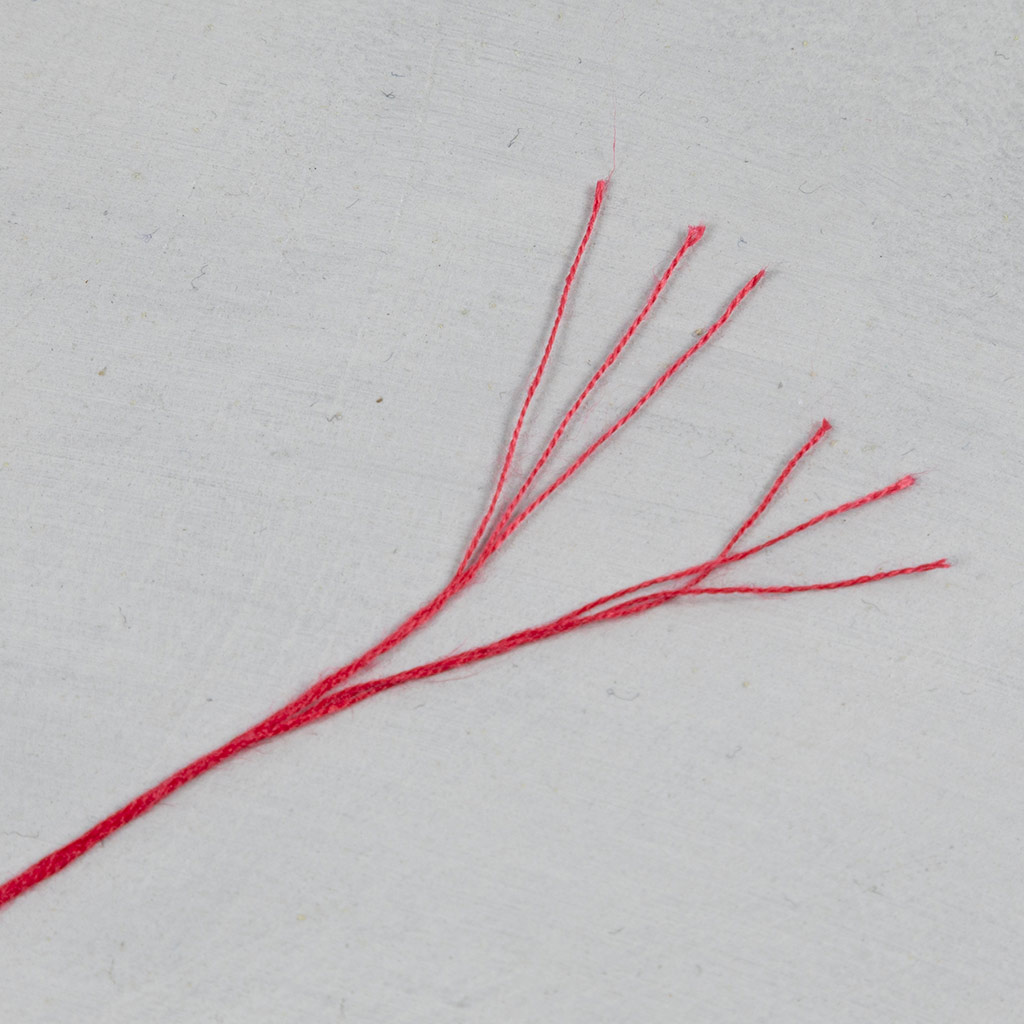 The embroidery thread consists of six threads. Divide the thread in half so that each part consists of three threads.
The embroidery thread consists of six threads. Divide the thread in half so that each part consists of three threads.8 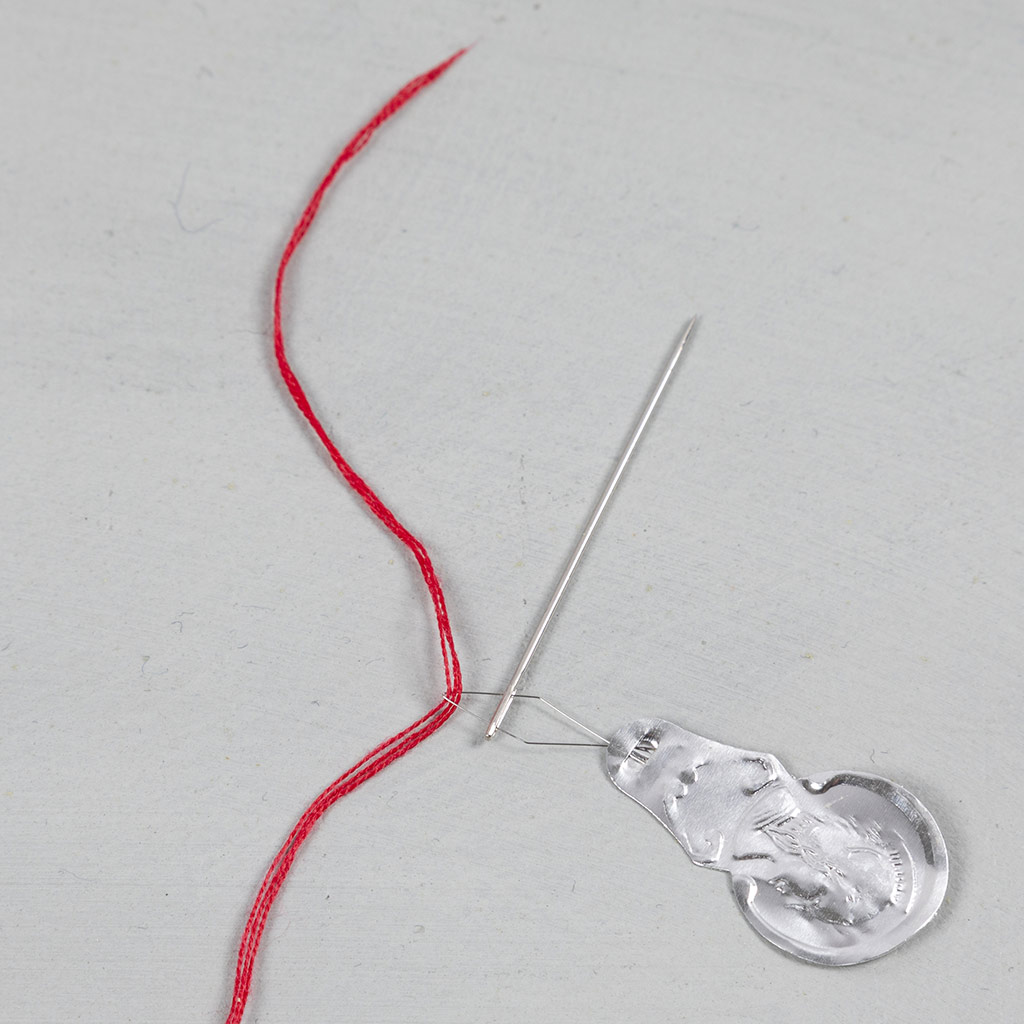 Pull the needle threader through the needle eye and then pull the embroidery thread through, as shown in the picture.
Pull the needle threader through the needle eye and then pull the embroidery thread through, as shown in the picture.9  Now pull the needle out with the embroidery thread, as shown in the picture.
Now pull the needle out with the embroidery thread, as shown in the picture.10 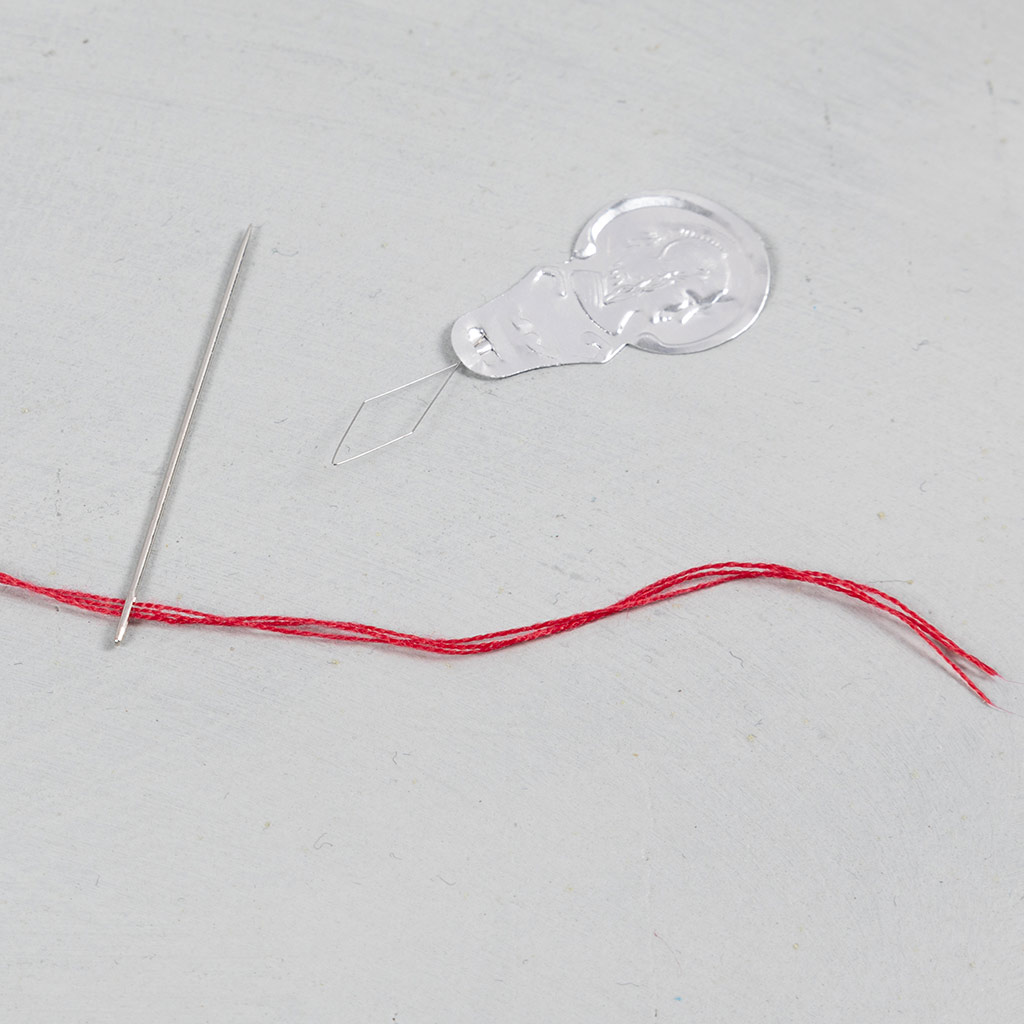 Remove the needle threader.
Remove the needle threader.11 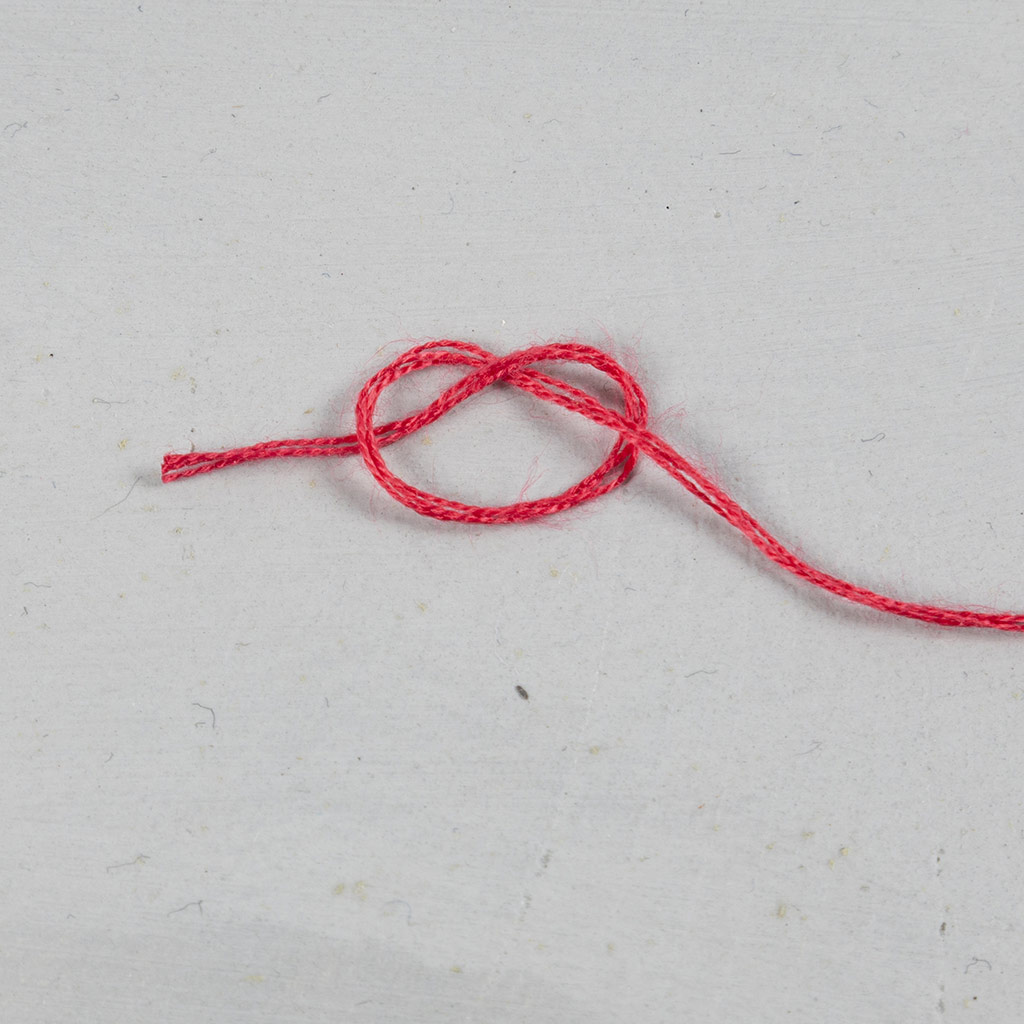 Tie a knot as shown in the picture.
Tie a knot as shown in the picture.12 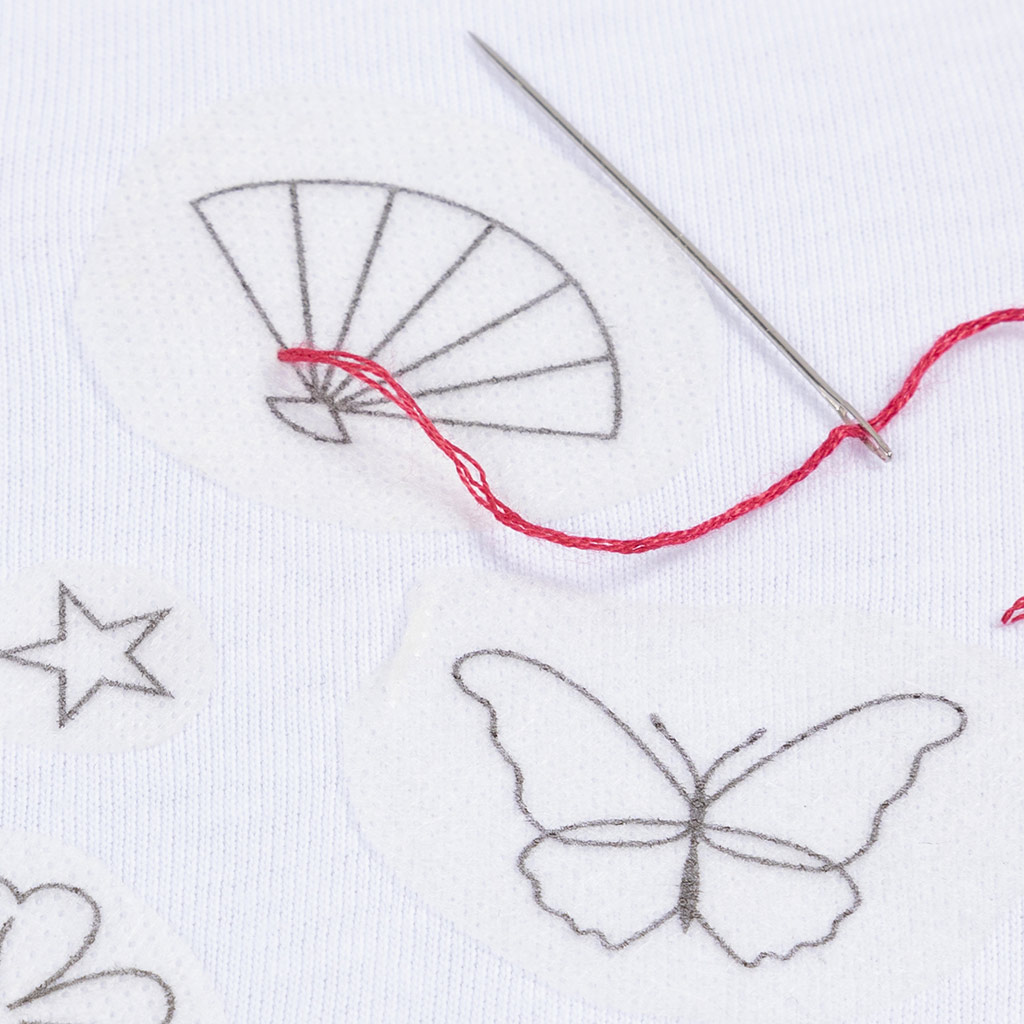 Insert the needle from the back.
Insert the needle from the back.13 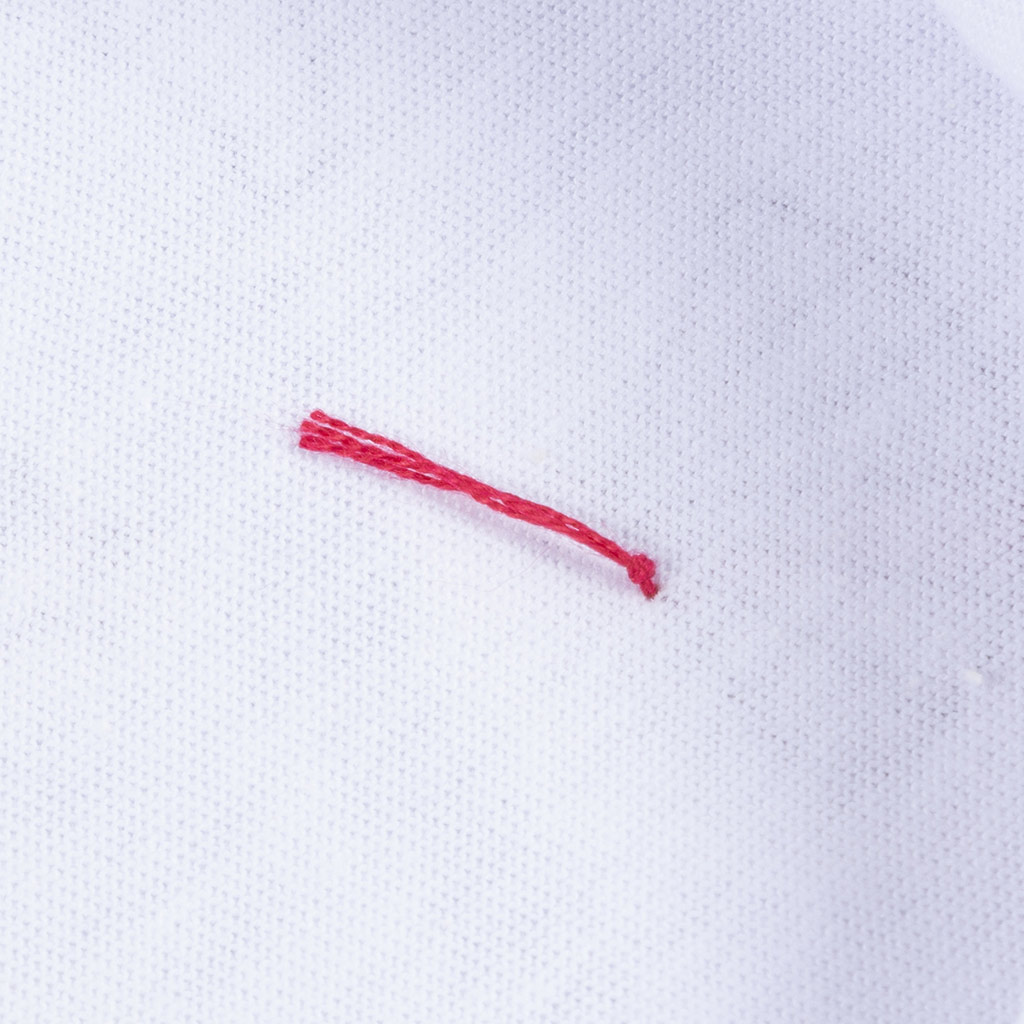 The knot keeps the thread in place.
The knot keeps the thread in place.14 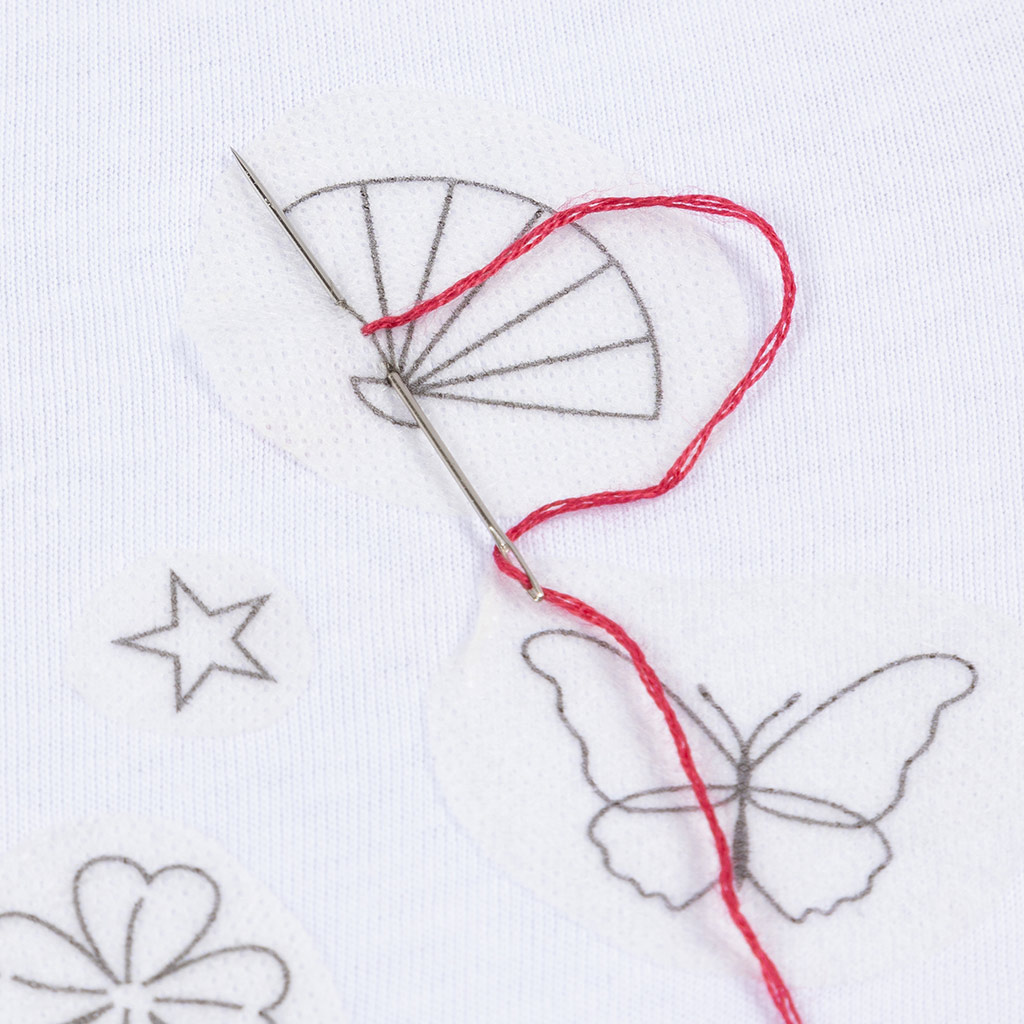 Start embroidering with a back stitch. Insert the needle as shown.
Start embroidering with a back stitch. Insert the needle as shown.15 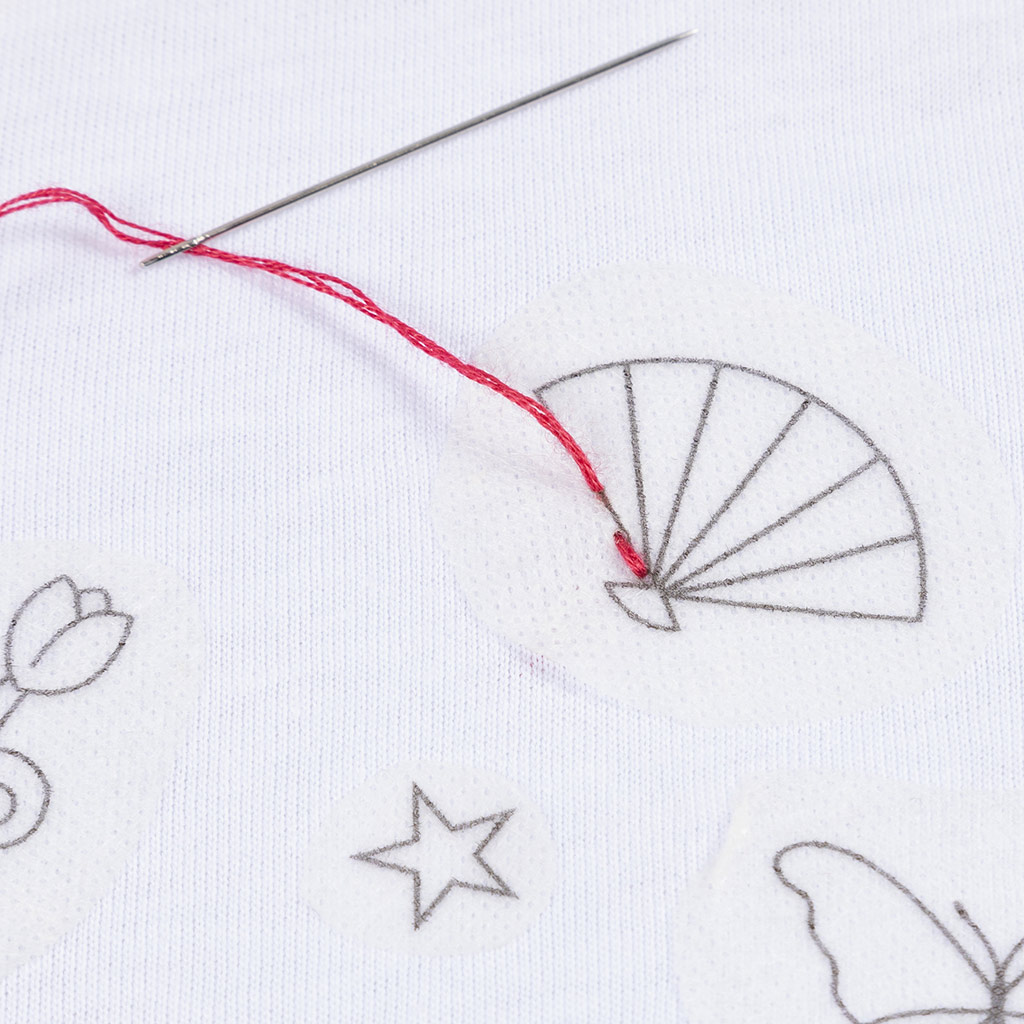 Continue the process stitch by stitch.
Continue the process stitch by stitch.16 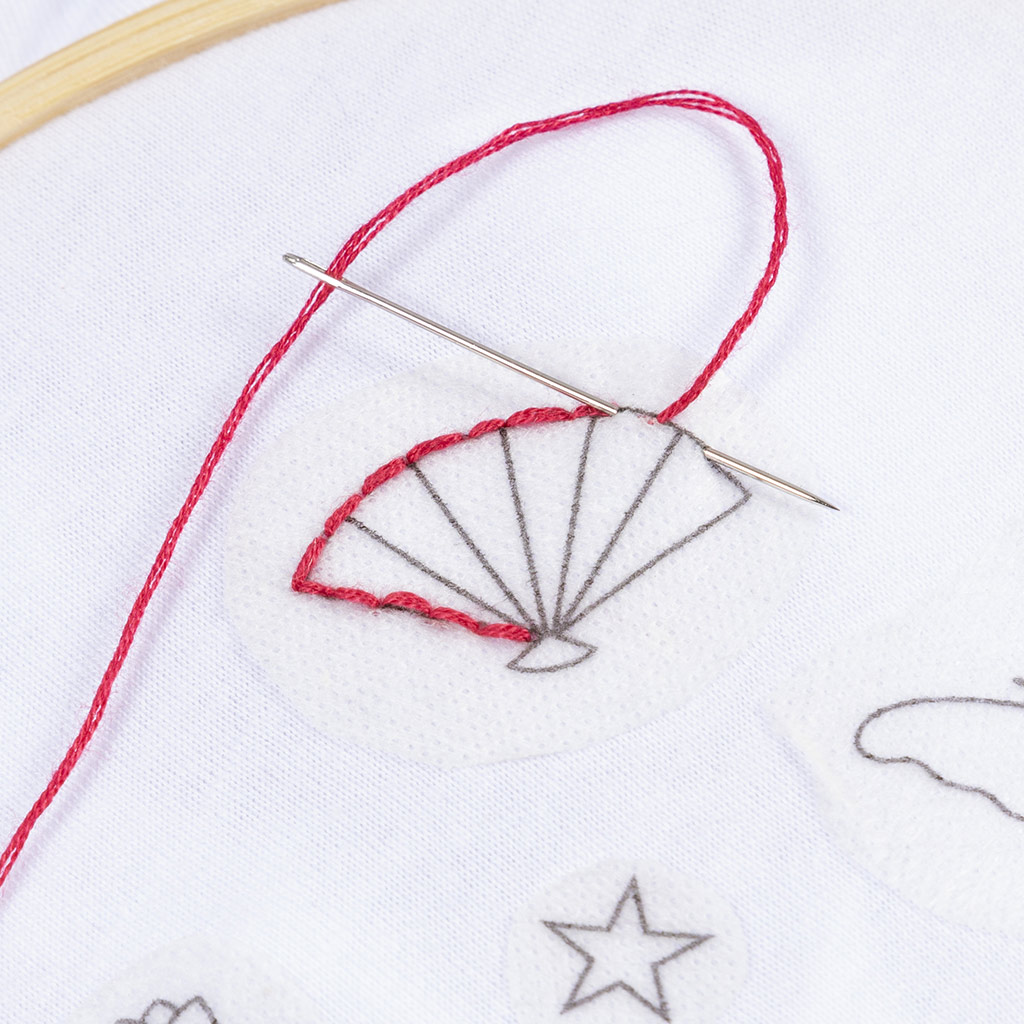 The stitches will look like this.
The stitches will look like this.17 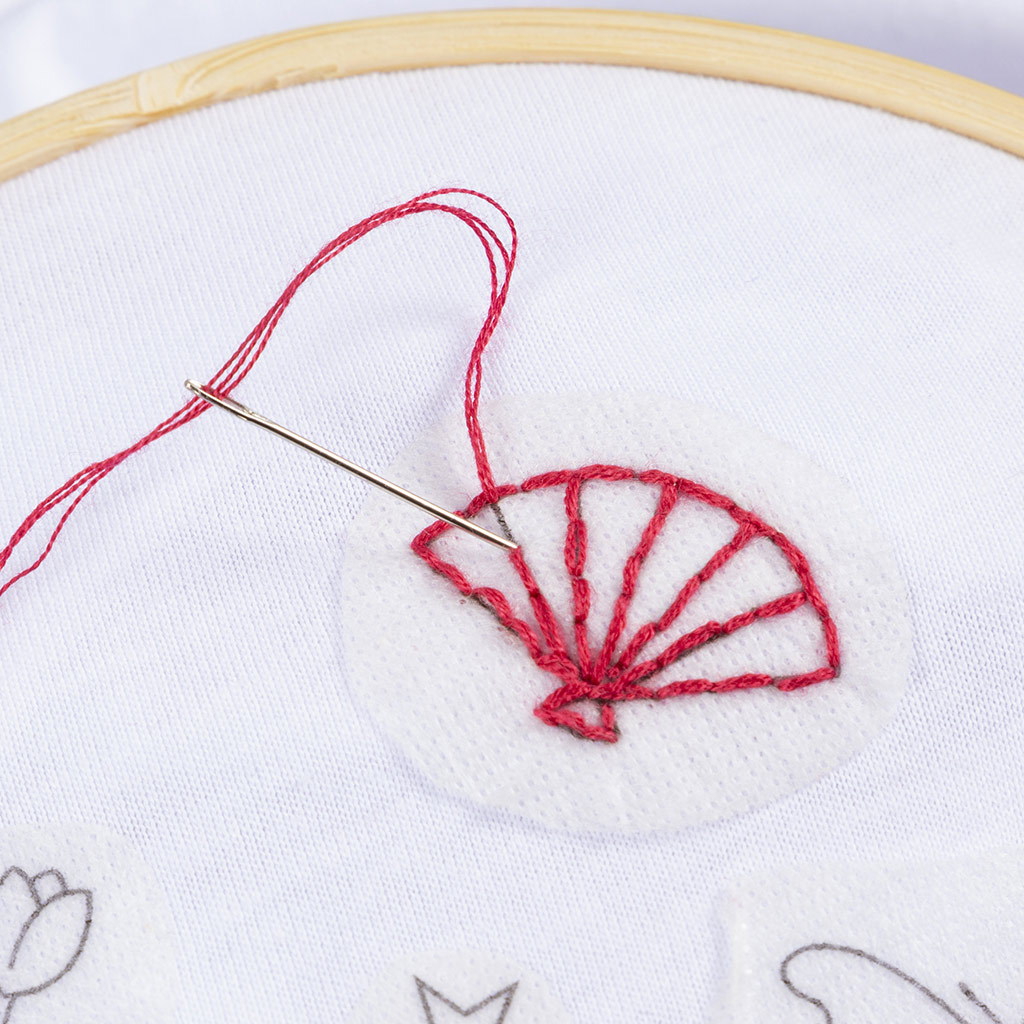 When there is no more thread or the embroidery is finished, insert the needle from the front.
When there is no more thread or the embroidery is finished, insert the needle from the front.18 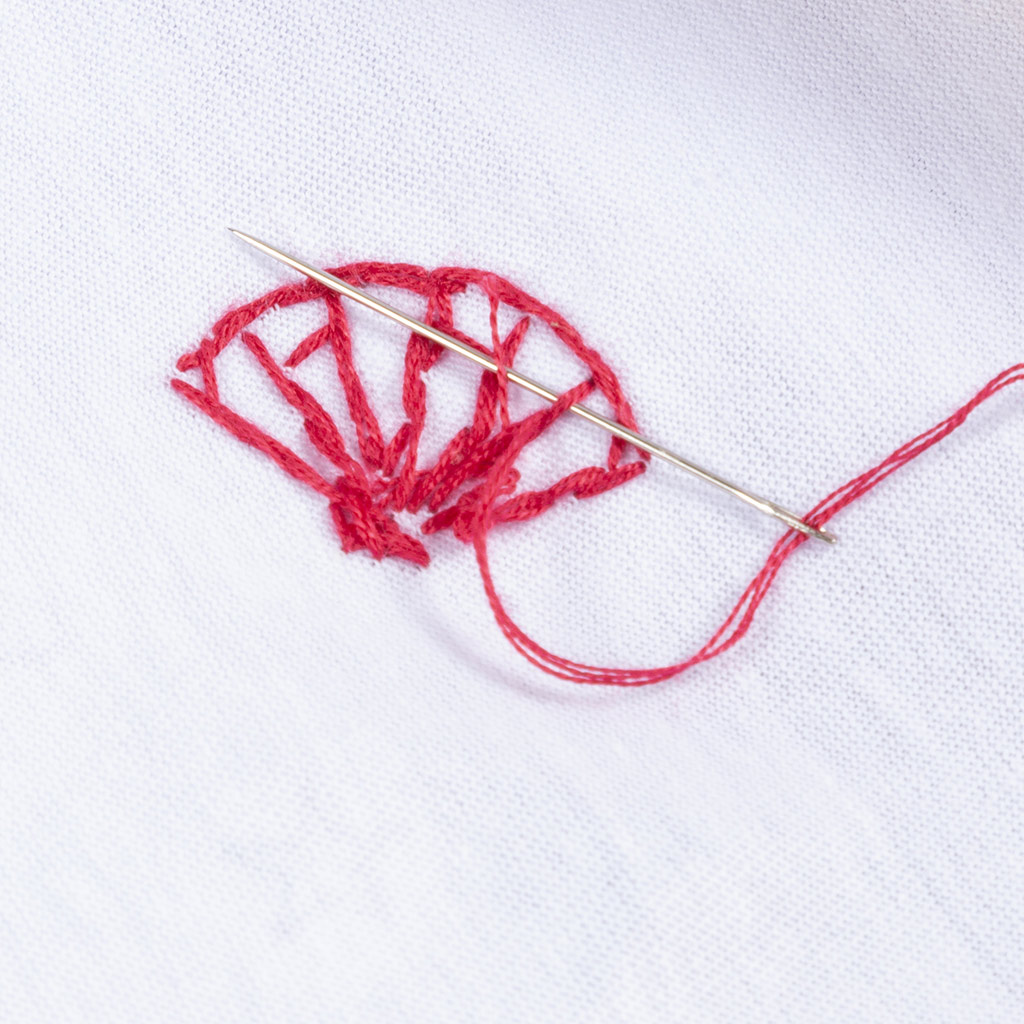 Pull the needle through one of the previous stitches.
Pull the needle through one of the previous stitches.19 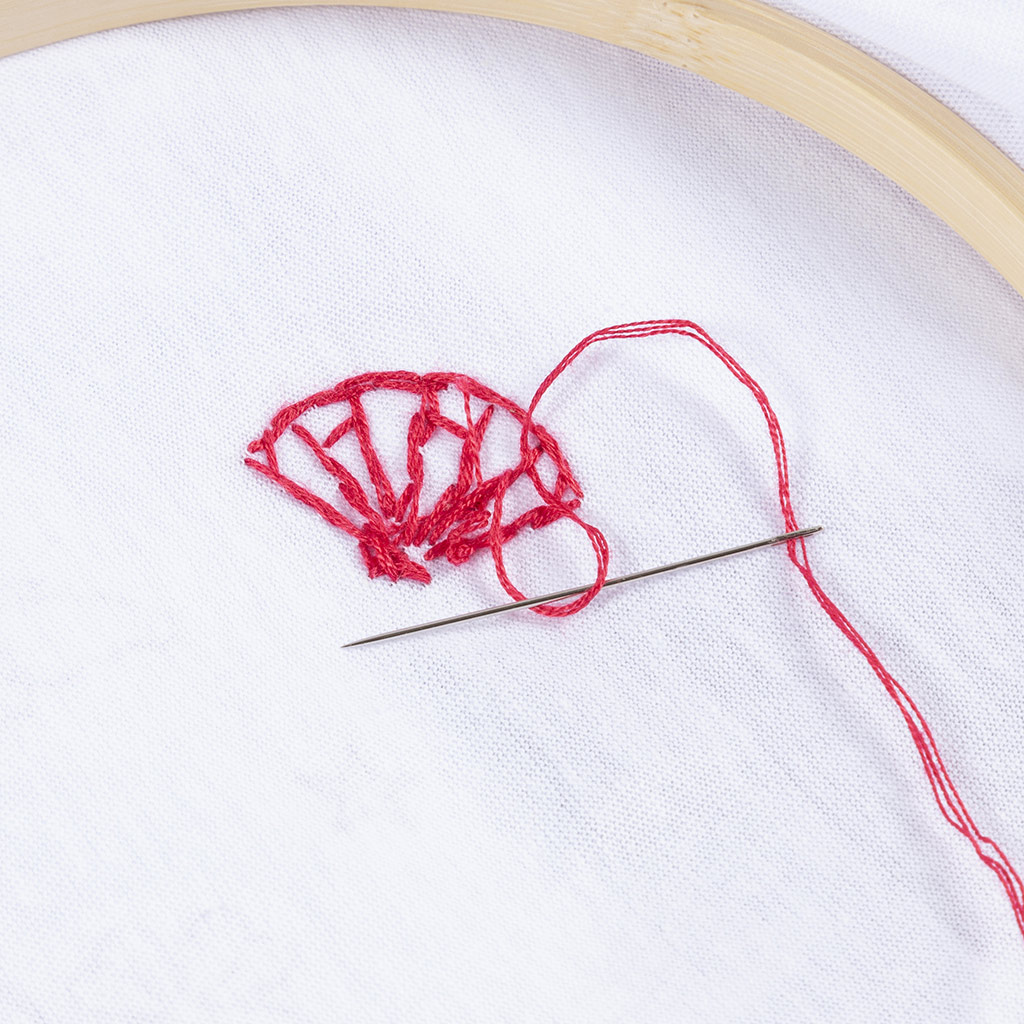 Before tightening the thread, pull the thread through the loop that is formed. Now tighten and cut off the excess embroidery thread. Do the same for the other illustrations.
Before tightening the thread, pull the thread through the loop that is formed. Now tighten and cut off the excess embroidery thread. Do the same for the other illustrations.20 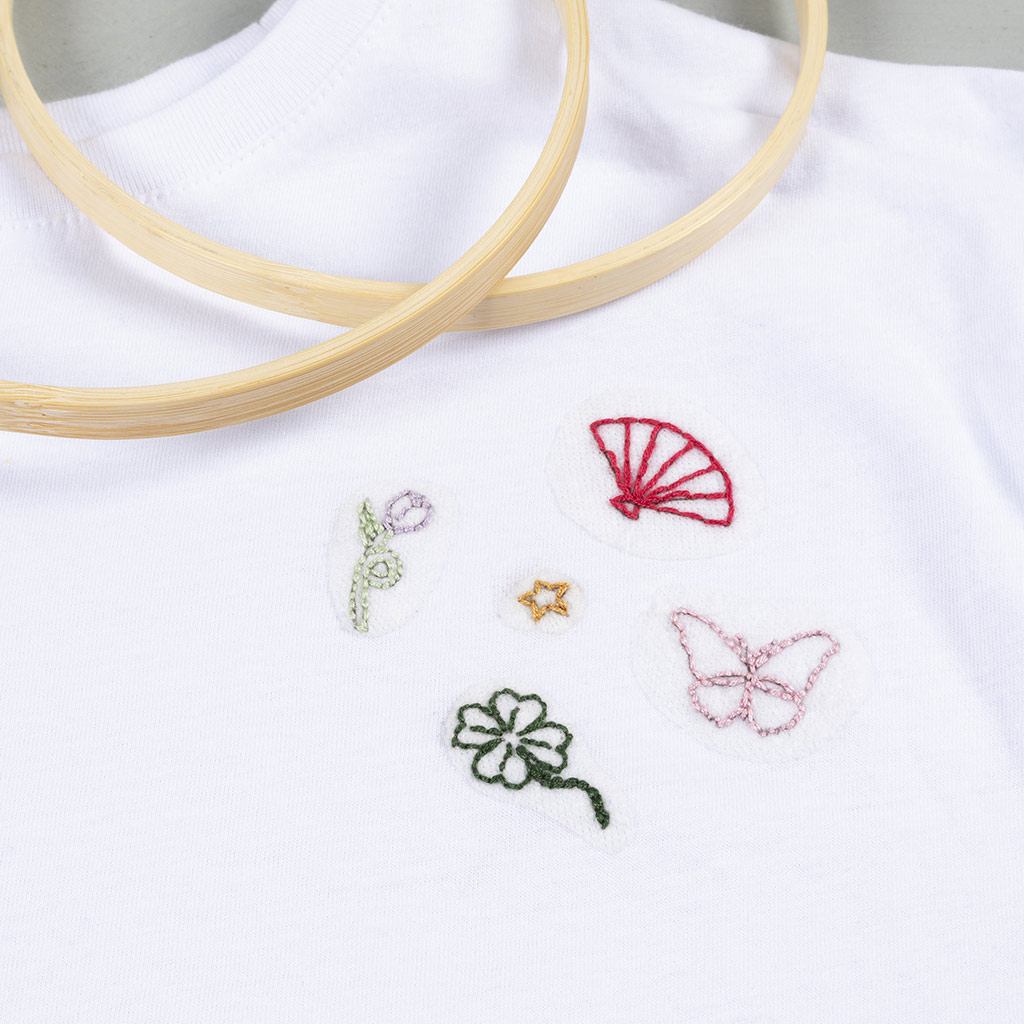 Remove the embroidery frame.
Remove the embroidery frame.21 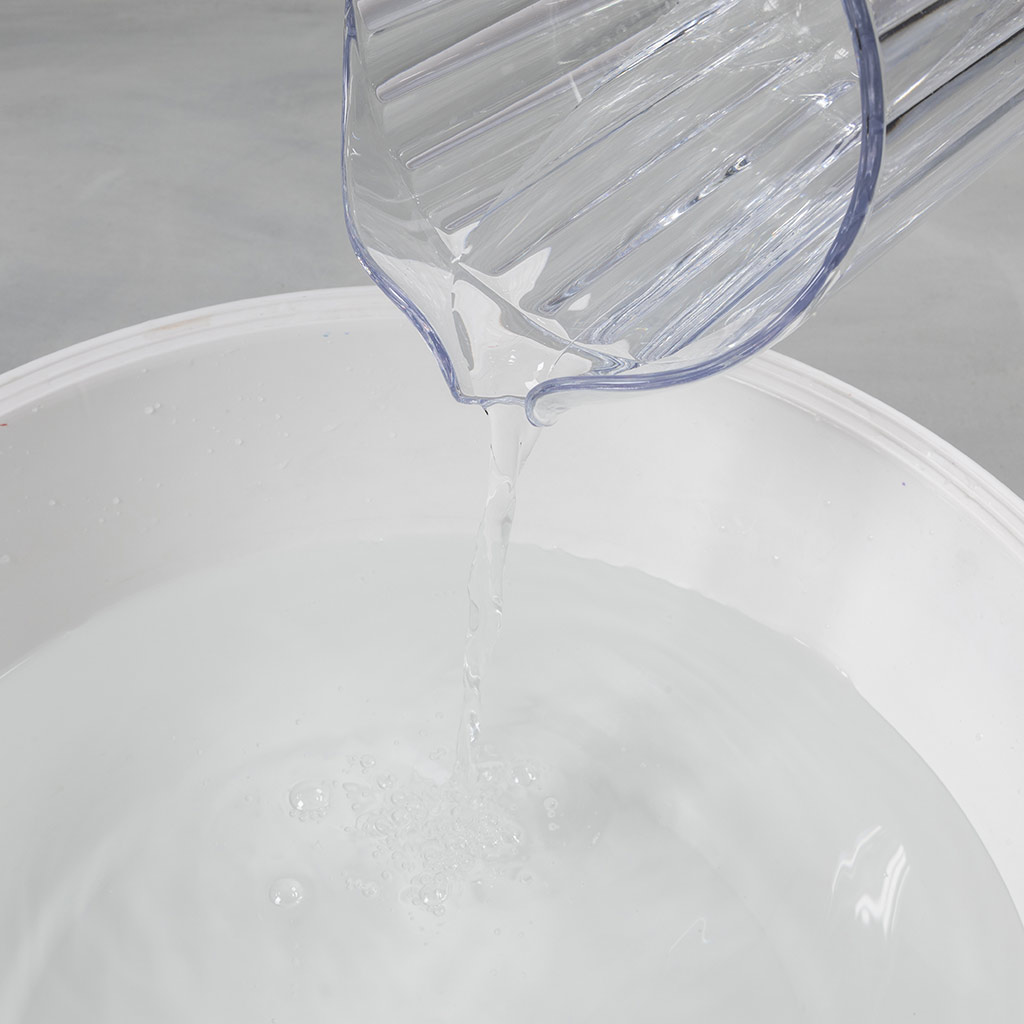 Fill a tub with water.
Fill a tub with water.22 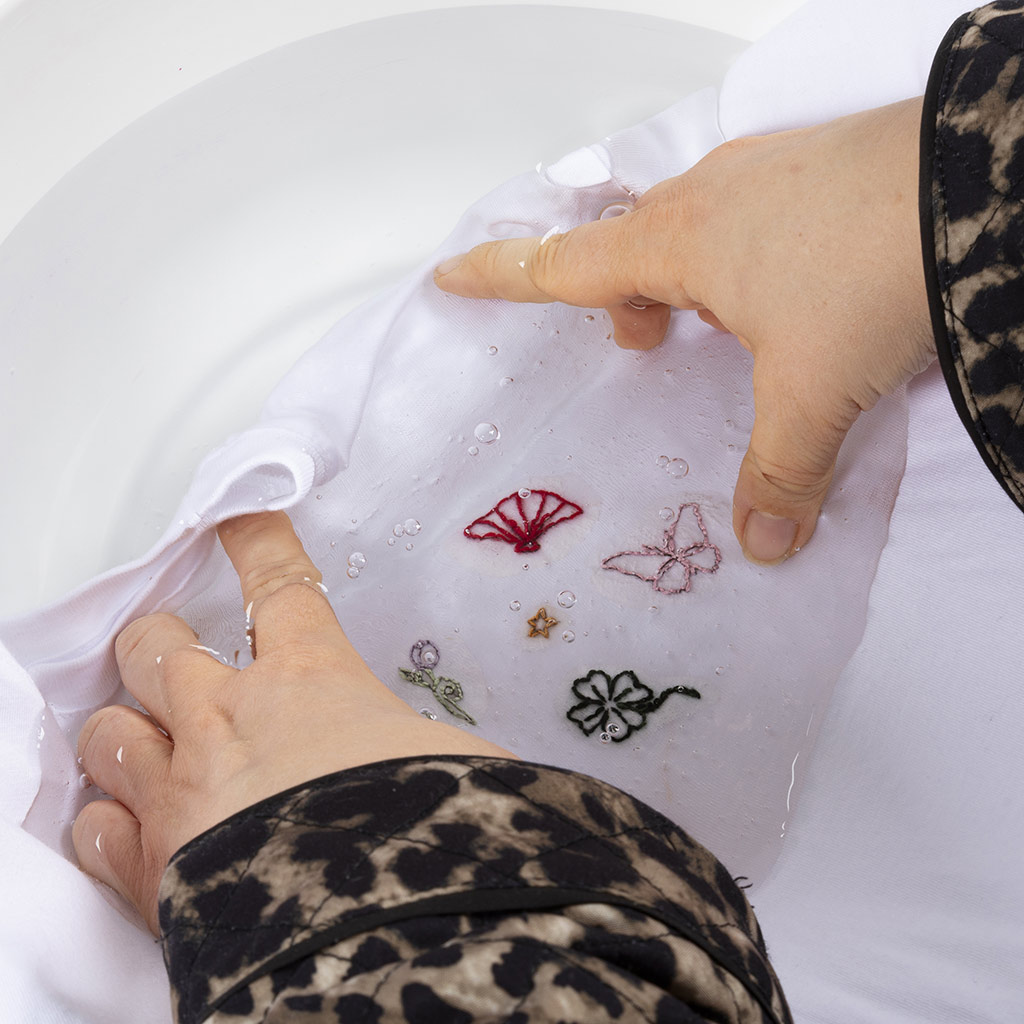 Soak the embroidery for around 15 minutes. If necessary, use your hands to gently rub away the remaining stickers. Allow to dry (avoid twisting the embroidery).
Soak the embroidery for around 15 minutes. If necessary, use your hands to gently rub away the remaining stickers. Allow to dry (avoid twisting the embroidery).23 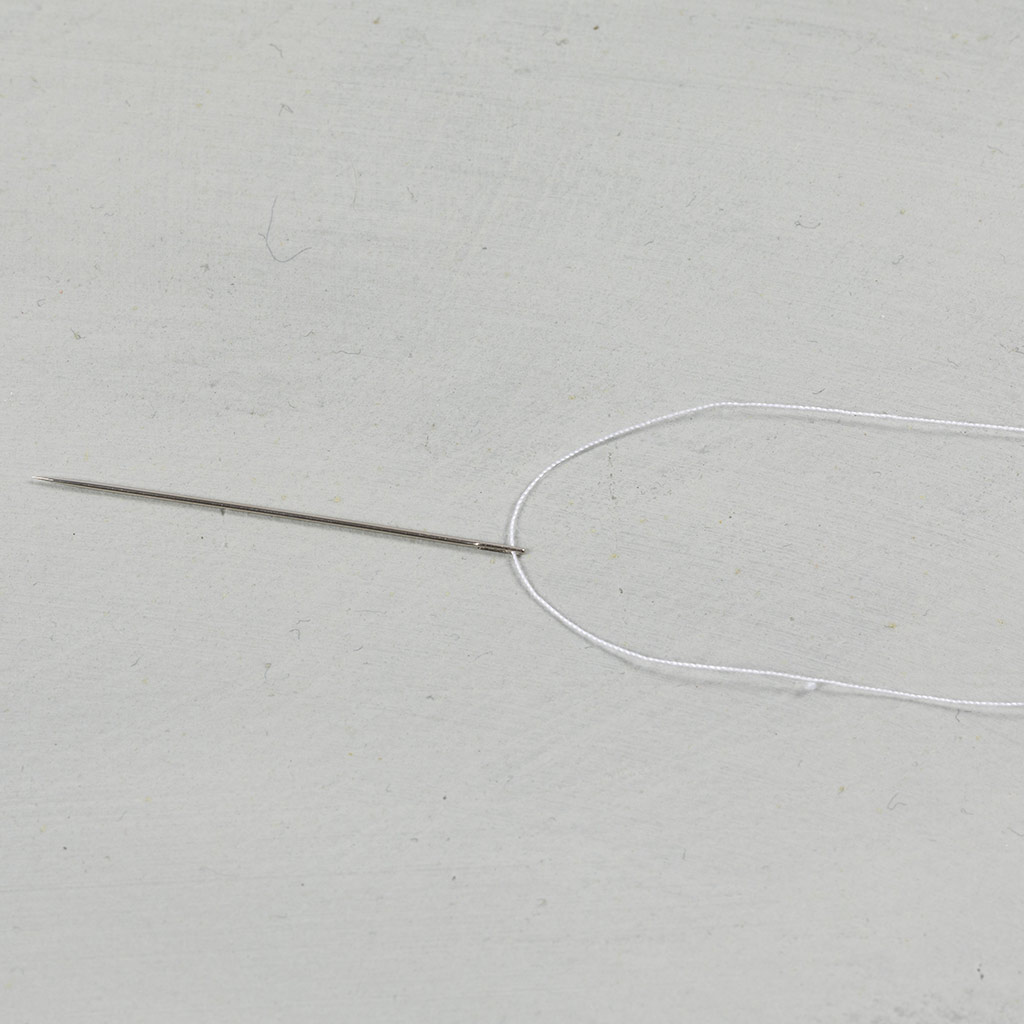 We're now going to embroider with beads. Thread the sewing needle with the thin sewing thread as shown. If necessary, follow steps 8-10.
We're now going to embroider with beads. Thread the sewing needle with the thin sewing thread as shown. If necessary, follow steps 8-10.24 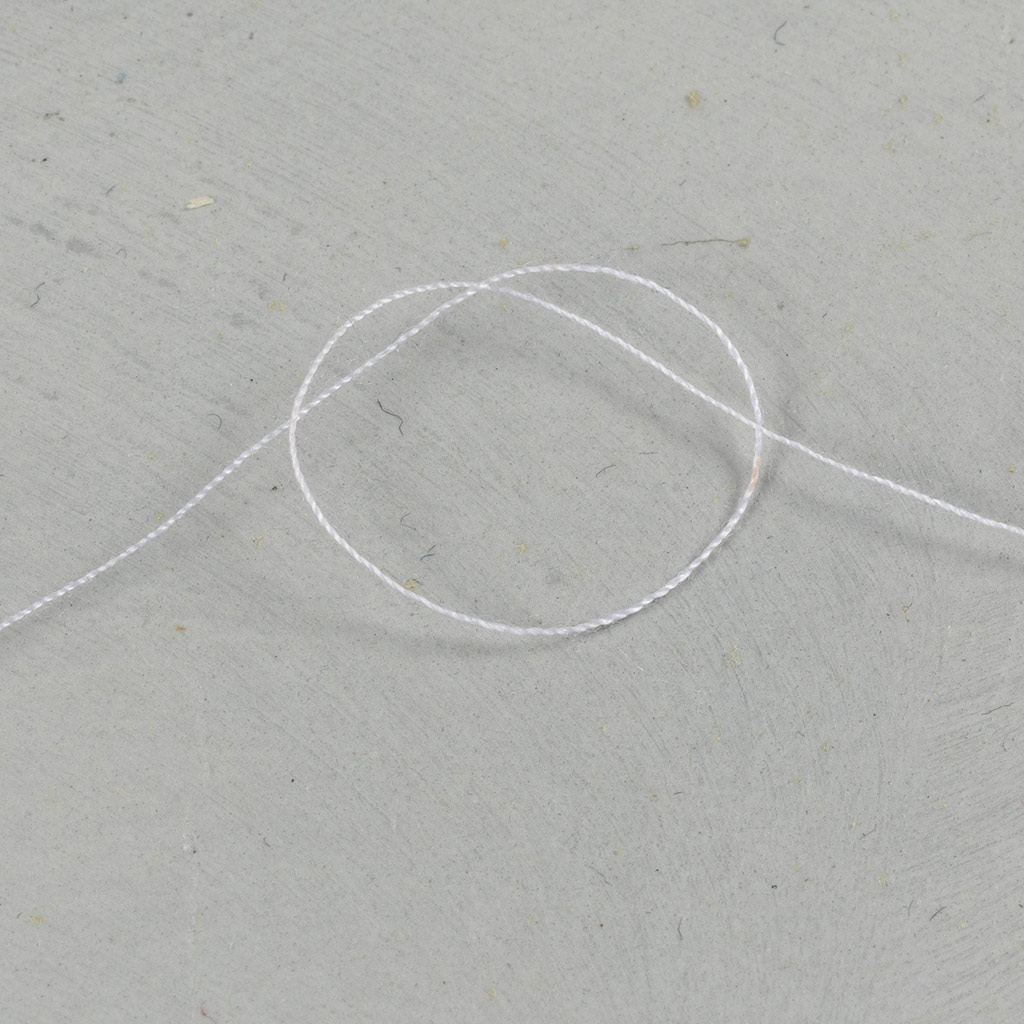 Tie a knot at the end. The knot keeps the thread in place.
Tie a knot at the end. The knot keeps the thread in place.25 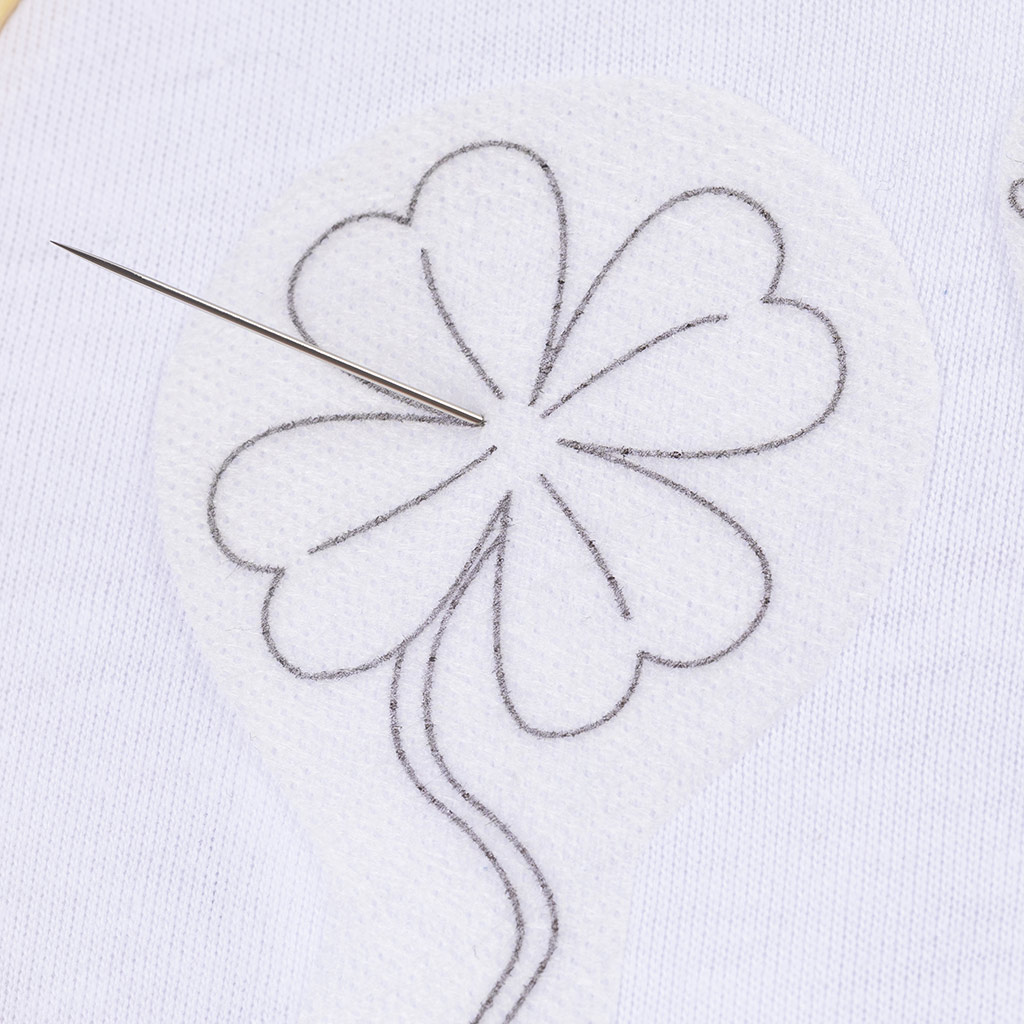 Repeat steps 1-6.
Now insert the needle from the back as shown in the picture
Repeat steps 1-6.
Now insert the needle from the back as shown in the picture
Repeat steps 1-6.
Now insert the needle from the back as shown in the picture26 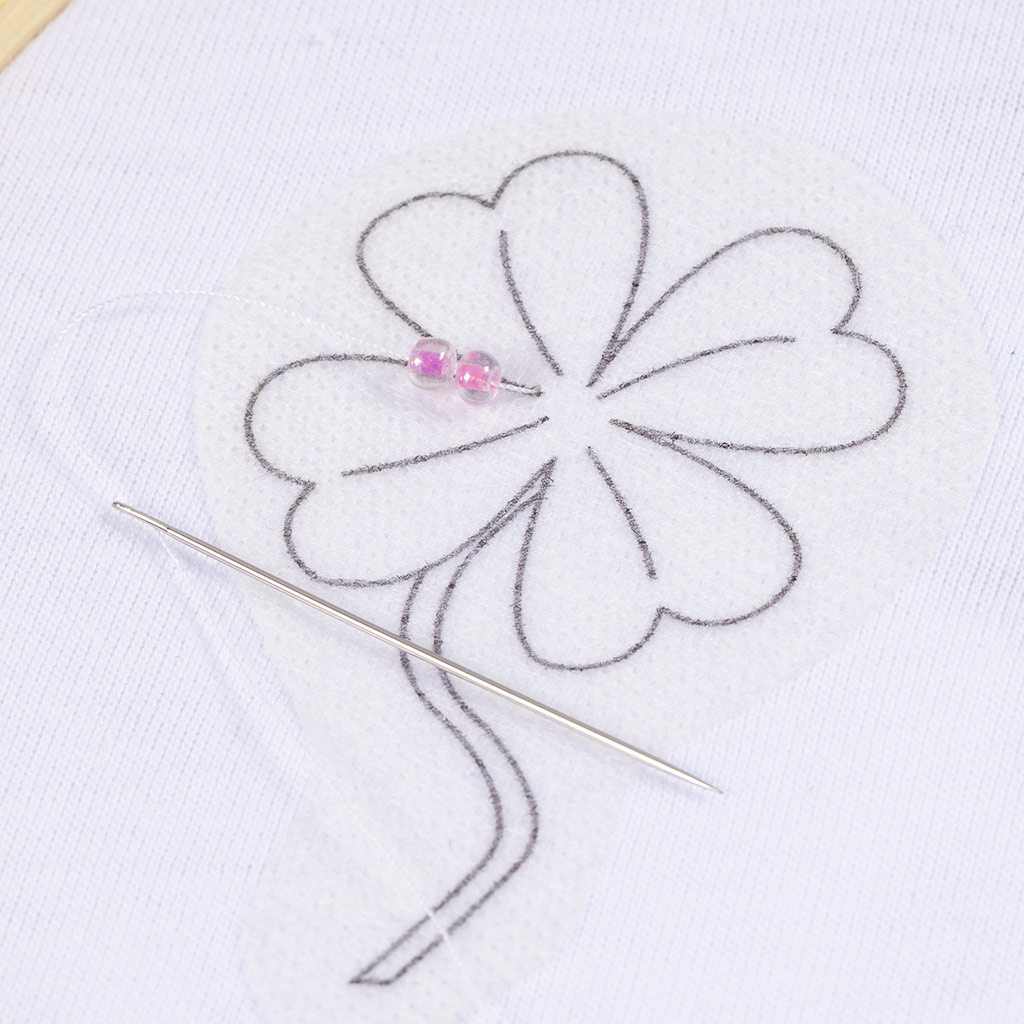 Thread two beads onto the sewing thread.
Thread two beads onto the sewing thread.27 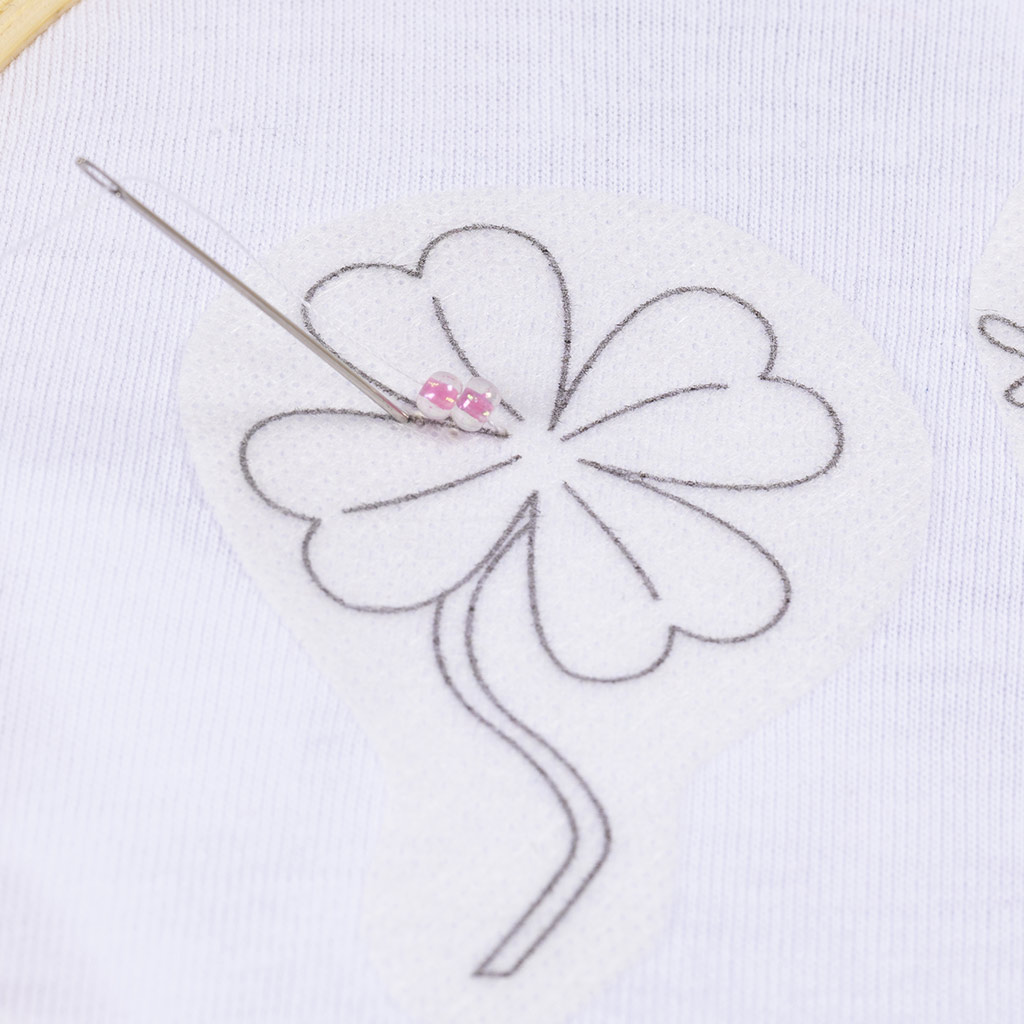 Insert the needle down where the beads end, as shown in the picture. Pull the thread all the way through.
Insert the needle down where the beads end, as shown in the picture. Pull the thread all the way through.28 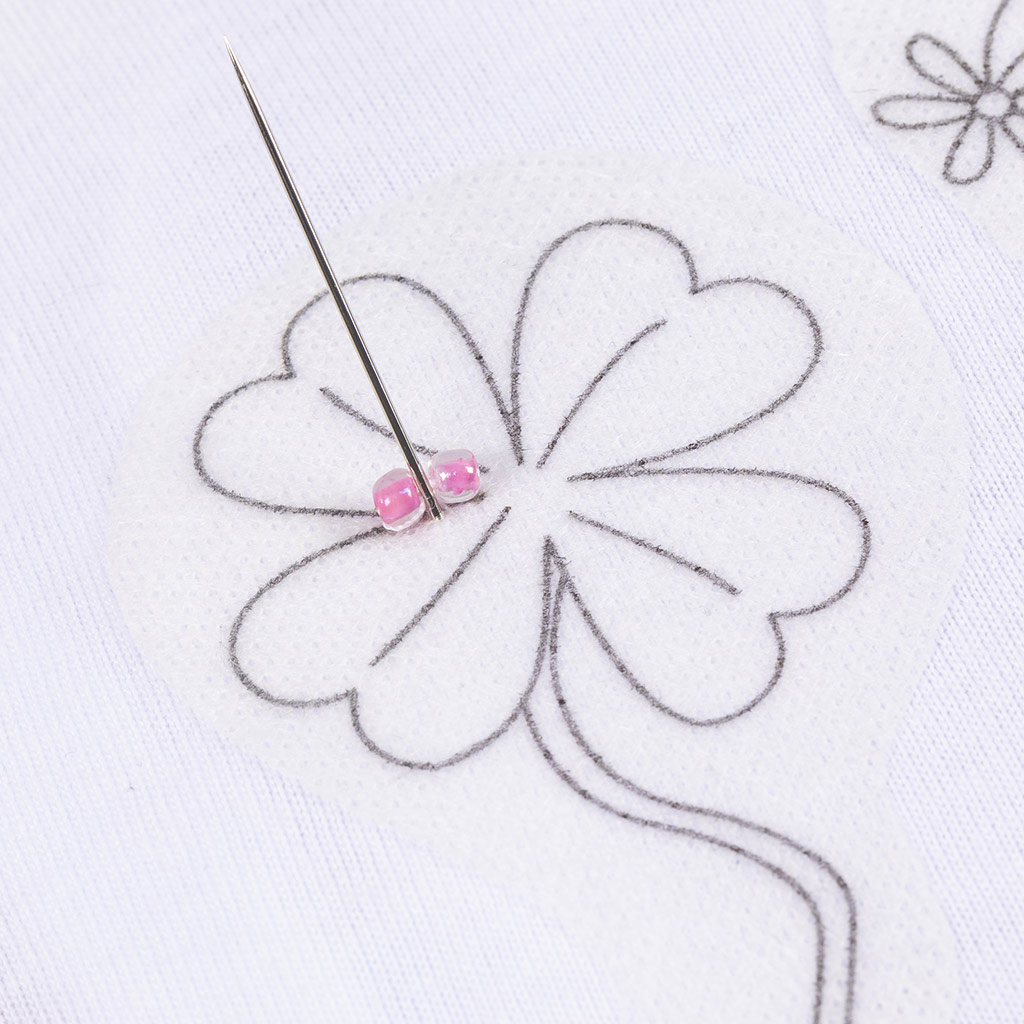 Insert the needle through the two beads as shown in the picture.
Insert the needle through the two beads as shown in the picture.29 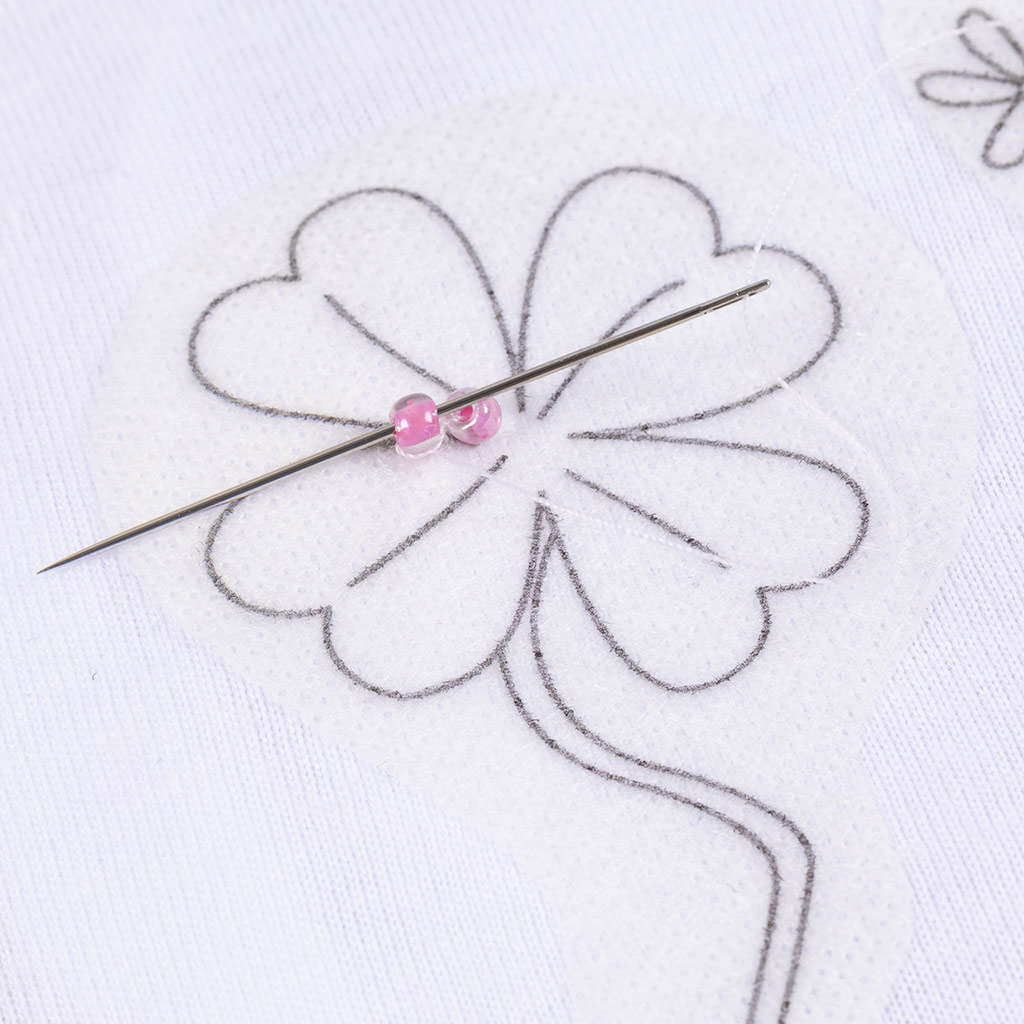 Pull the needle through the first bead.
Pull the needle through the first bead.30 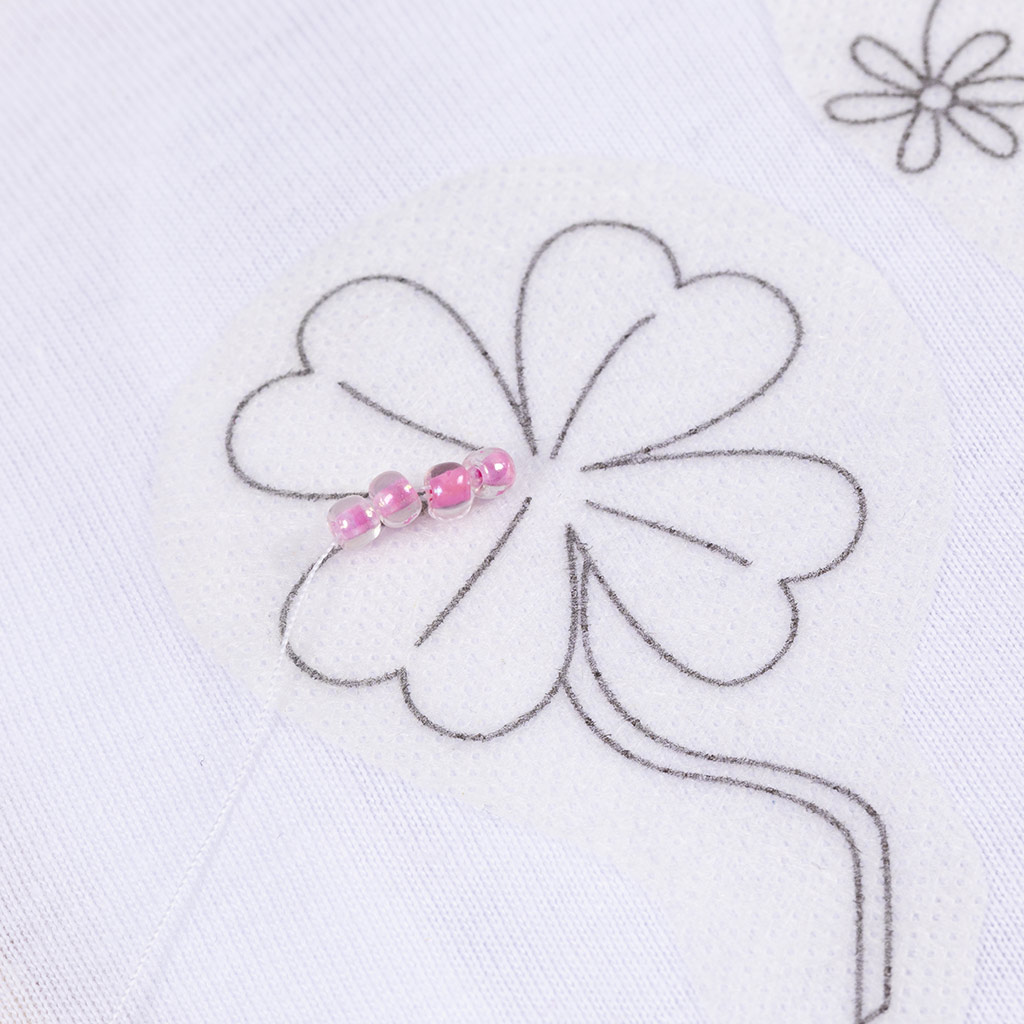 Now add two more beads and repeat the process.
Now add two more beads and repeat the process.31  Insert the needle into the fabric after the two beads.
Insert the needle into the fabric after the two beads.32 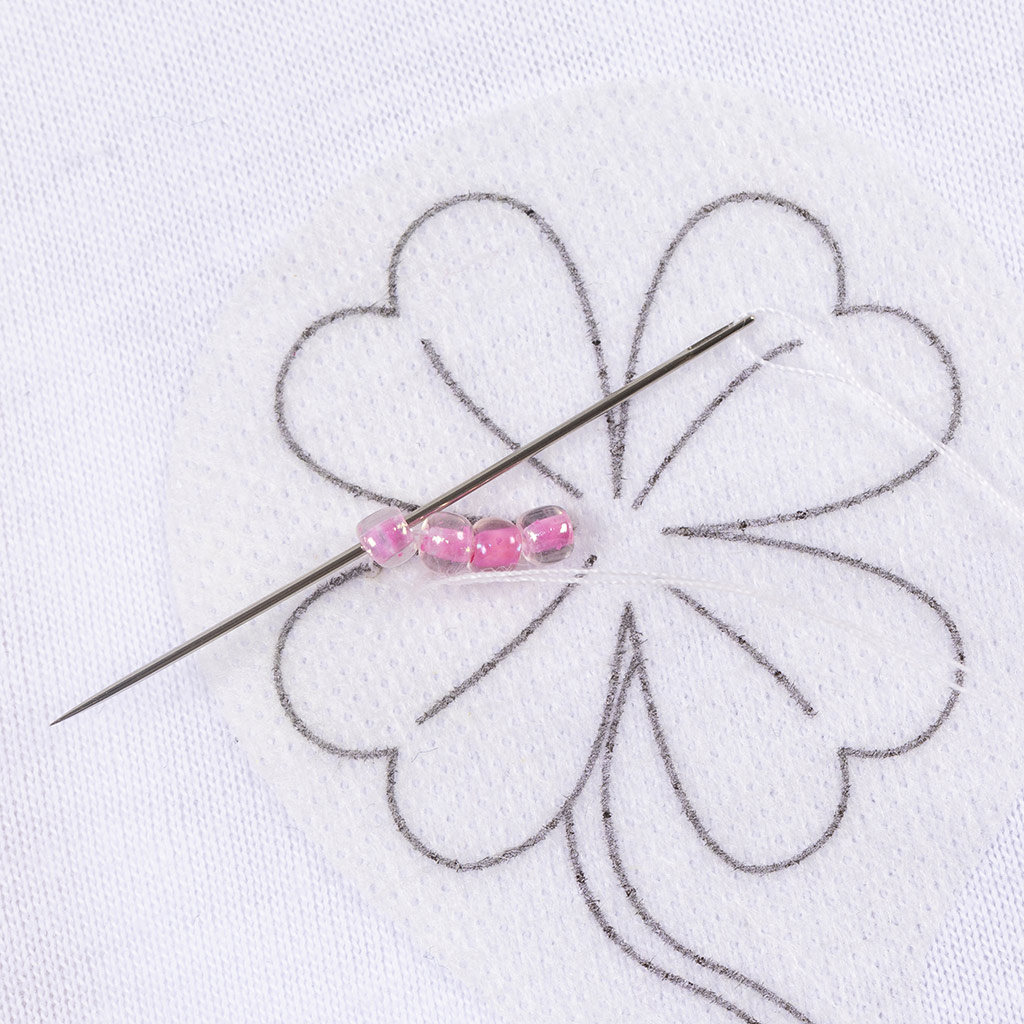 Pull the needle between the two beads and out through the front bead. Repeat this process until you have embroidered as many beads as you want.
Pull the needle between the two beads and out through the front bead. Repeat this process until you have embroidered as many beads as you want.Also go exploring in
