
New
Creative idea
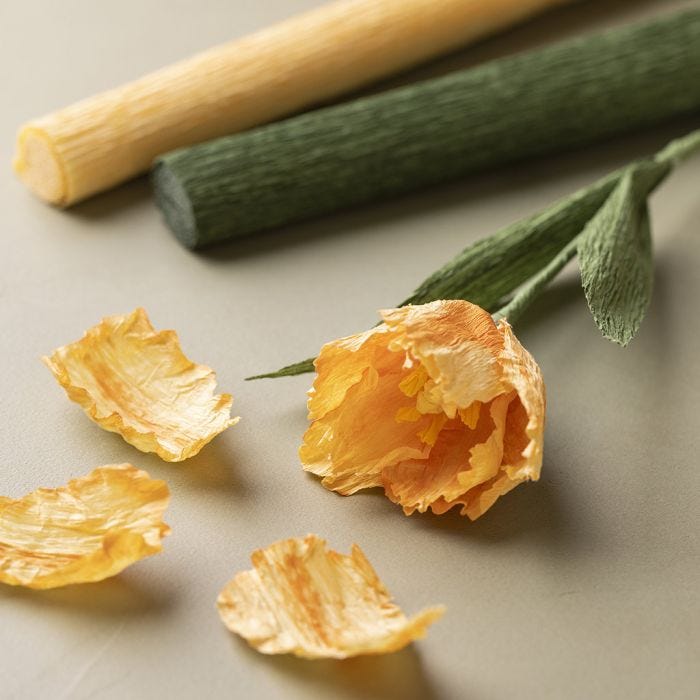
Tulip made from crepe paper
#v16698
Make your own long-lasting tulip. Following the template, cut pieces for the tulip out of crepe paper and colour them in with a watercolour marker. Dampen the colour with a little water on a brush so that the ink runs out slightly. Assemble the leaves around the stem with glue – you can use a glue gun or Multi Glue. With Multi Glue the drying time is ½–1 hour per step.
#v16698
How to do it
1 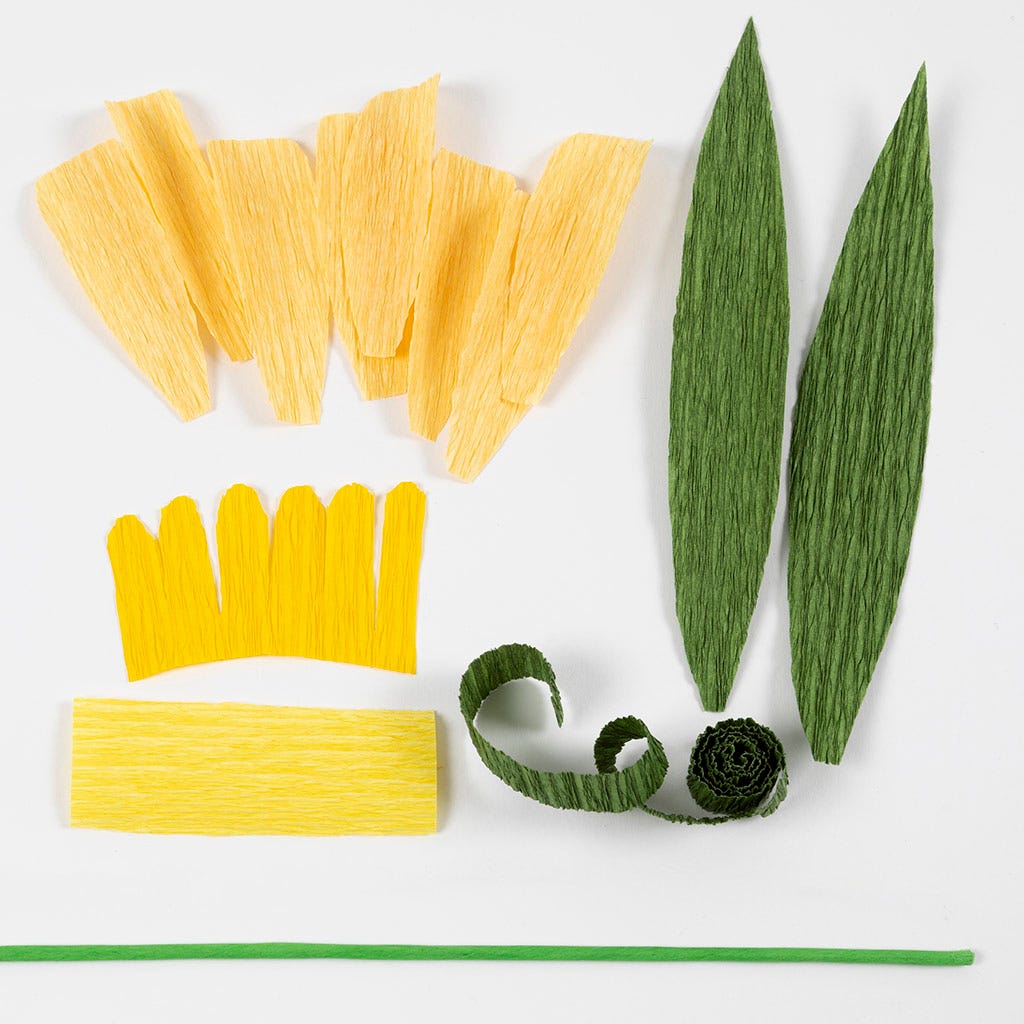 Print out the corresponding template and cut out the parts.
Print out the corresponding template and cut out the parts.2 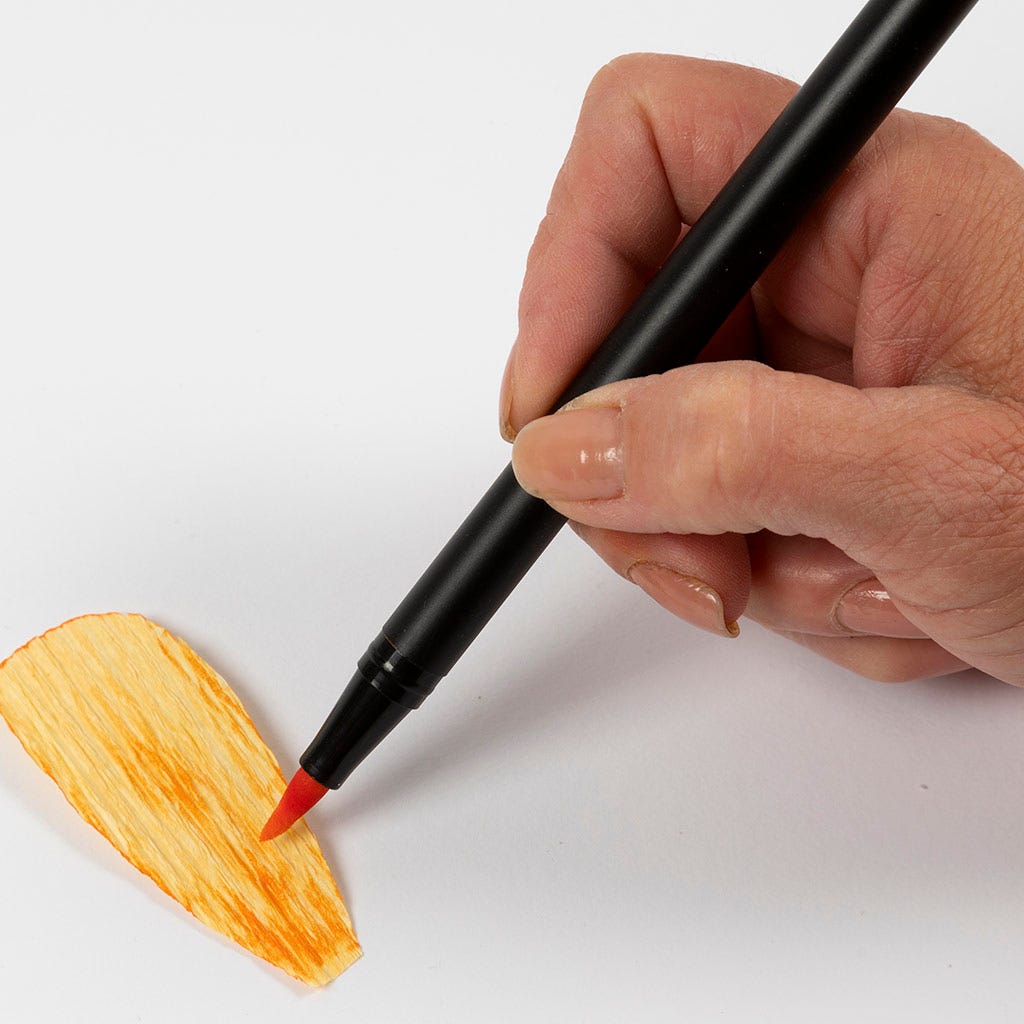 Lightly colour in the leaves with a watercolour marker – both on the edges and in the middle.
Lightly colour in the leaves with a watercolour marker – both on the edges and in the middle.3  Moisten the leaves with a little water to blend the colour. Then allow to dry completely.
Moisten the leaves with a little water to blend the colour. Then allow to dry completely.4 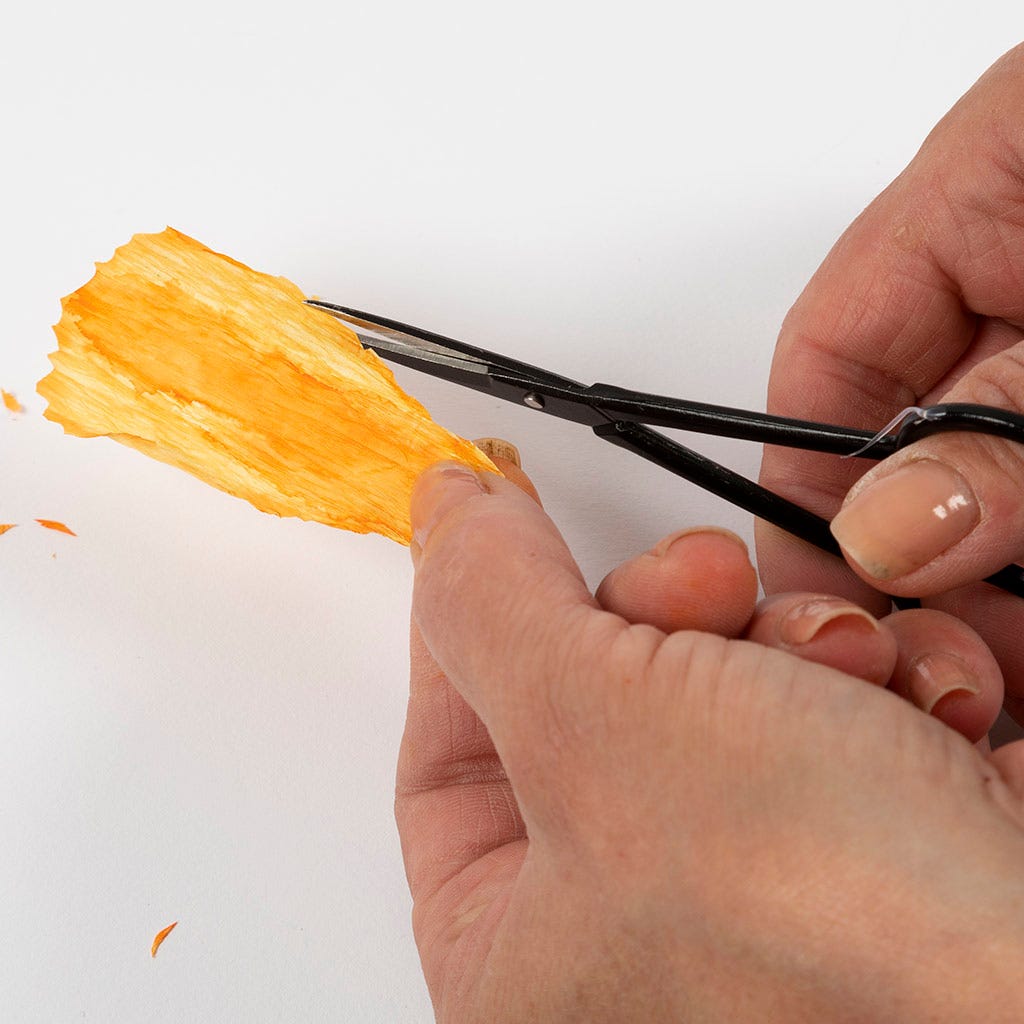 Cut out small serrations on the leaf.
Cut out small serrations on the leaf.5 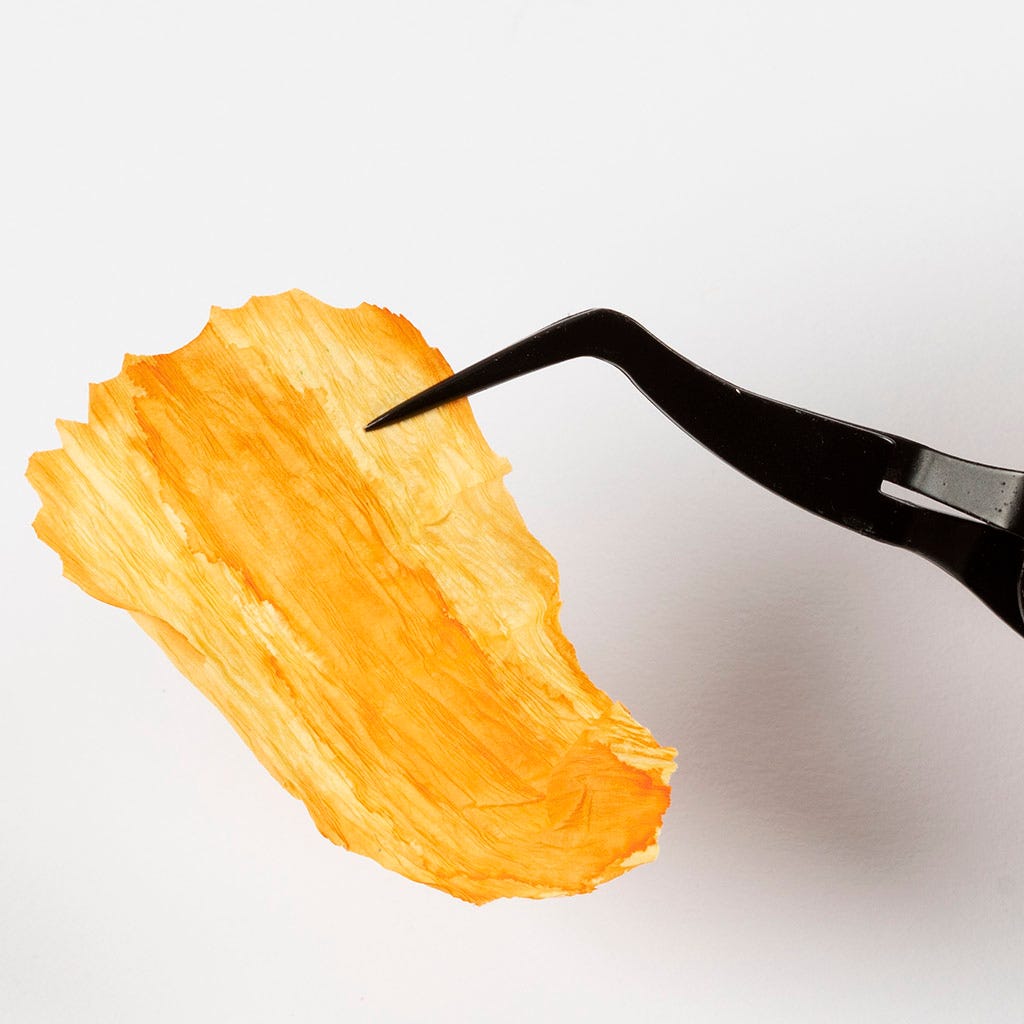 Curl the leaves with a pair of tweezers. Position the tweezers approximately ½ cm inside the leaf.
Curl the leaves with a pair of tweezers. Position the tweezers approximately ½ cm inside the leaf.6 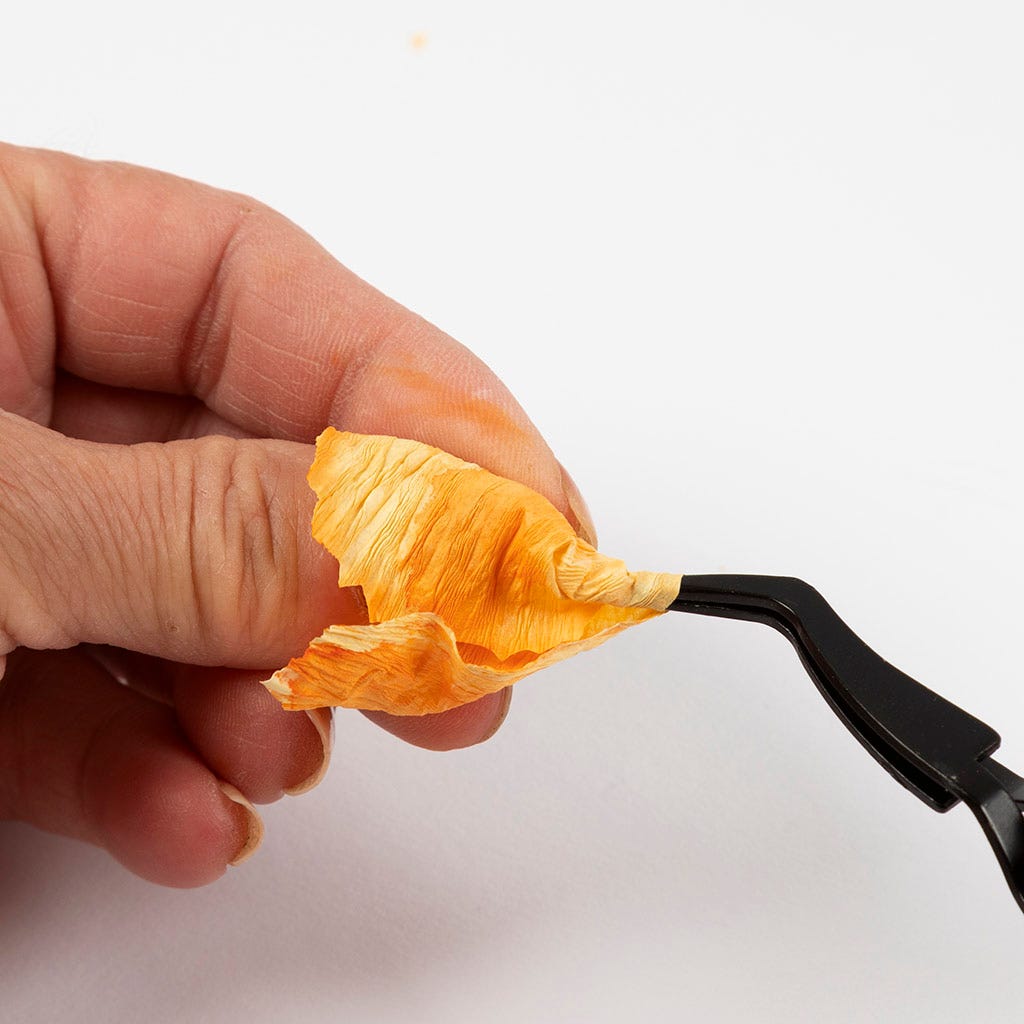 Keeping the tweezers firmly in place around the leaf, turn it around. Then loosen the tweezers and carefully pull the leaf out. Repeat this process all around the leaf. Turn in the same direction all around the leaf.
Keeping the tweezers firmly in place around the leaf, turn it around. Then loosen the tweezers and carefully pull the leaf out. Repeat this process all around the leaf. Turn in the same direction all around the leaf.7 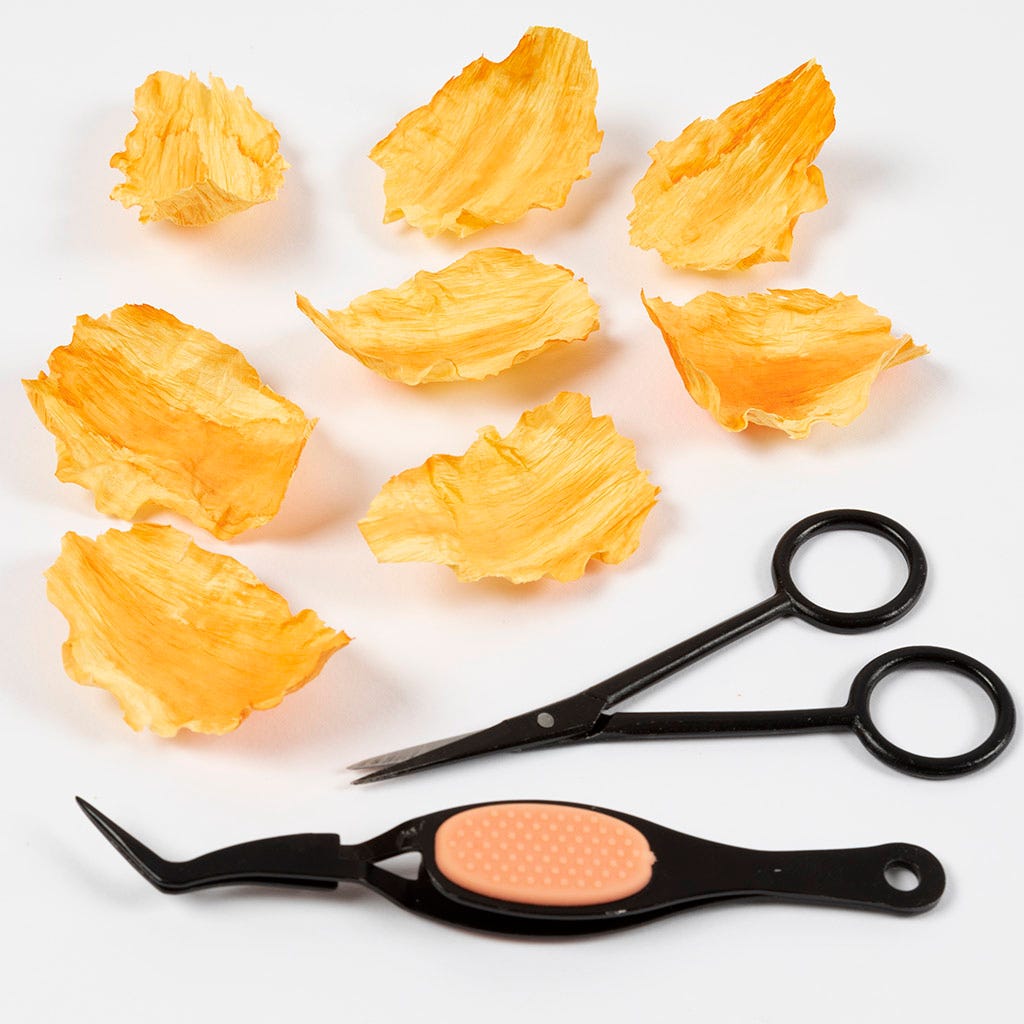 Shape the leaves by gently pulling in the direction of the crepe paper's stretch. If you like, try practising on some small pieces of crepe paper first and see how they turn out.
Shape the leaves by gently pulling in the direction of the crepe paper's stretch. If you like, try practising on some small pieces of crepe paper first and see how they turn out.8  Turn the inner piece (the seed pod) around so that it forms a pod shape.
Turn the inner piece (the seed pod) around so that it forms a pod shape.9 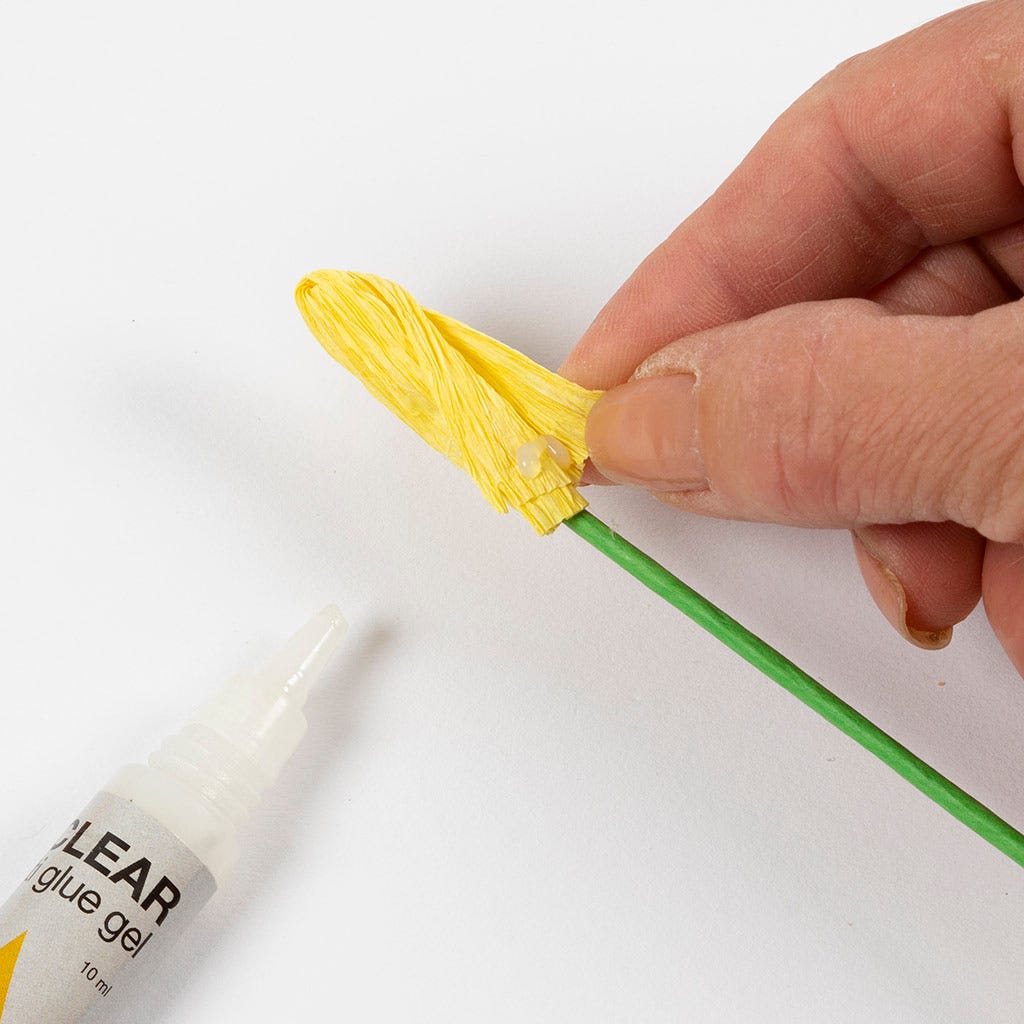 Glue the seed pod around the stem.
Glue the seed pod around the stem.10  Twist them around the piece so they look like stamens.
Twist them around the piece so they look like stamens.11 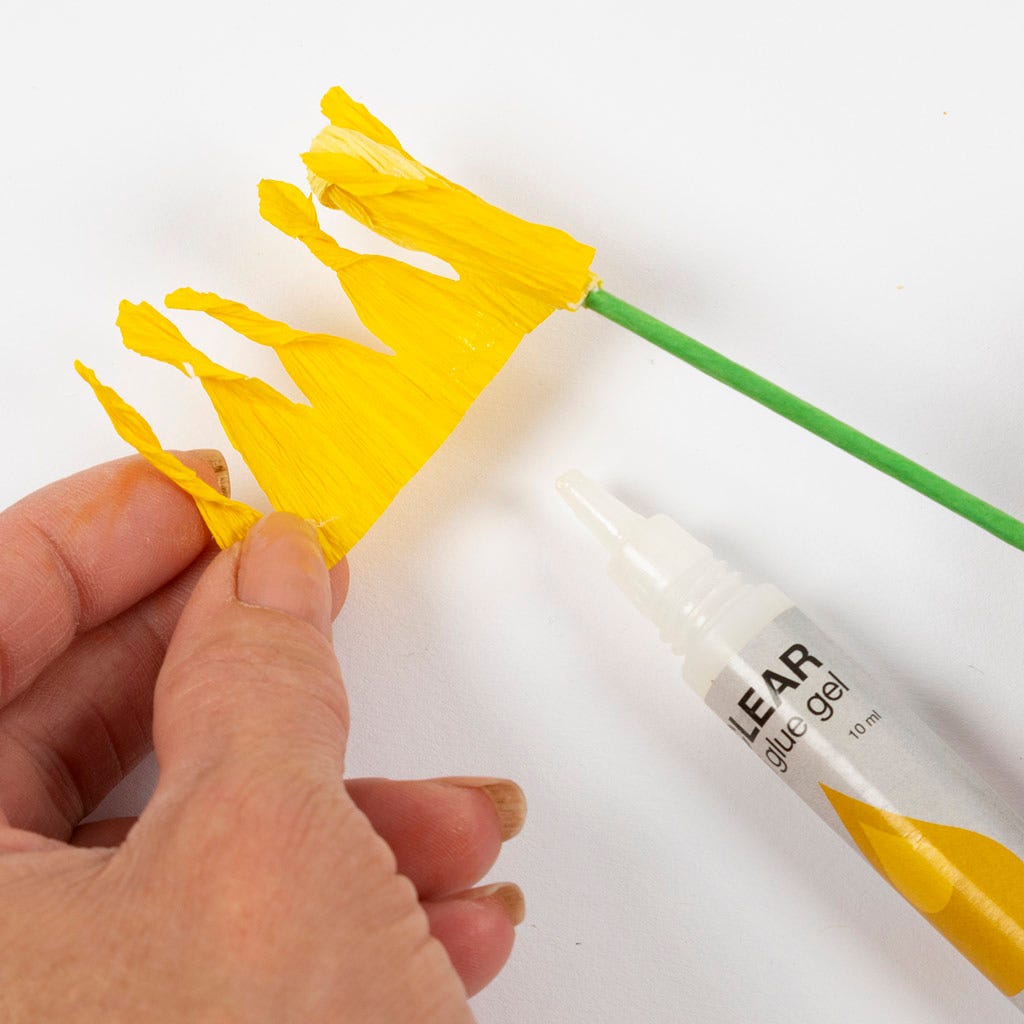 Glue the stamens around the seed pod.
Glue the stamens around the seed pod.12 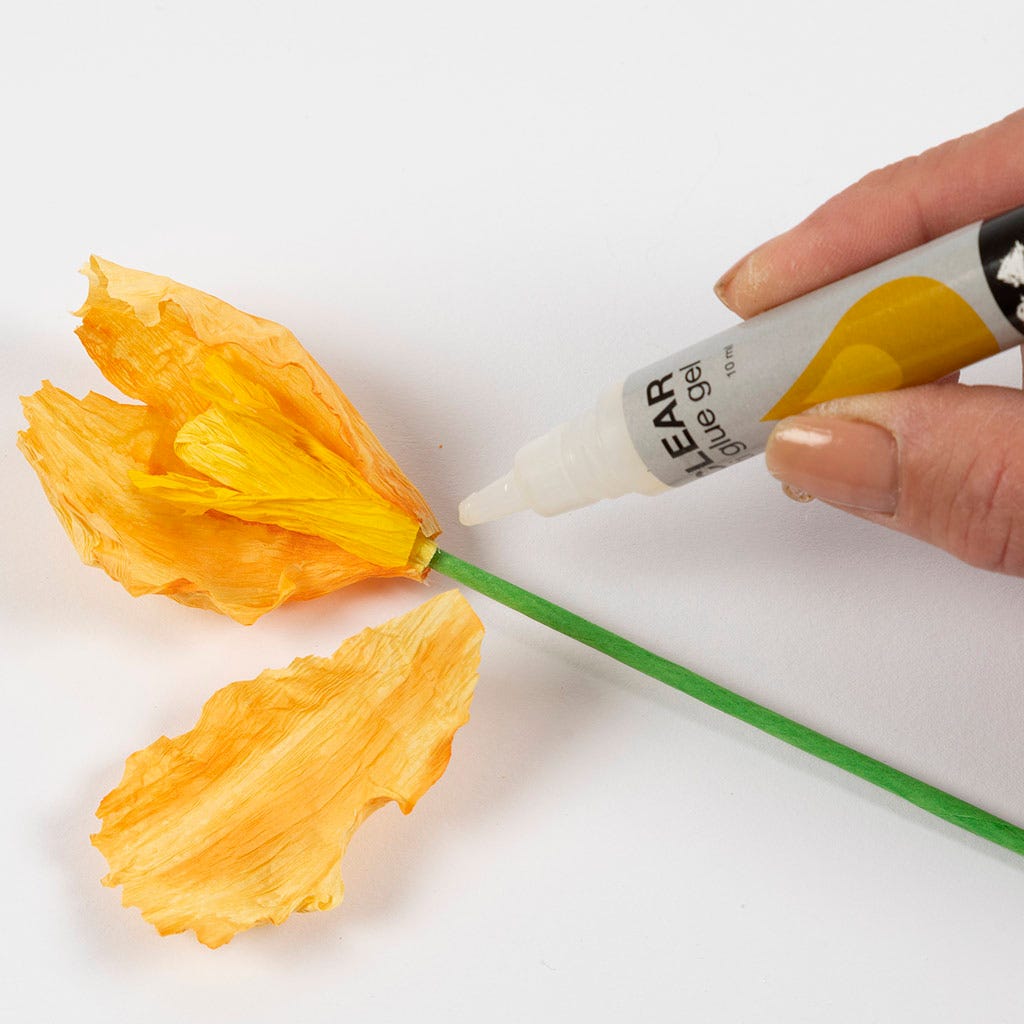 Glue on three leaves so that they overlap each other.
Glue on three leaves so that they overlap each other.13 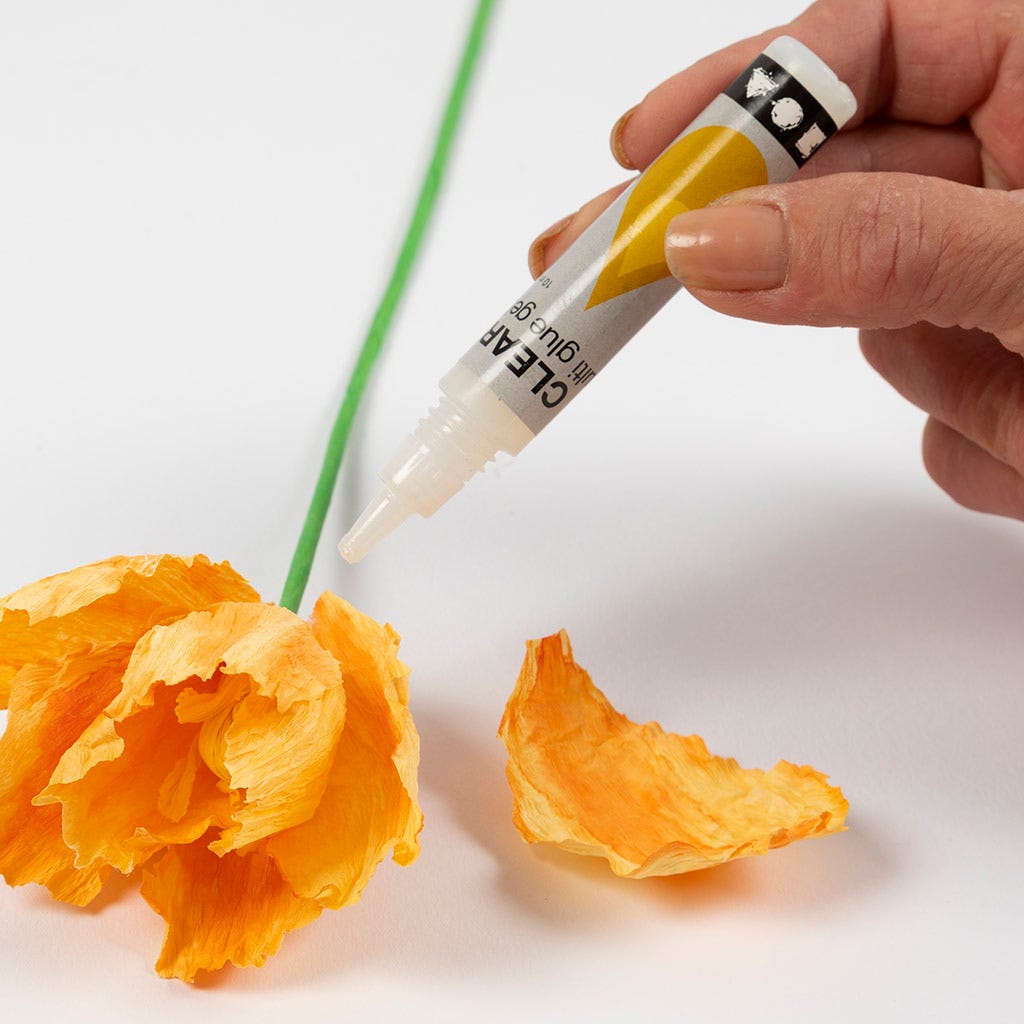 Glue on the last five leaves and let them overlap each other.
Glue on the last five leaves and let them overlap each other.14 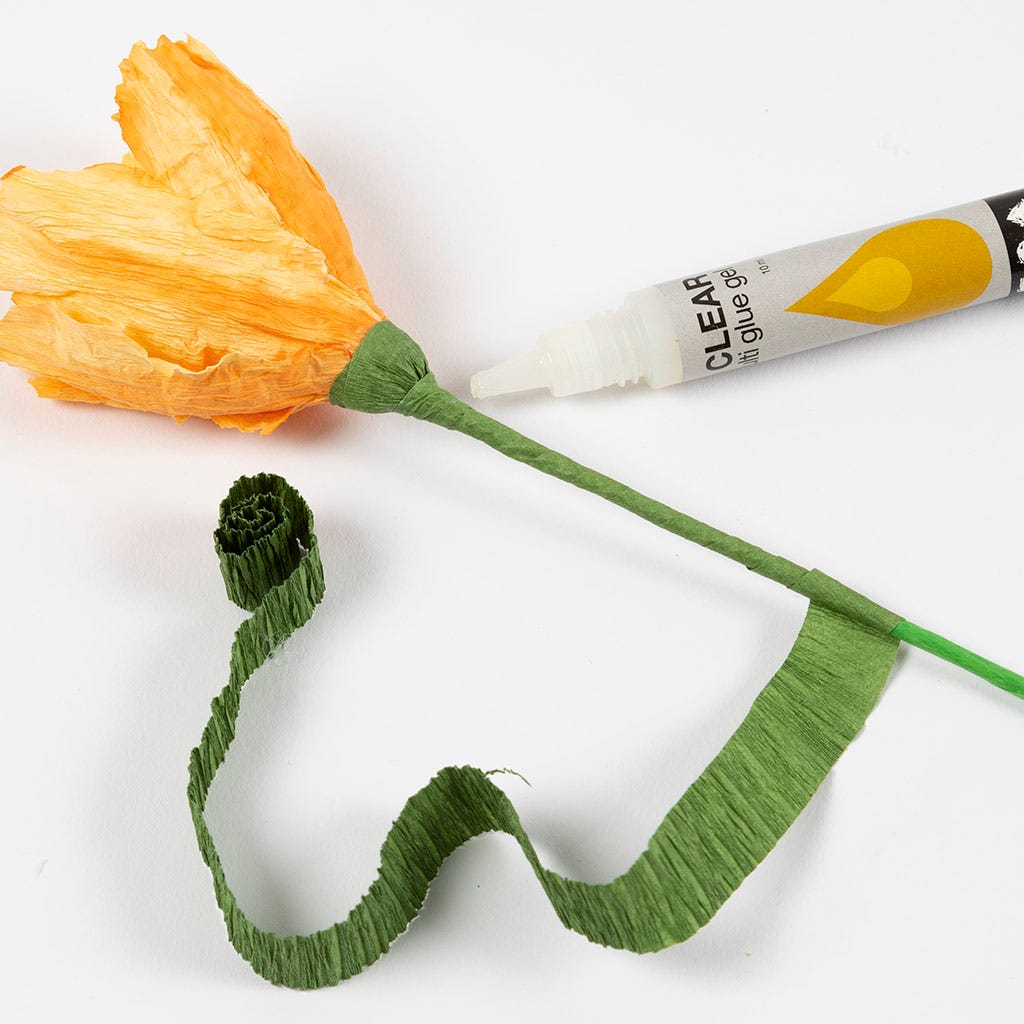 Use the 1 x 30 cm piece to wrap around the flower stem. Glue the end around the flower head and then wrap the piece downwards around the stem. Apply a little glue as you go.
Use the 1 x 30 cm piece to wrap around the flower stem. Glue the end around the flower head and then wrap the piece downwards around the stem. Apply a little glue as you go.15 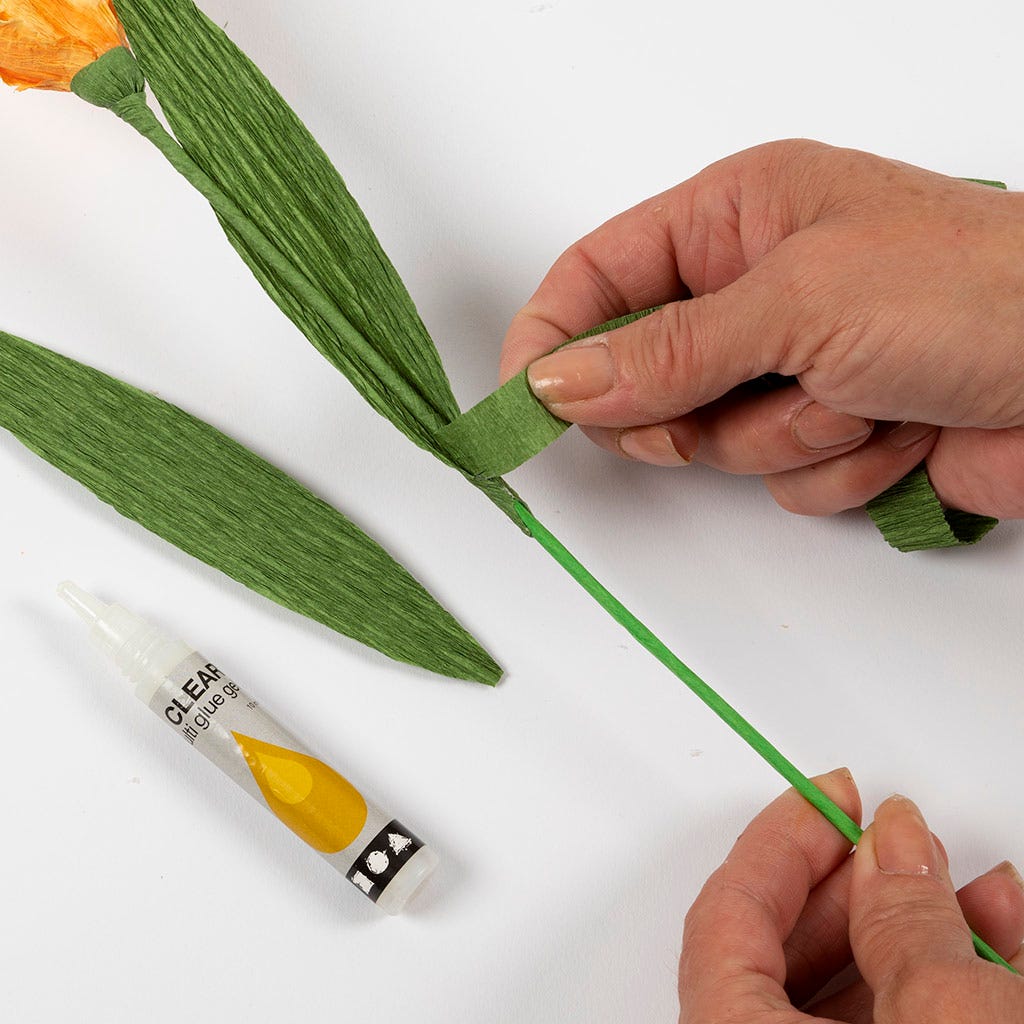 Glue the two leaves onto the piece you have just twisted around the stem, one on each side, placing them approx. 10 cm down the stem.
Glue the two leaves onto the piece you have just twisted around the stem, one on each side, placing them approx. 10 cm down the stem.16 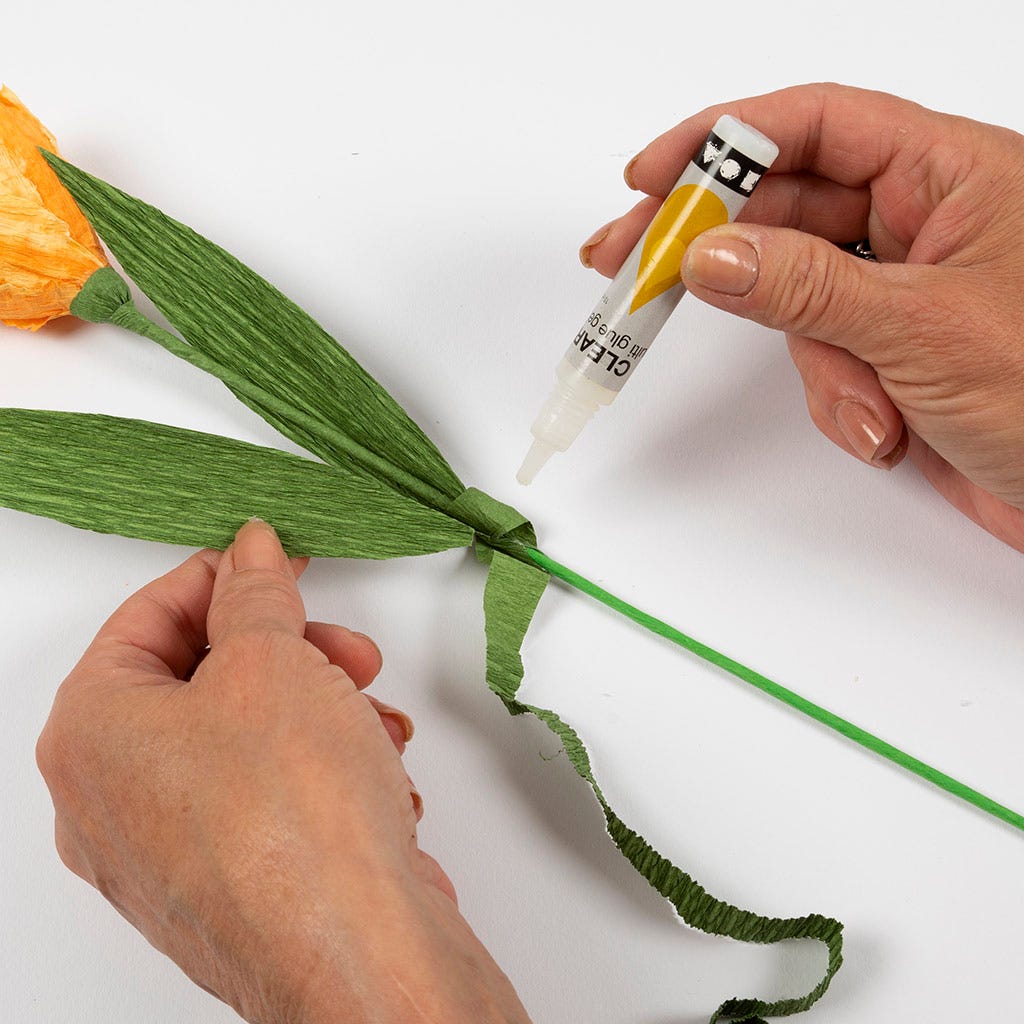 Continue twisting the whole stem until the end, gluing as you go.
Continue twisting the whole stem until the end, gluing as you go.Template  Print the template here.
Print the template here.
Also go exploring in
