
New
Creative idea
Cat sewn out of faux fur
#v17124
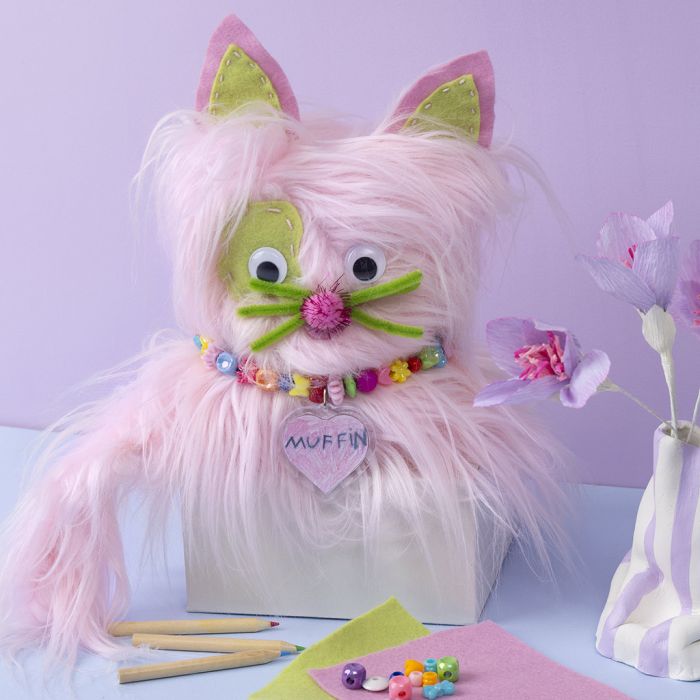
Make this soft and fluffy stuffed cat that only needs to be fed with hugs. It's sewn out of faux fur and decorated with pipe cleaners, pom-poms, googly eyes and other details in felt. Finally, the cat gets a pretty beaded necklace with a name tag.
#v17124
How to do it Download the templates/recipes
1 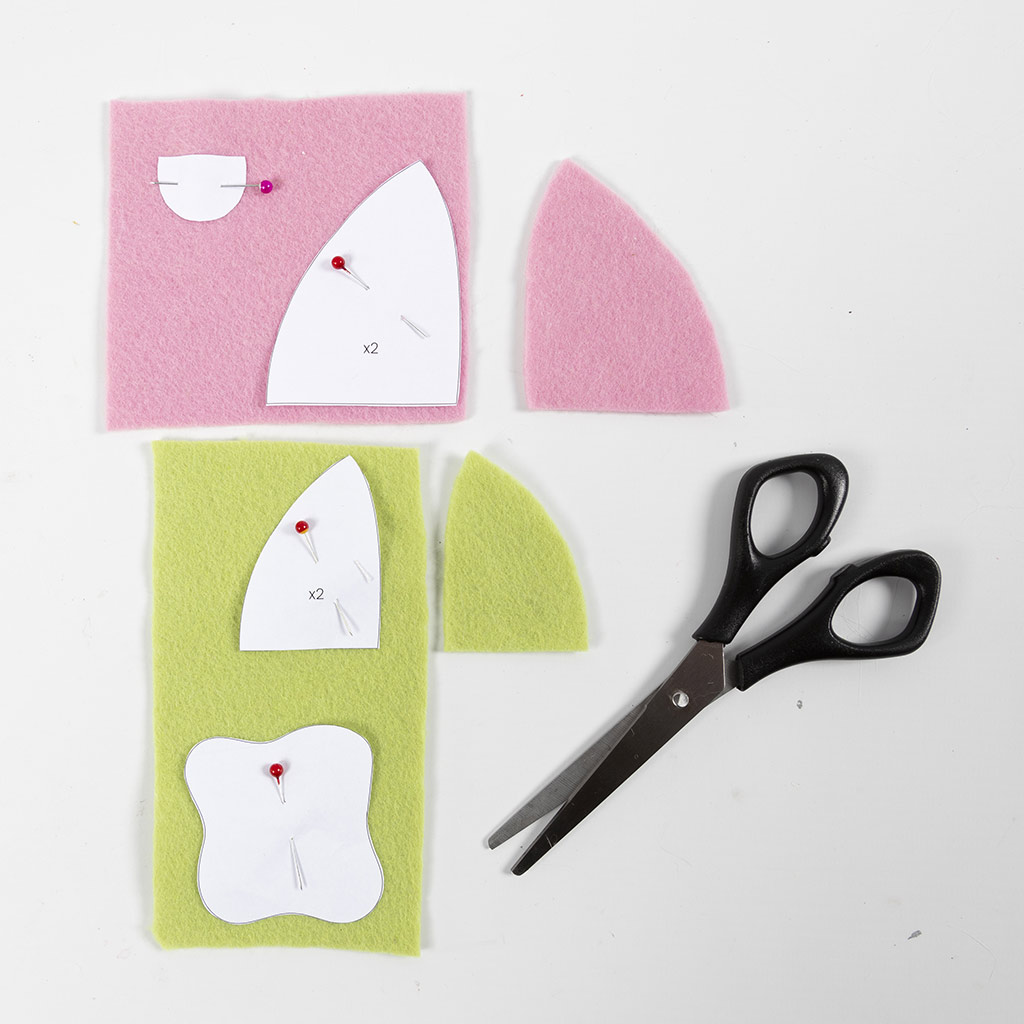 Cut out the pieces from the design sheet –tongue, ears and eye patch. Attach them to the felt with pins and cut out.
Cut out the pieces from the design sheet –tongue, ears and eye patch. Attach them to the felt with pins and cut out.2 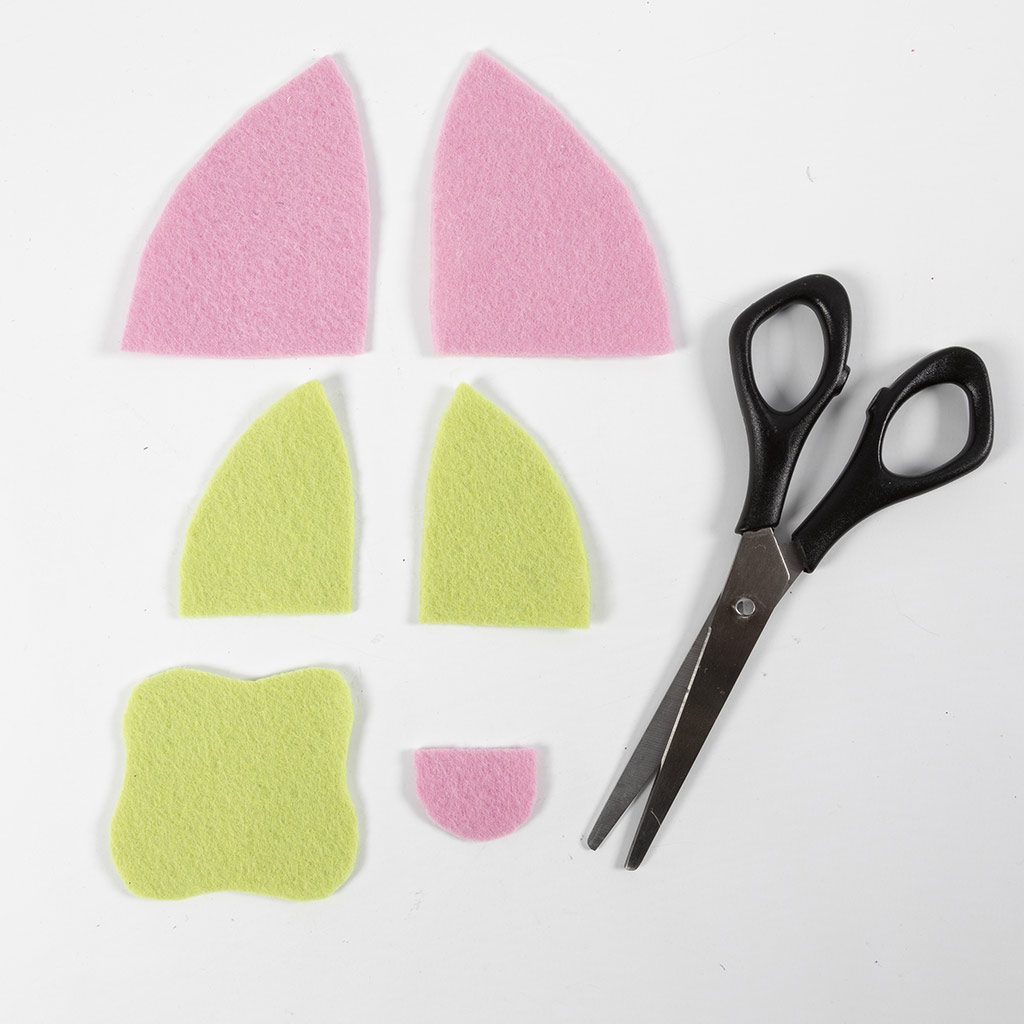 Here you can see the cut-out eye patch, tongue and ears. Keep in mind that the ears should be flipped.
Here you can see the cut-out eye patch, tongue and ears. Keep in mind that the ears should be flipped.3 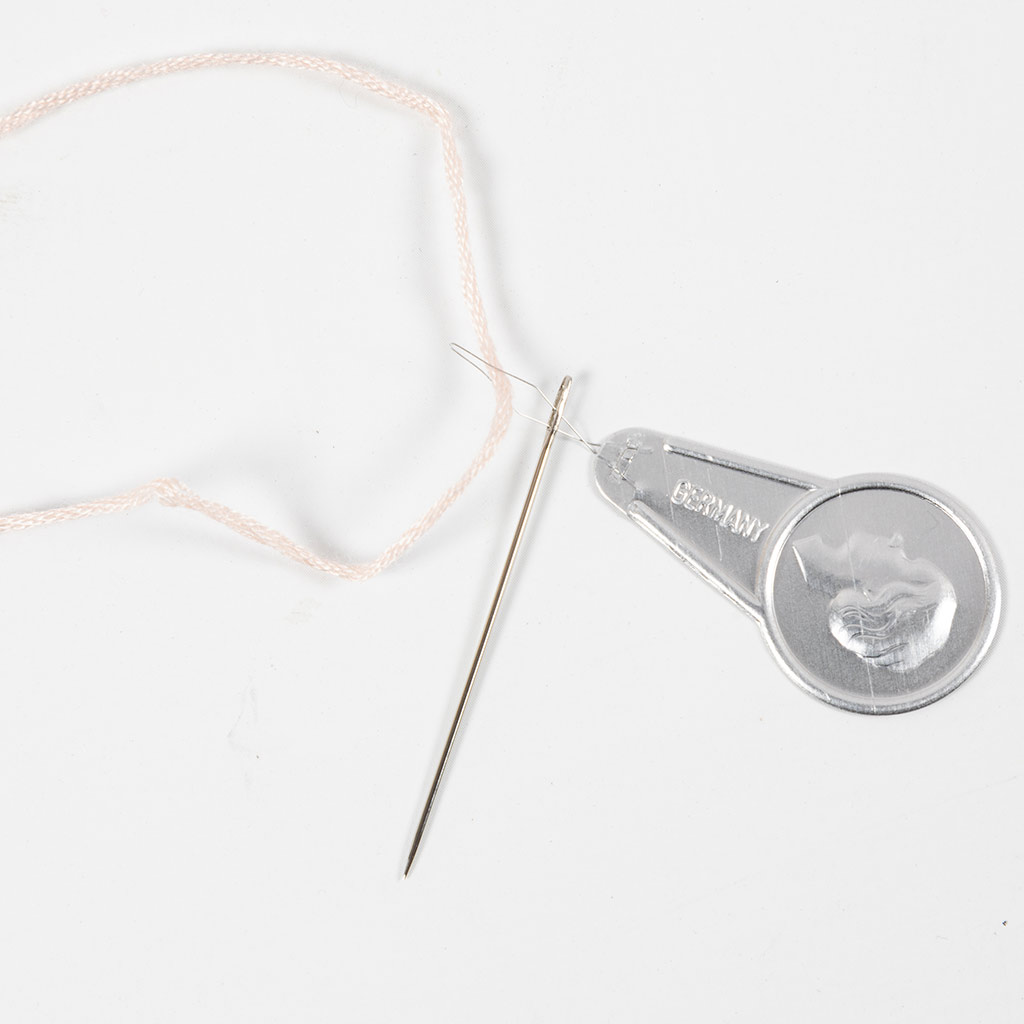 Pull the thread through the eye of the needle using the needle threader.
Pull the thread through the eye of the needle using the needle threader. 4 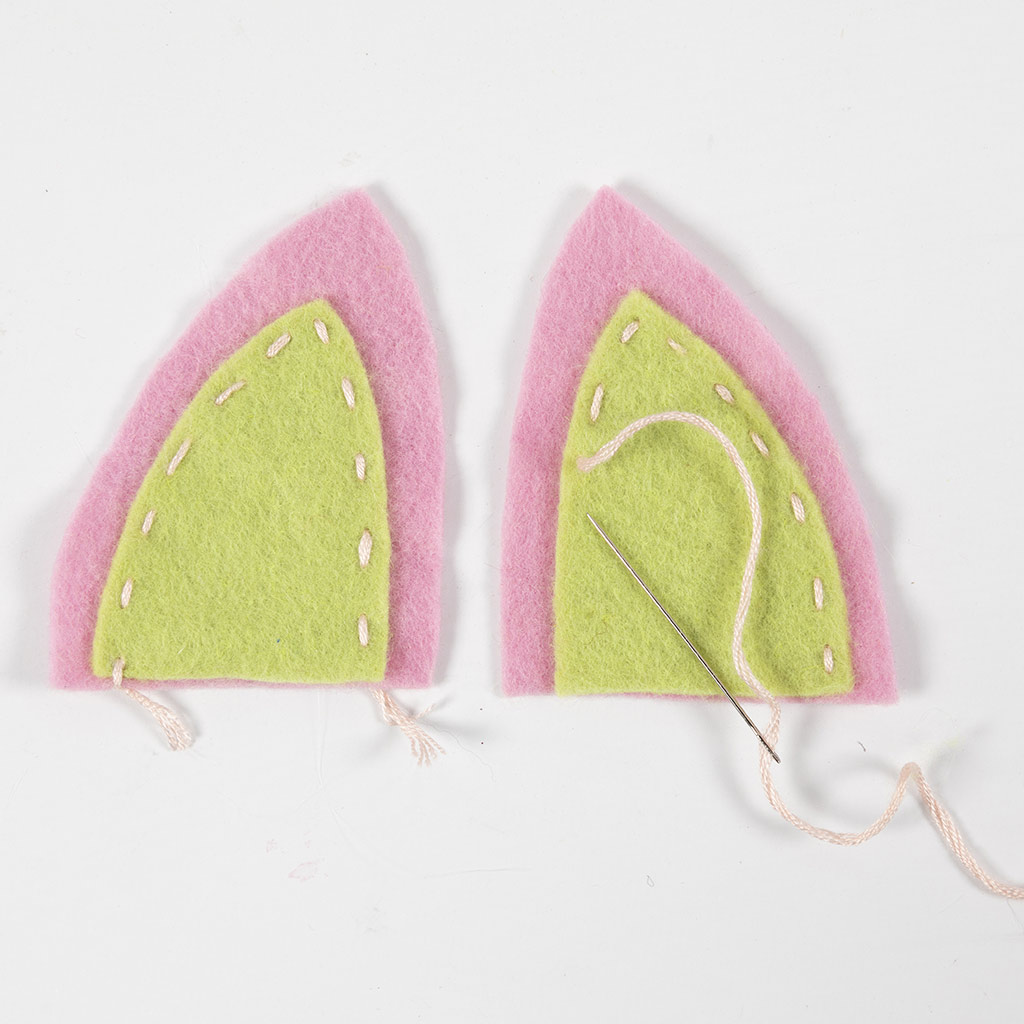 Turn the parts for the ears facing each other and sew them together.
Turn the parts for the ears facing each other and sew them together.5 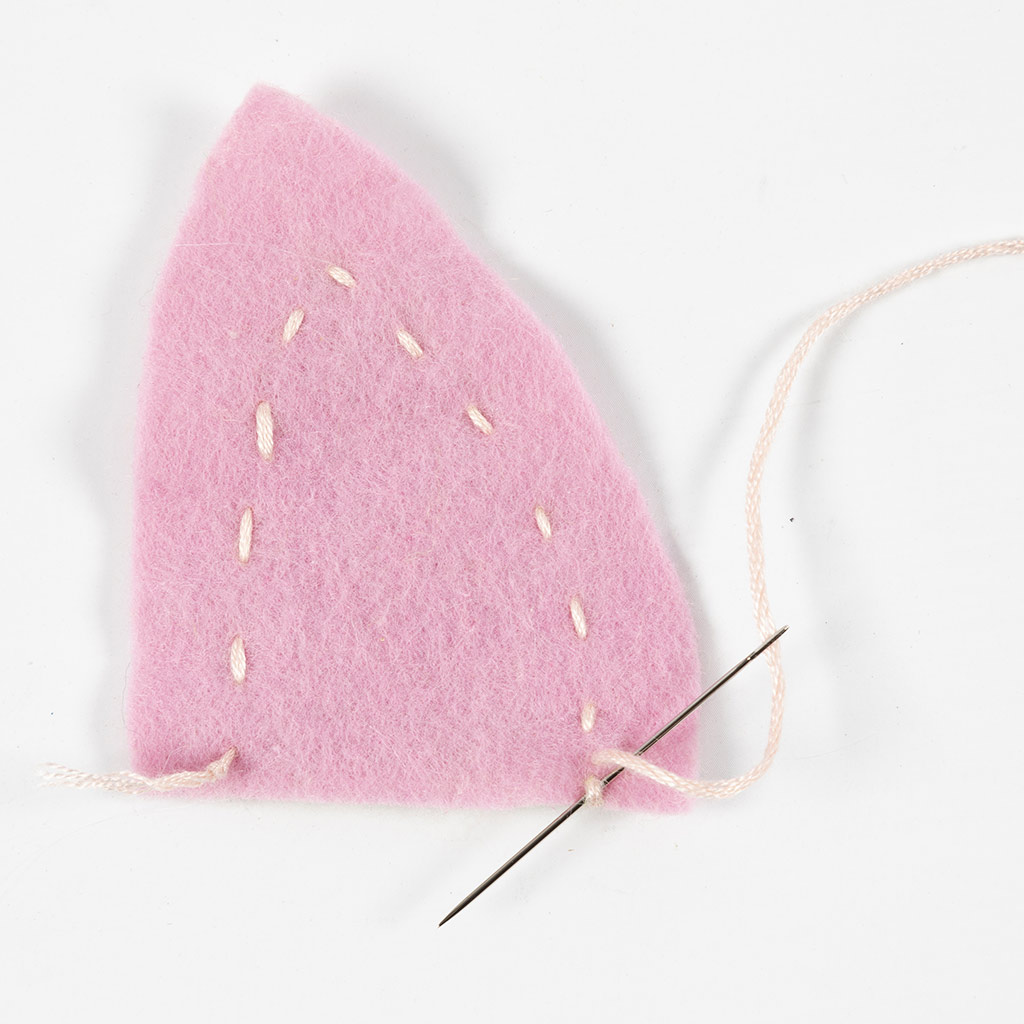 Fasten the thread on the back and sew a few extra stitches in the last stitch.
Fasten the thread on the back and sew a few extra stitches in the last stitch.6 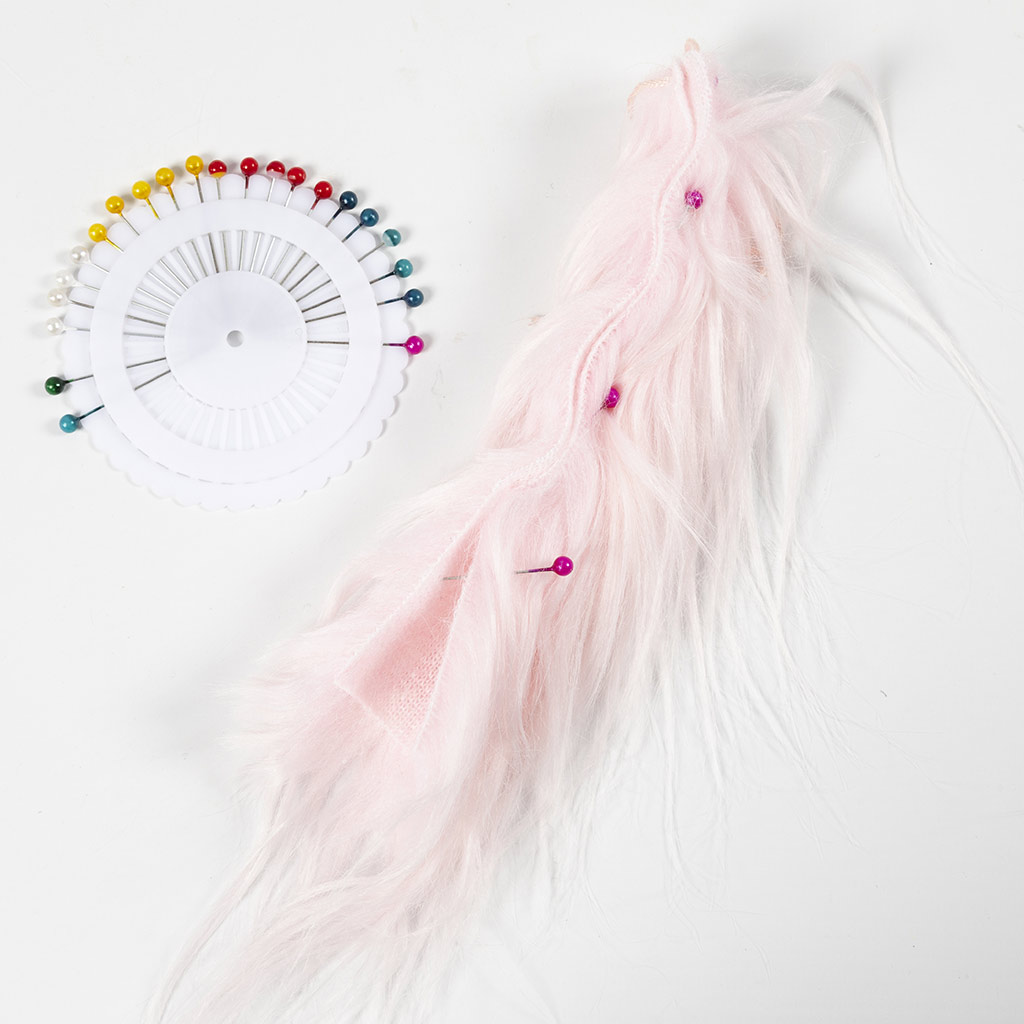 Fold the tail piece in half and pin the edges together.
Fold the tail piece in half and pin the edges together.7 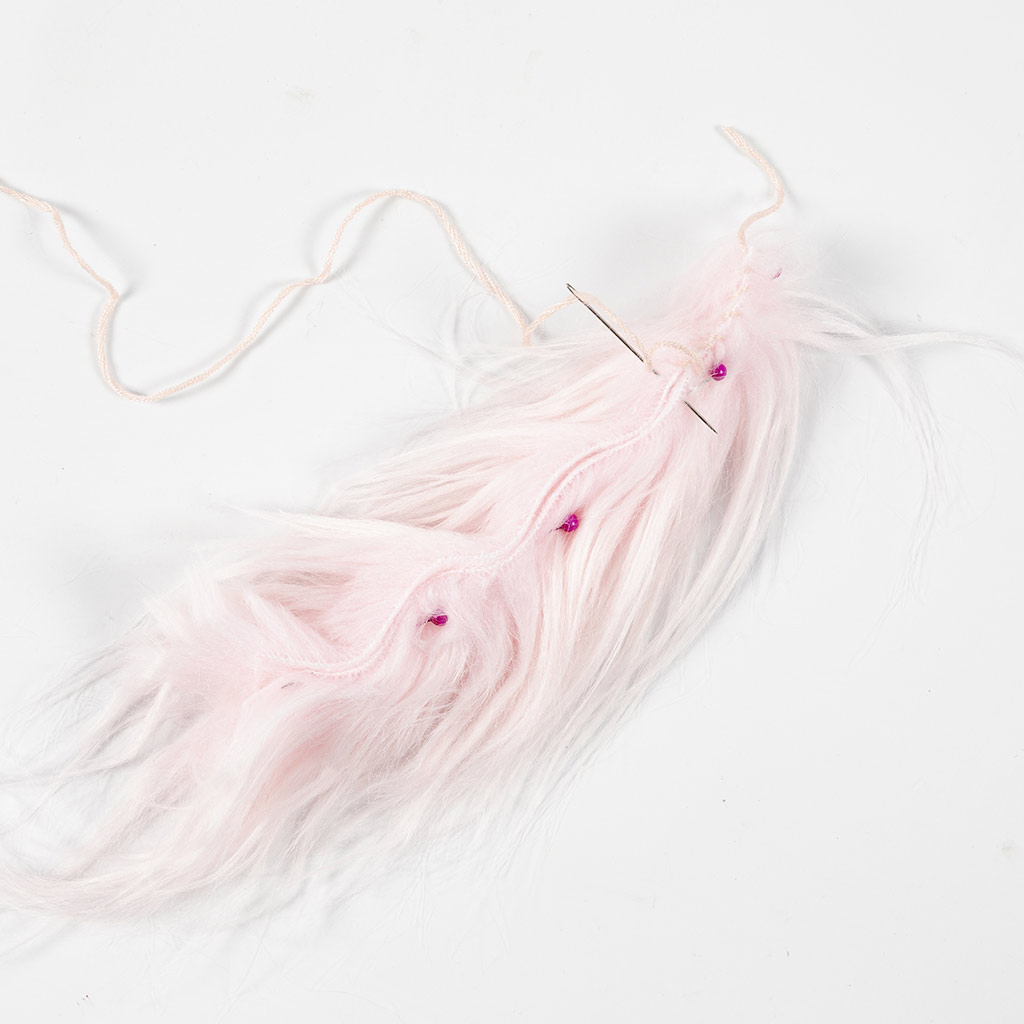 Sew the tail together.
Sew the tail together.8 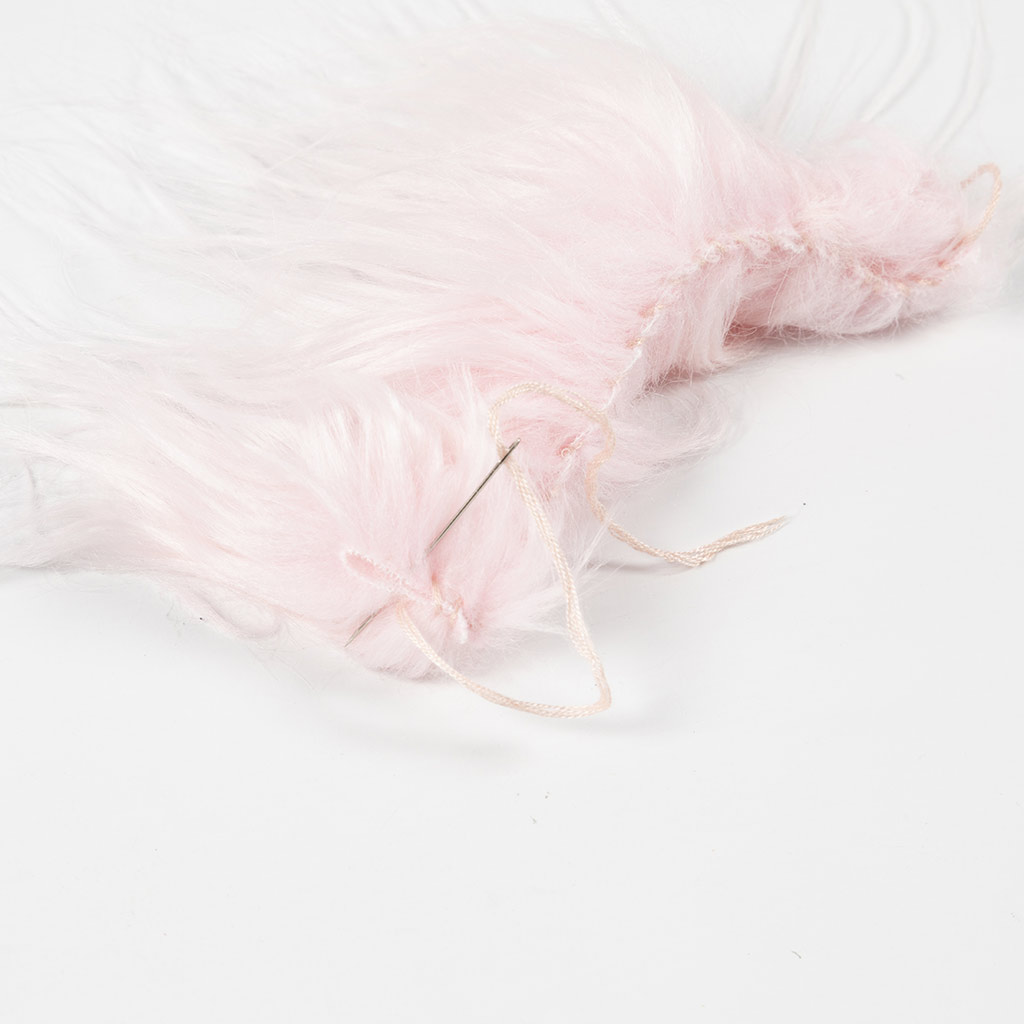 Sew the ends together.
Sew the ends together.9 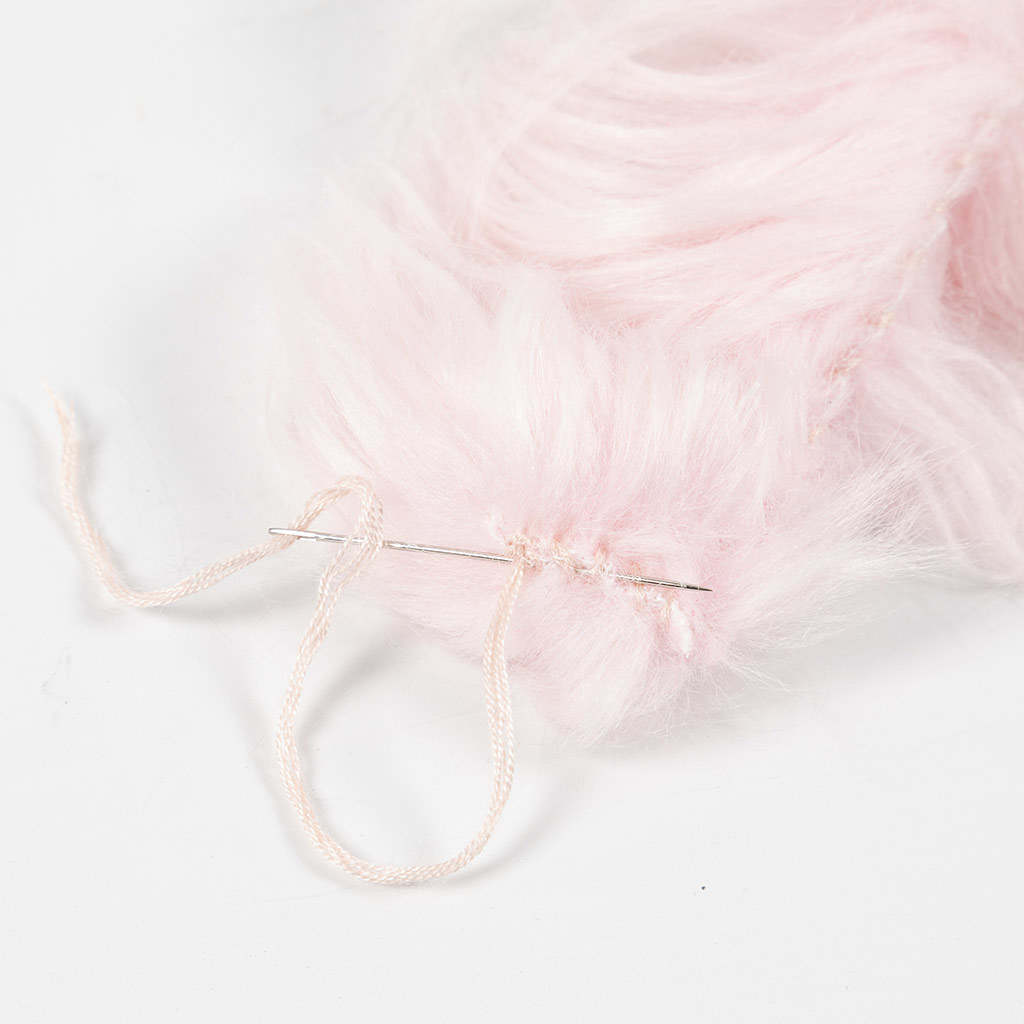 Fasten the thread and pull it through the stitching.
Fasten the thread and pull it through the stitching.10 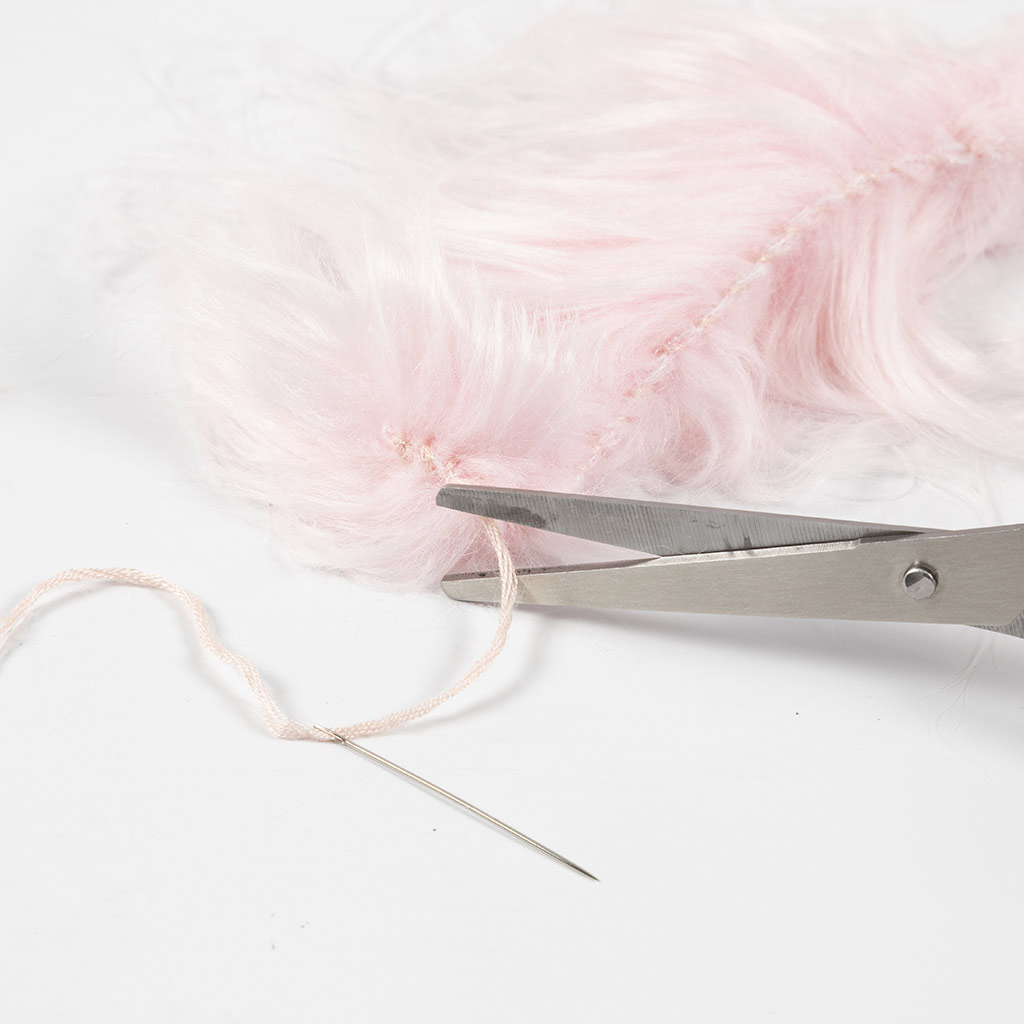 Cut the thread.
Cut the thread.11 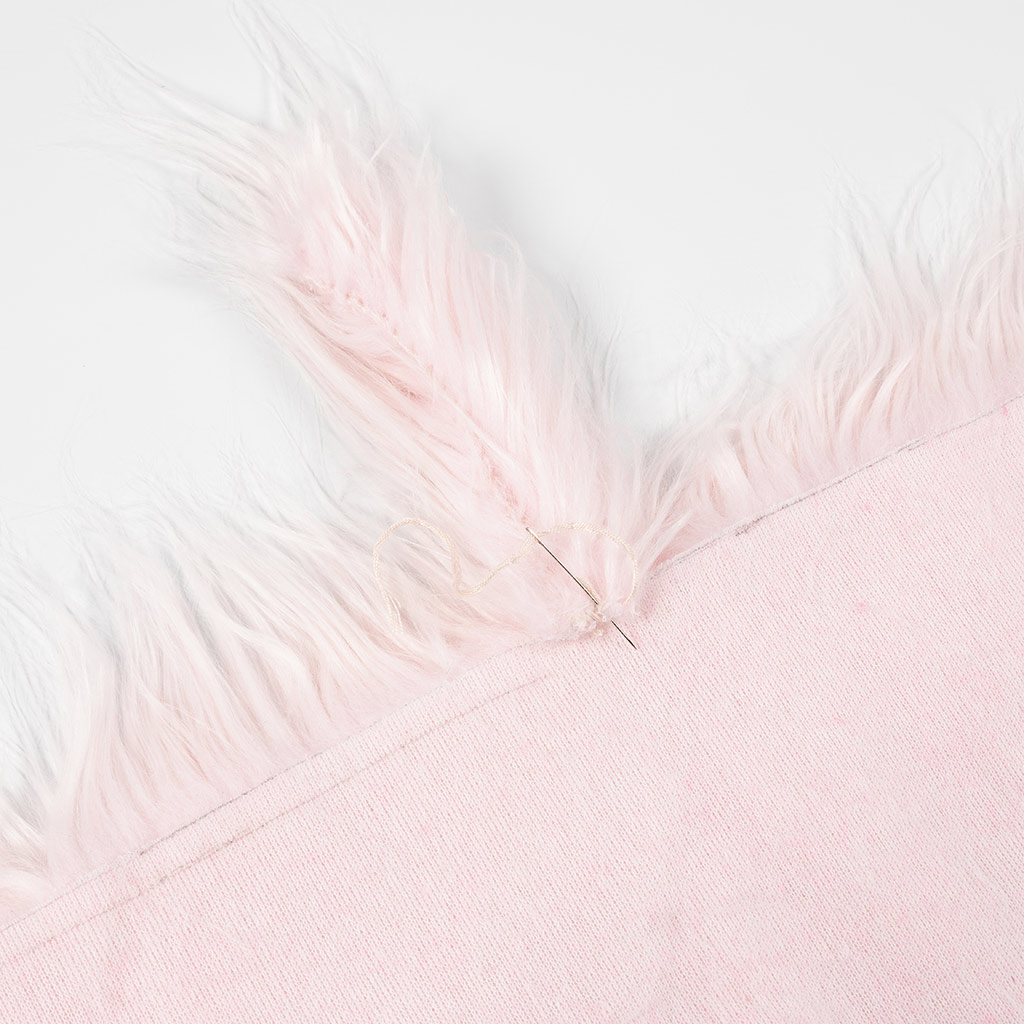 Find the centre of the body part and sew the tail on the inside.
Find the centre of the body part and sew the tail on the inside.12 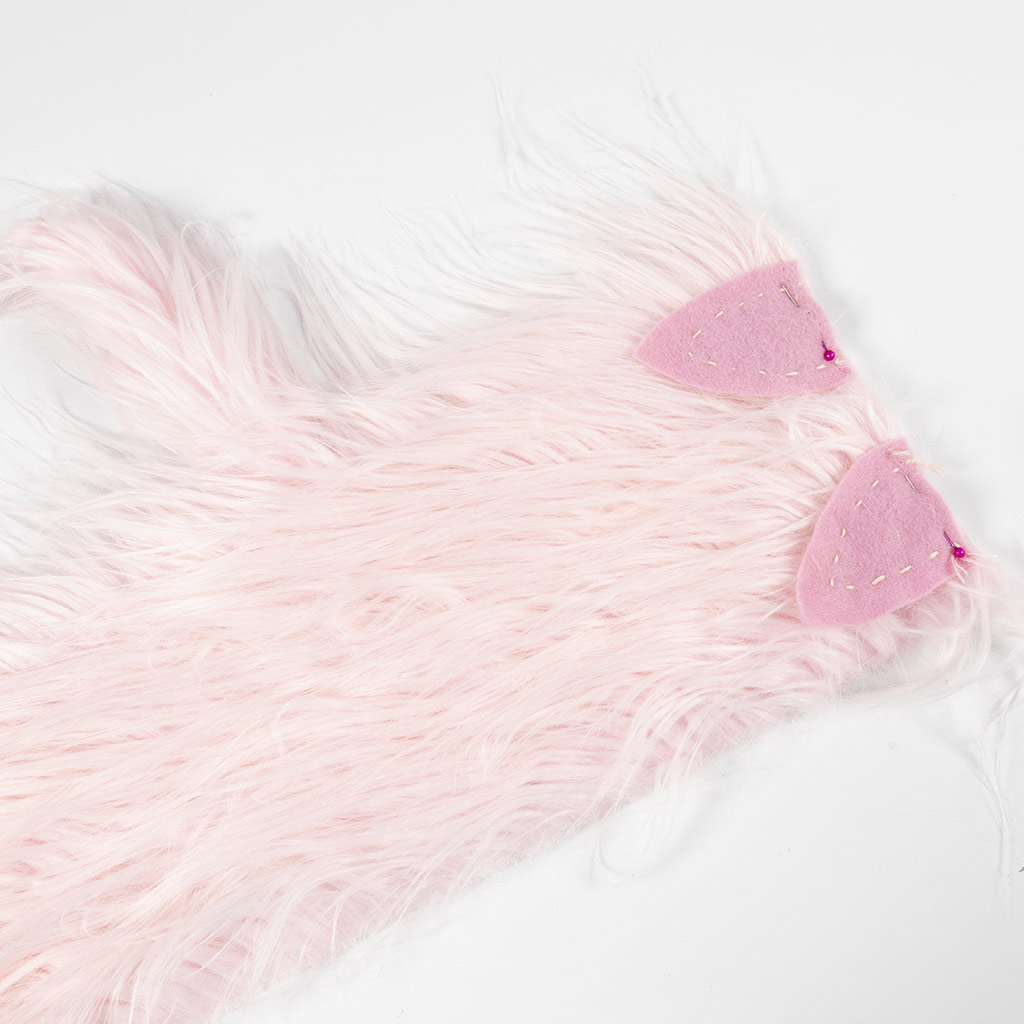 Turn the piece over and attach the ears with a pair of pins. Remember to turn them around with the pink side up.
Turn the piece over and attach the ears with a pair of pins. Remember to turn them around with the pink side up.13 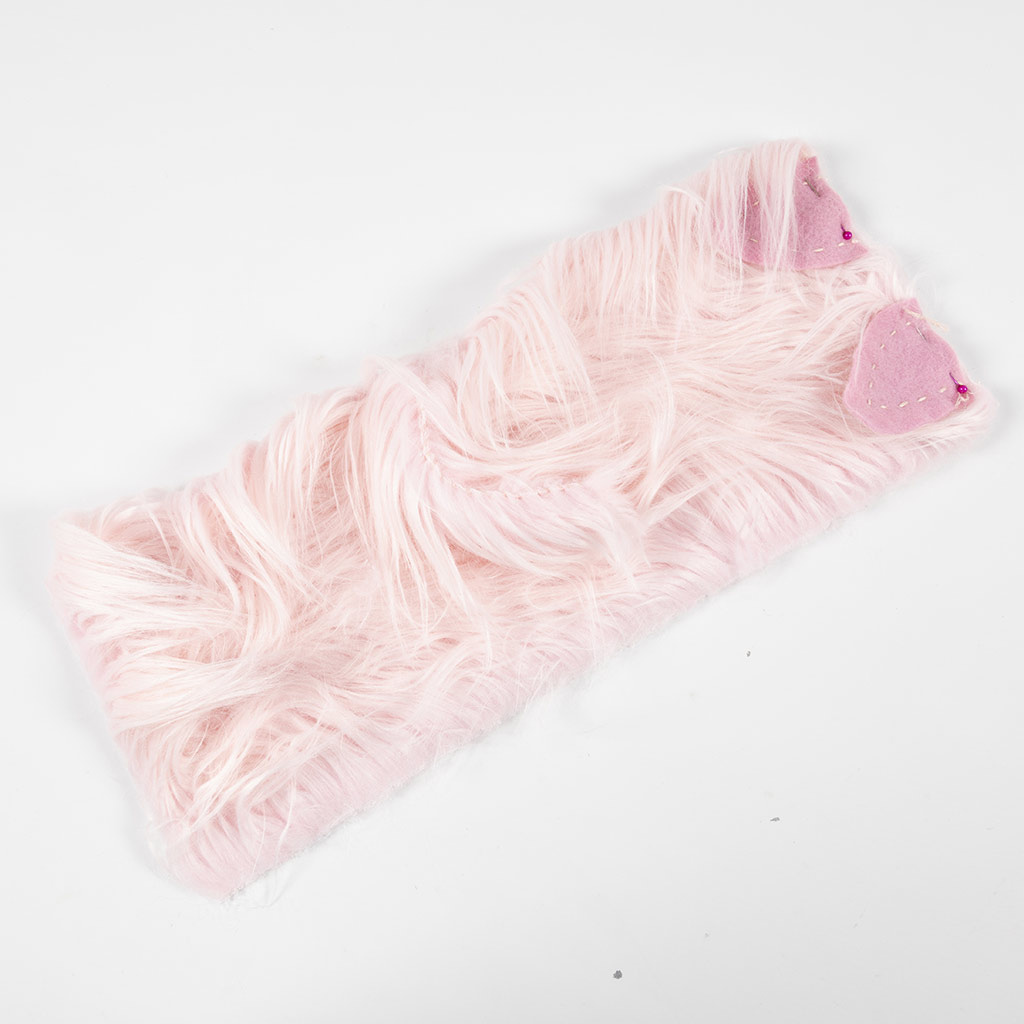 Fold the tail and fur into the piece.
Fold the tail and fur into the piece.14 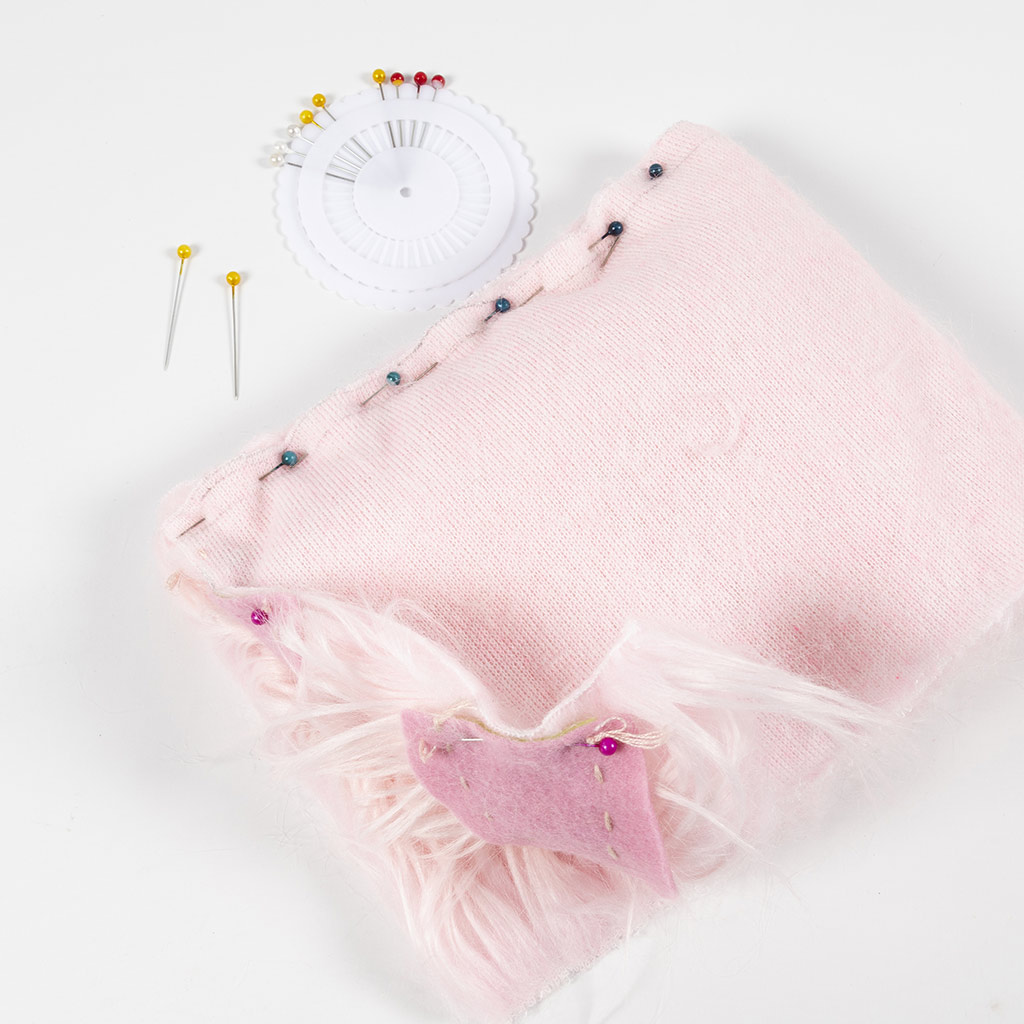 Fold the piece in half and pin it together along the edge.
Fold the piece in half and pin it together along the edge.15 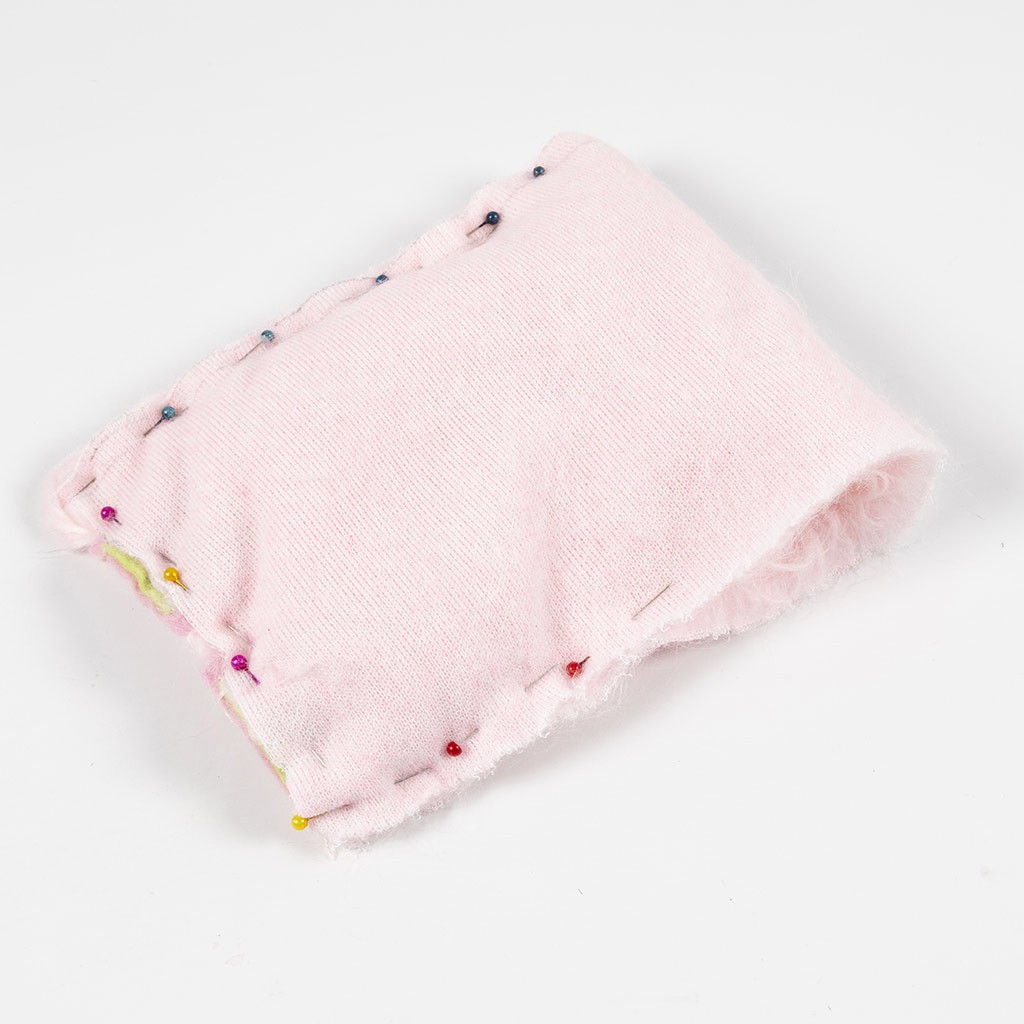 Leave an opening of around 10 cm so that you can turn the piece to the right side after sewing.
Leave an opening of around 10 cm so that you can turn the piece to the right side after sewing.16 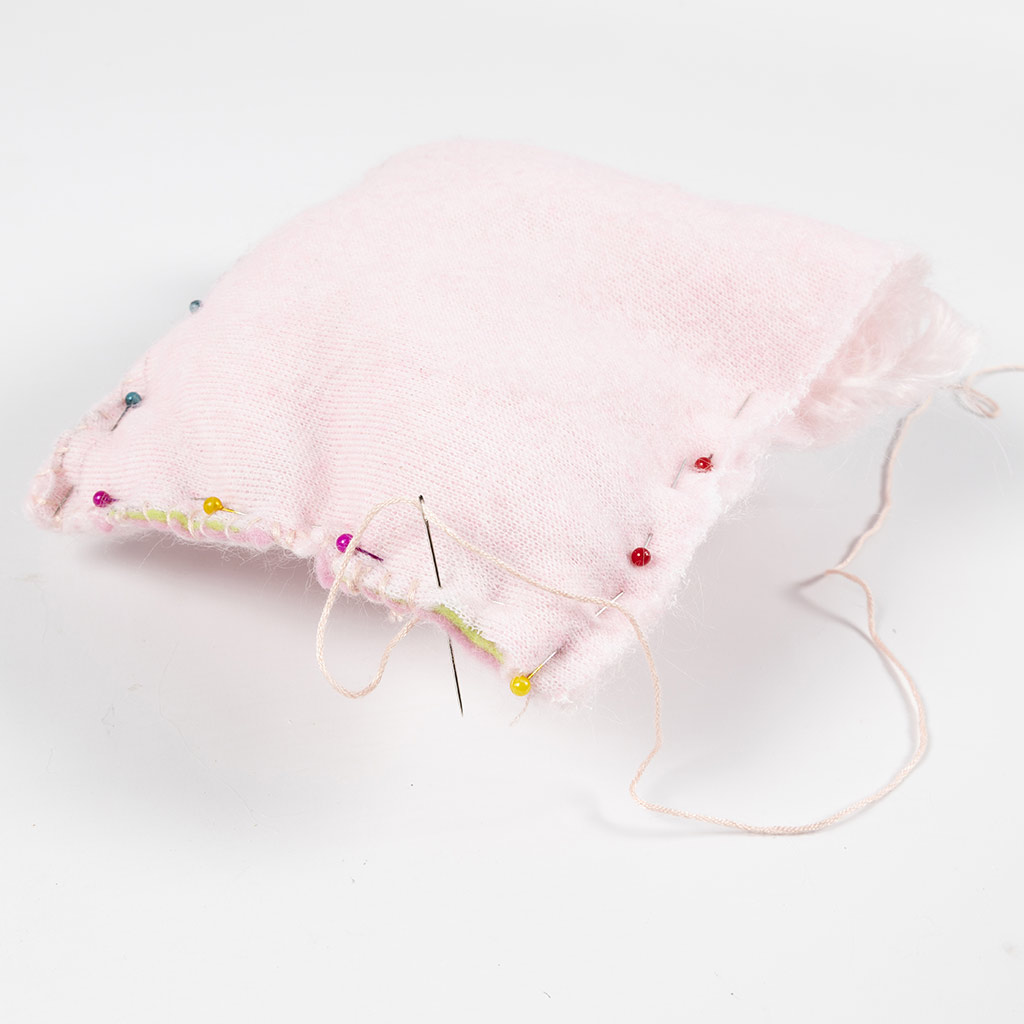 Sew the piece together, making sure the ears are all the way at the edge so that they are also stitched.
Sew the piece together, making sure the ears are all the way at the edge so that they are also stitched.17 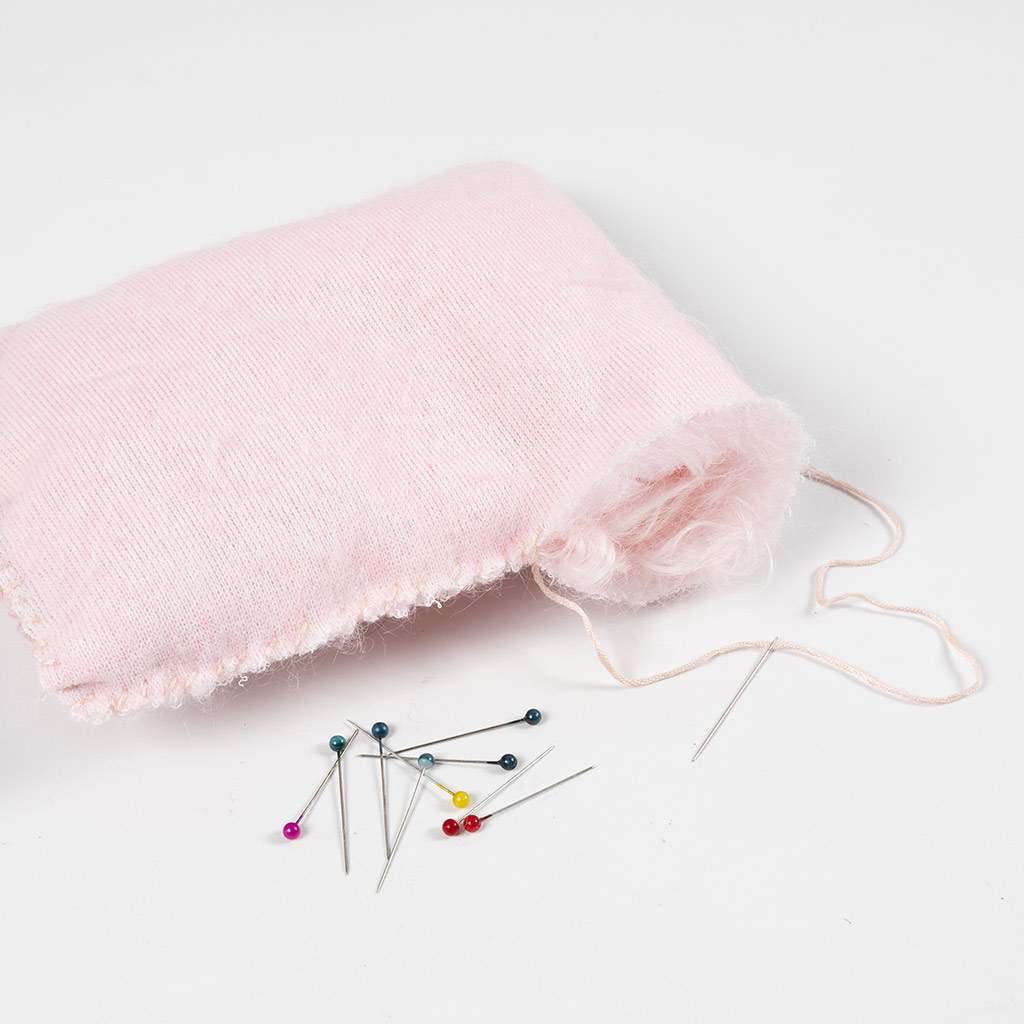 Now the entire body is stitched together except for the opening. Leave the needle and thread but remove the straight pins.
Now the entire body is stitched together except for the opening. Leave the needle and thread but remove the straight pins.18 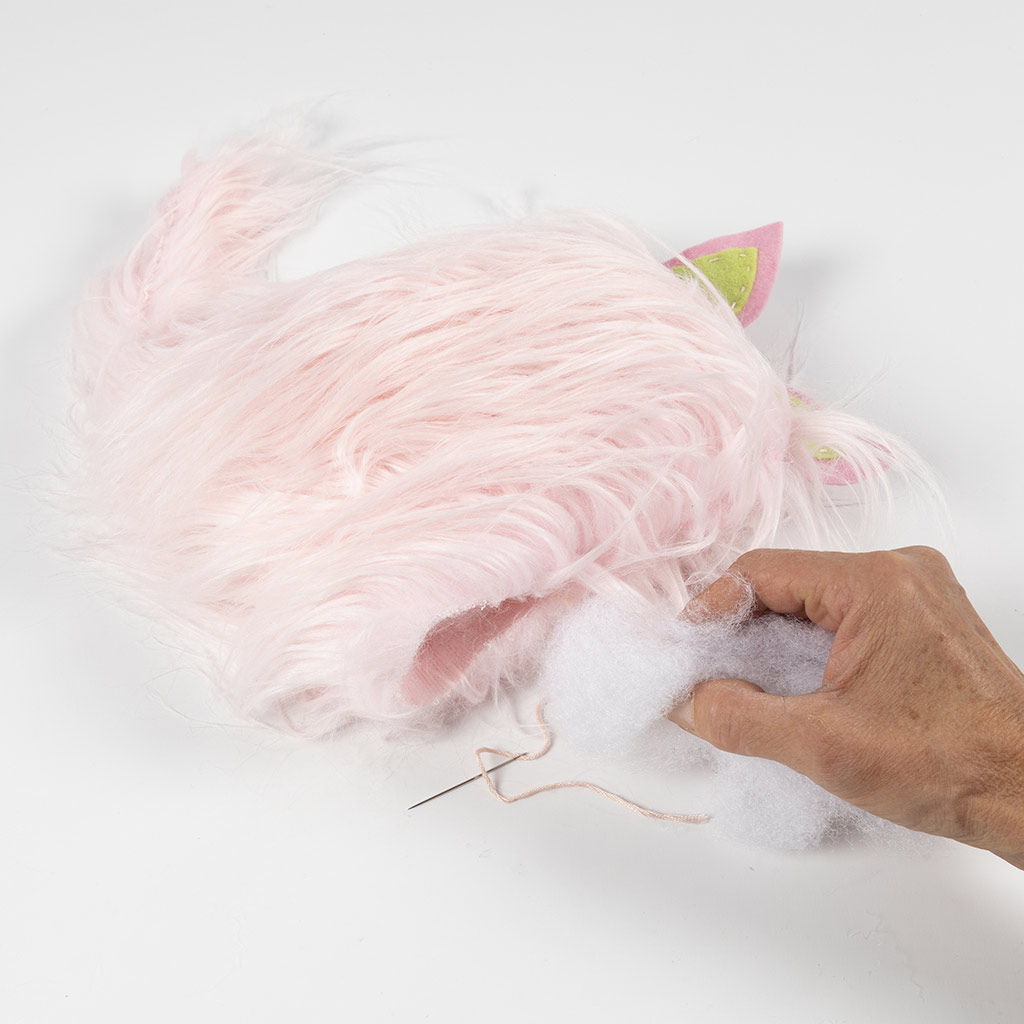 Turn the piece with the ears and tail to the right side through the opening with the fur side on the outside. Fill the body with doll stuffing.
Turn the piece with the ears and tail to the right side through the opening with the fur side on the outside. Fill the body with doll stuffing.19 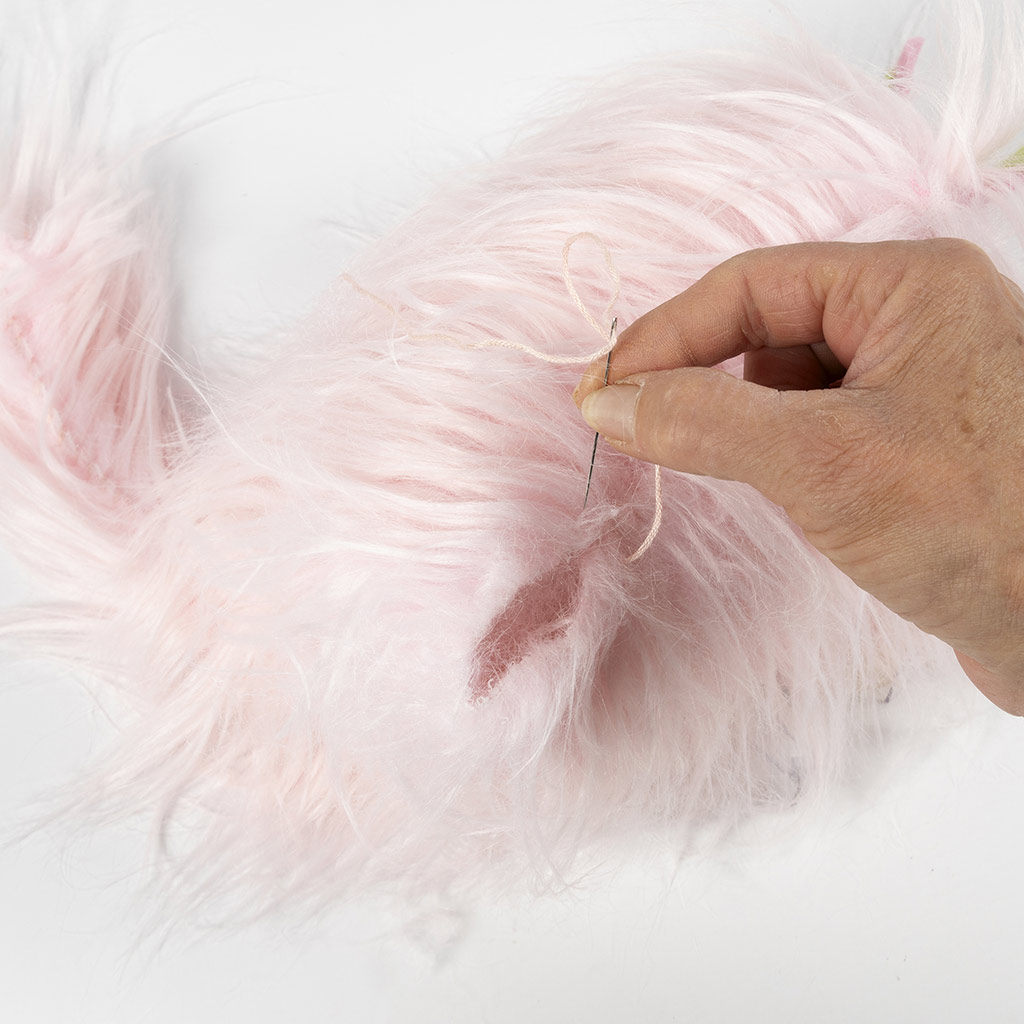 Now sew the opening together.
Now sew the opening together.20 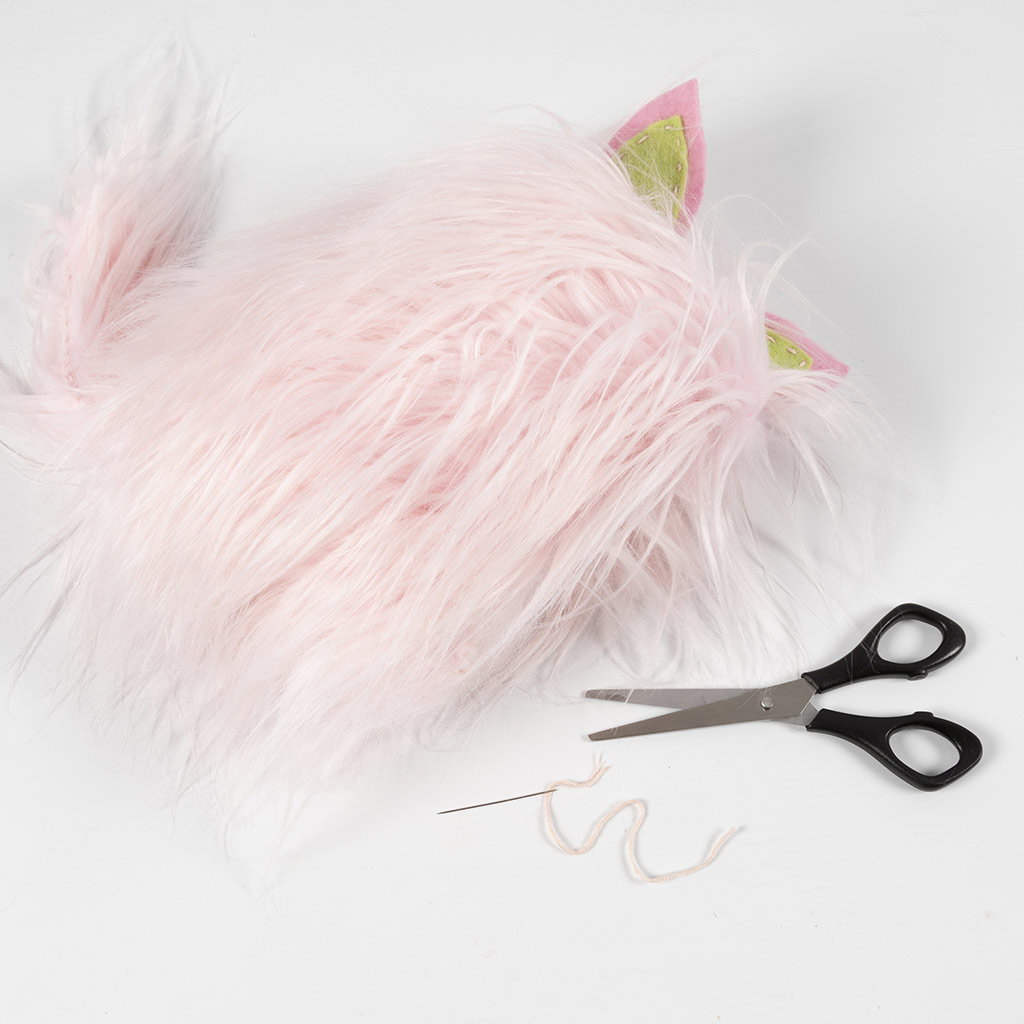 Fasten the thread cut off any excess.
Fasten the thread cut off any excess.21 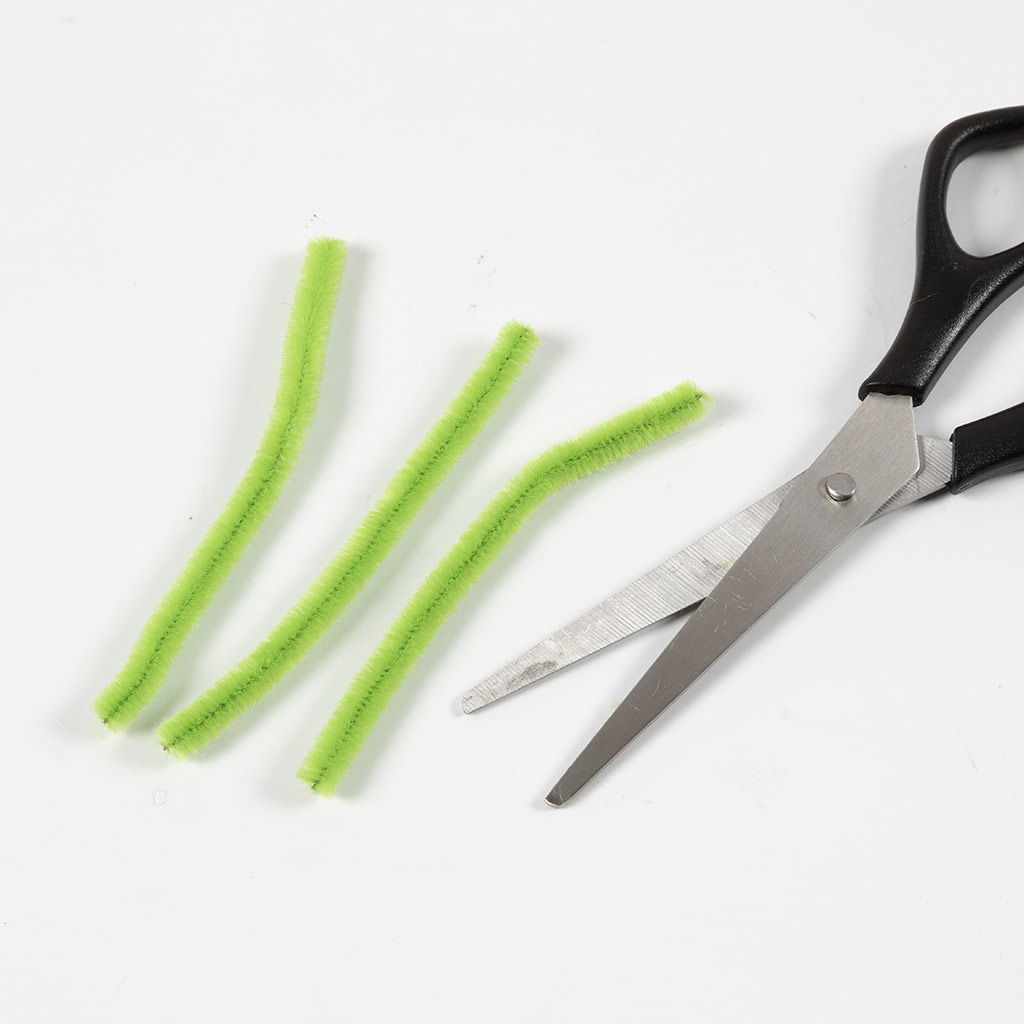 Cut a pipe cleaner into three equal pieces for the whiskers.
Cut a pipe cleaner into three equal pieces for the whiskers.22 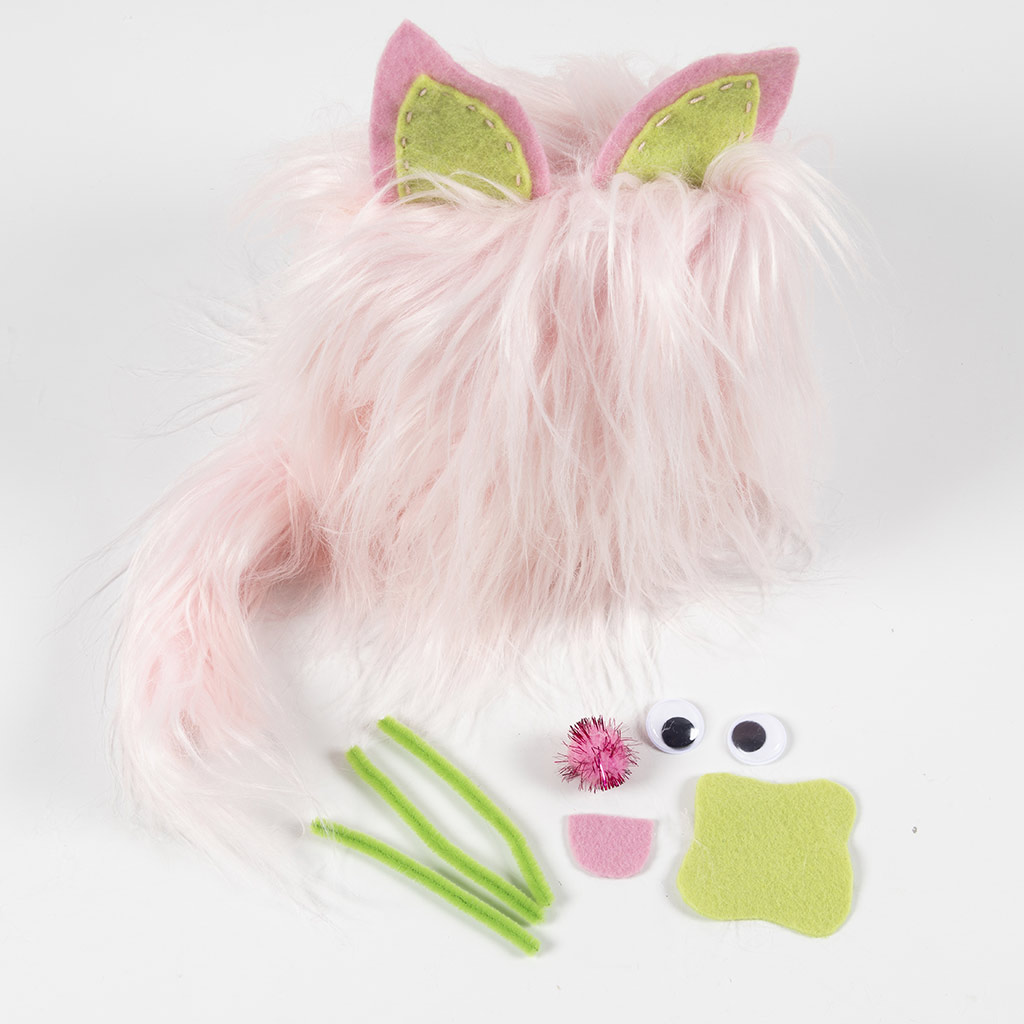 Sew whiskers, a pom-pom nose, tongue, eye patch and eyes on the side with the green ears facing foreward.
Sew whiskers, a pom-pom nose, tongue, eye patch and eyes on the side with the green ears facing foreward.23 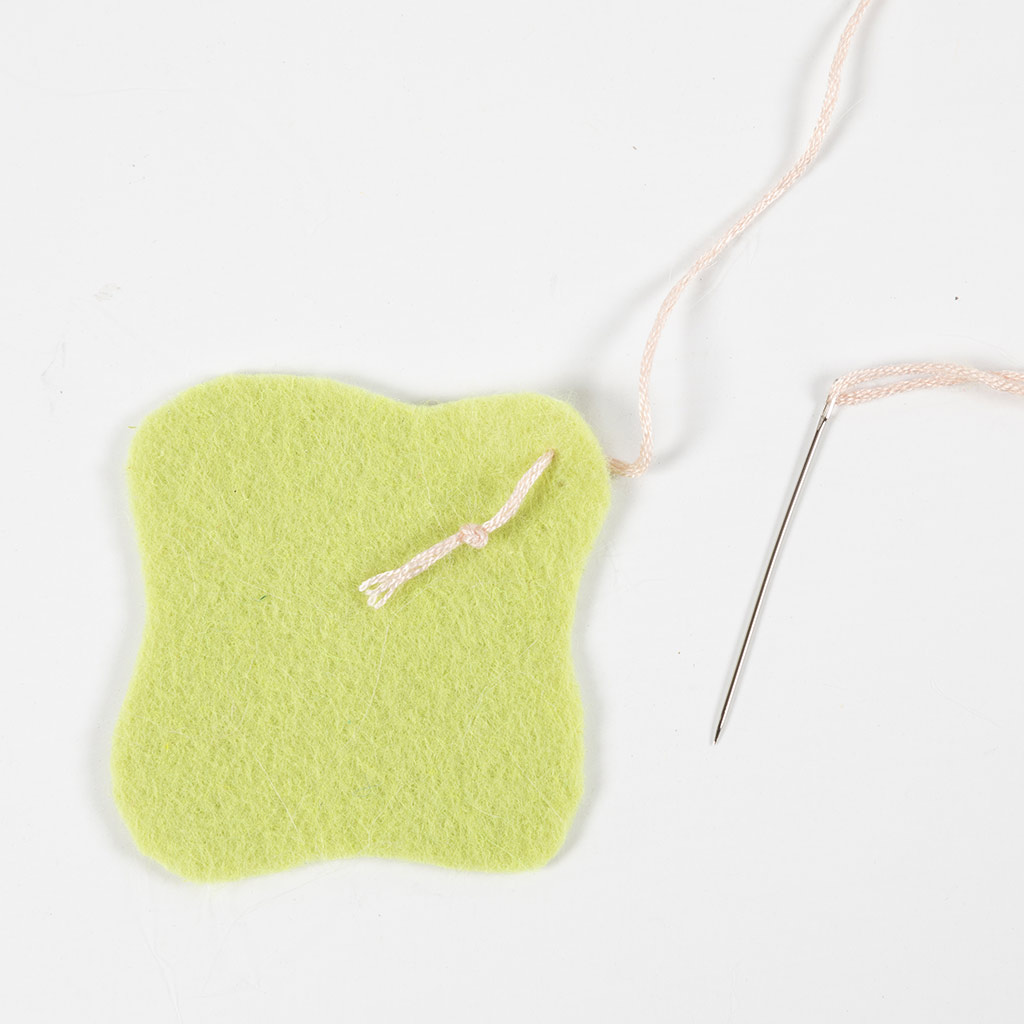 Start with the eye patch. Fasten the thread and tie a knot at the end.
Start with the eye patch. Fasten the thread and tie a knot at the end.24 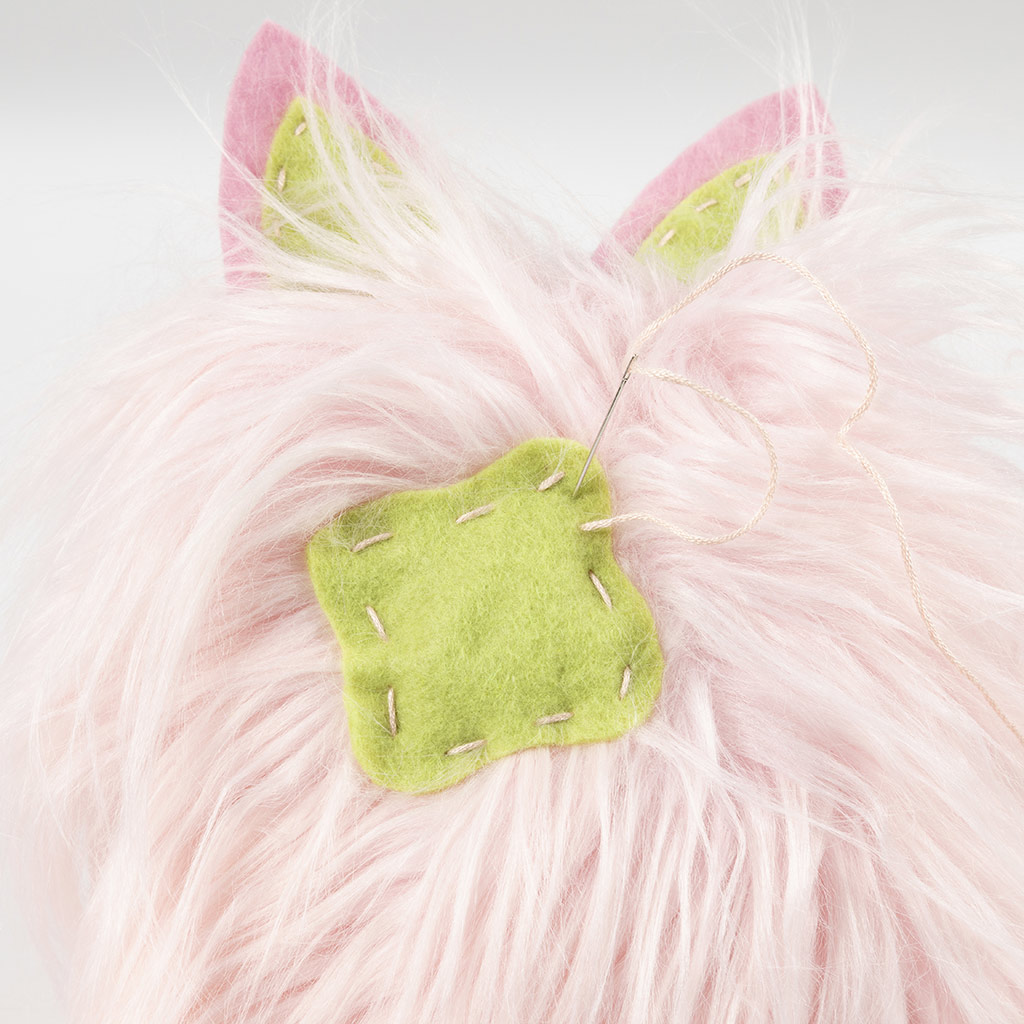 Sew on the eye patch so that the edge of the patch on the right side lines up with the middle of the ears.
Sew on the eye patch so that the edge of the patch on the right side lines up with the middle of the ears.25 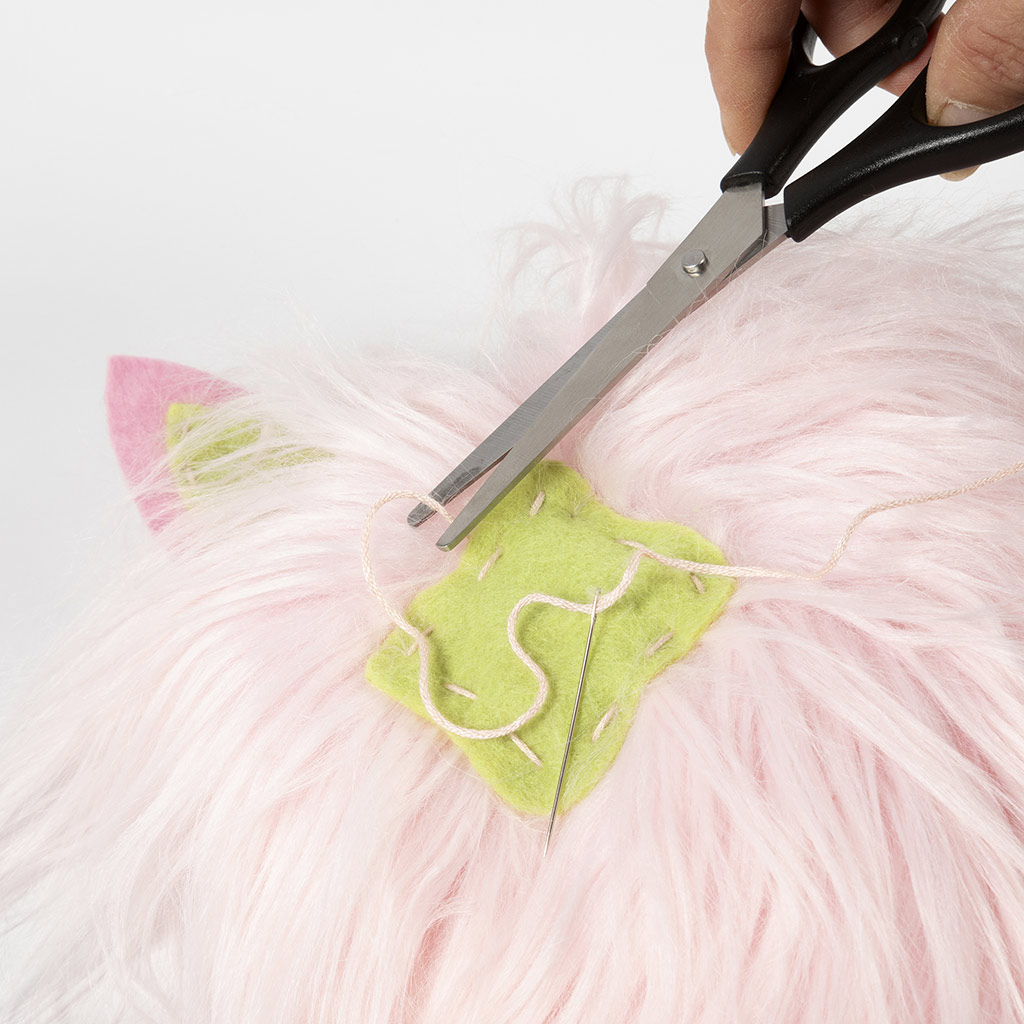 Fasten the thread by sewing a few small stitches into the body just below the eye patch. Cut off the excess thread.
Fasten the thread by sewing a few small stitches into the body just below the eye patch. Cut off the excess thread.26  Now sew on the tongue. Pull the needle through the middle of the tongue piece and tie a knot on the thread.
Now sew on the tongue. Pull the needle through the middle of the tongue piece and tie a knot on the thread.27 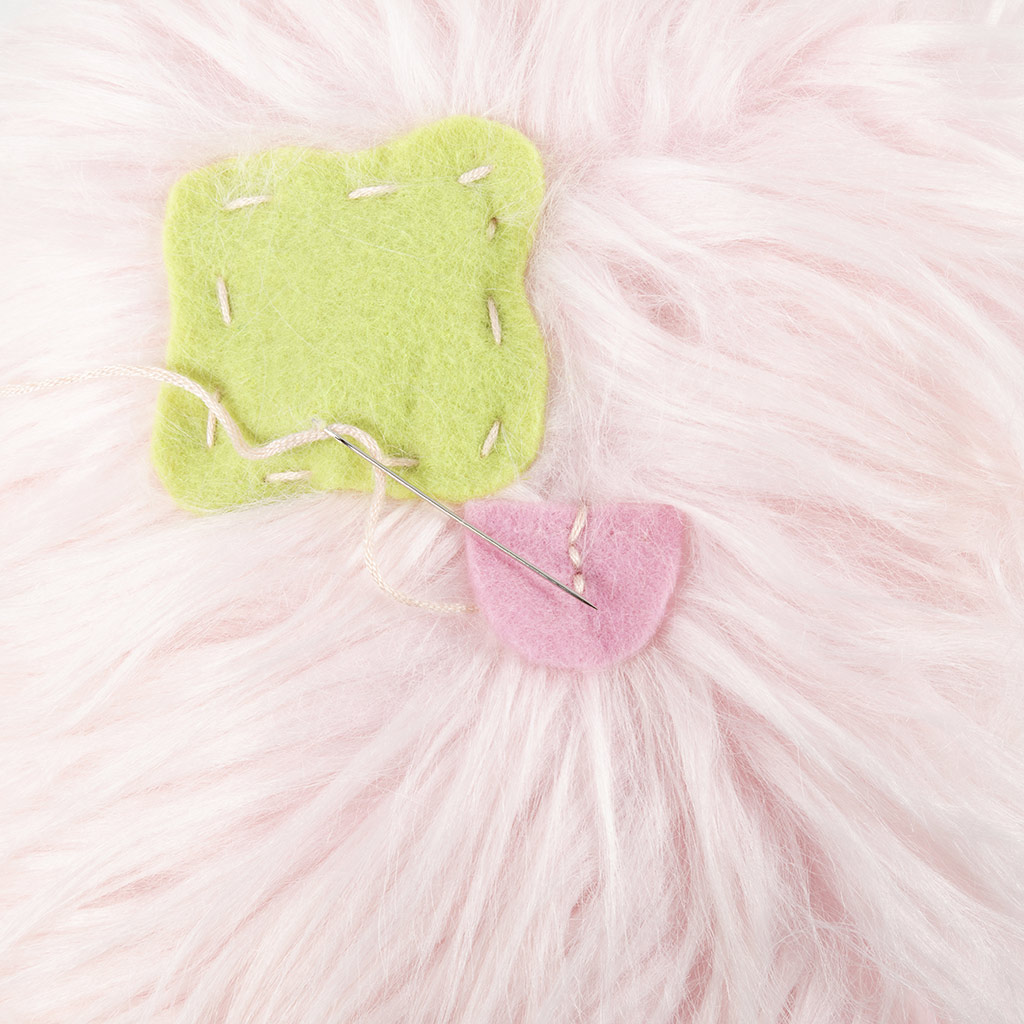 Place the tongue in the middle of the body just below the eye patch. Sew it in place with three stitches down through the middle. Fasten the thread and cut off the excess thread.
Place the tongue in the middle of the body just below the eye patch. Sew it in place with three stitches down through the middle. Fasten the thread and cut off the excess thread.28 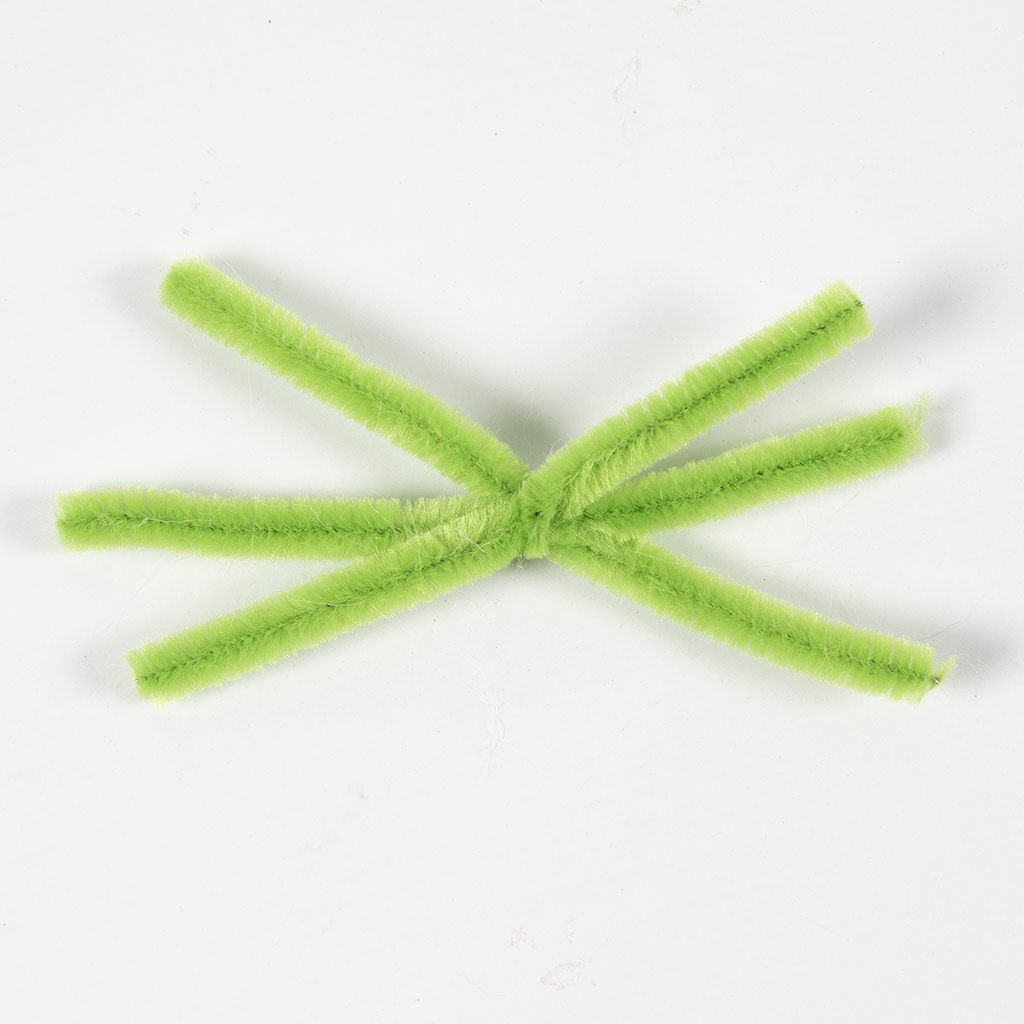 Now sew on the whiskers. Gather the three pipe cleaners and twist them tightly around the middle twice.
Now sew on the whiskers. Gather the three pipe cleaners and twist them tightly around the middle twice.29 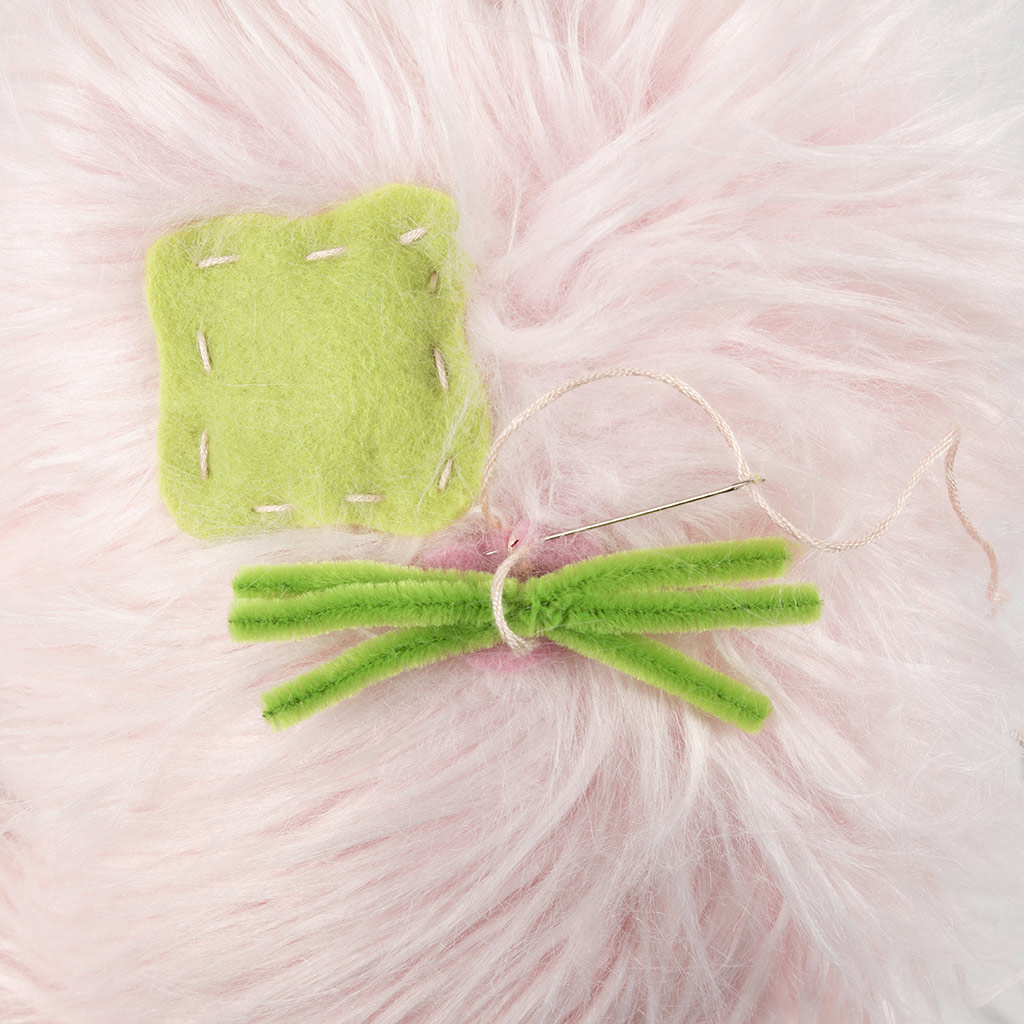 Sew on the whiskers just above the tongue. Sew a few times around them.
Sew on the whiskers just above the tongue. Sew a few times around them.30 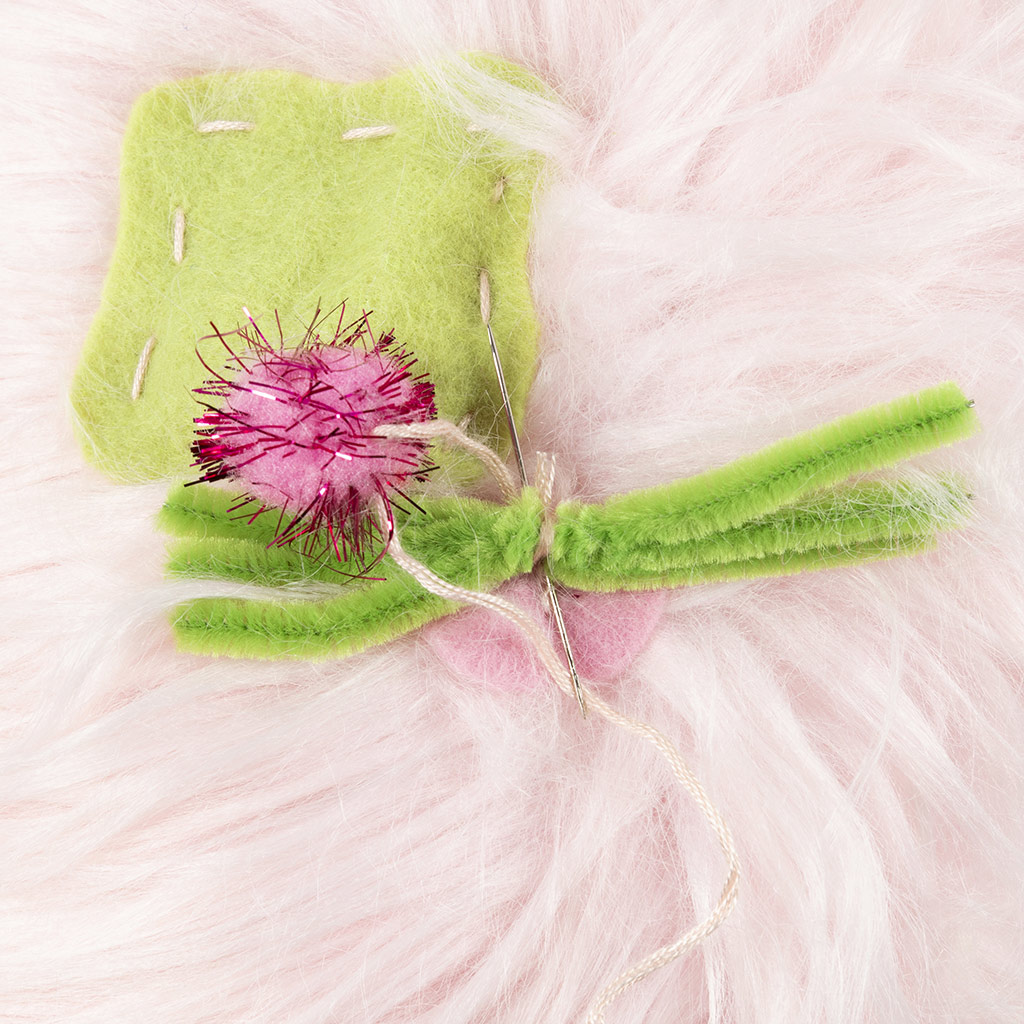 Sew on the nose by pulling the thread through the middle of the pom-pom. Sew a few more stitches down through the tongue and up through the middle of the pom-pom. Fasten the thread and cut off the excess thread.
Sew on the nose by pulling the thread through the middle of the pom-pom. Sew a few more stitches down through the tongue and up through the middle of the pom-pom. Fasten the thread and cut off the excess thread.31 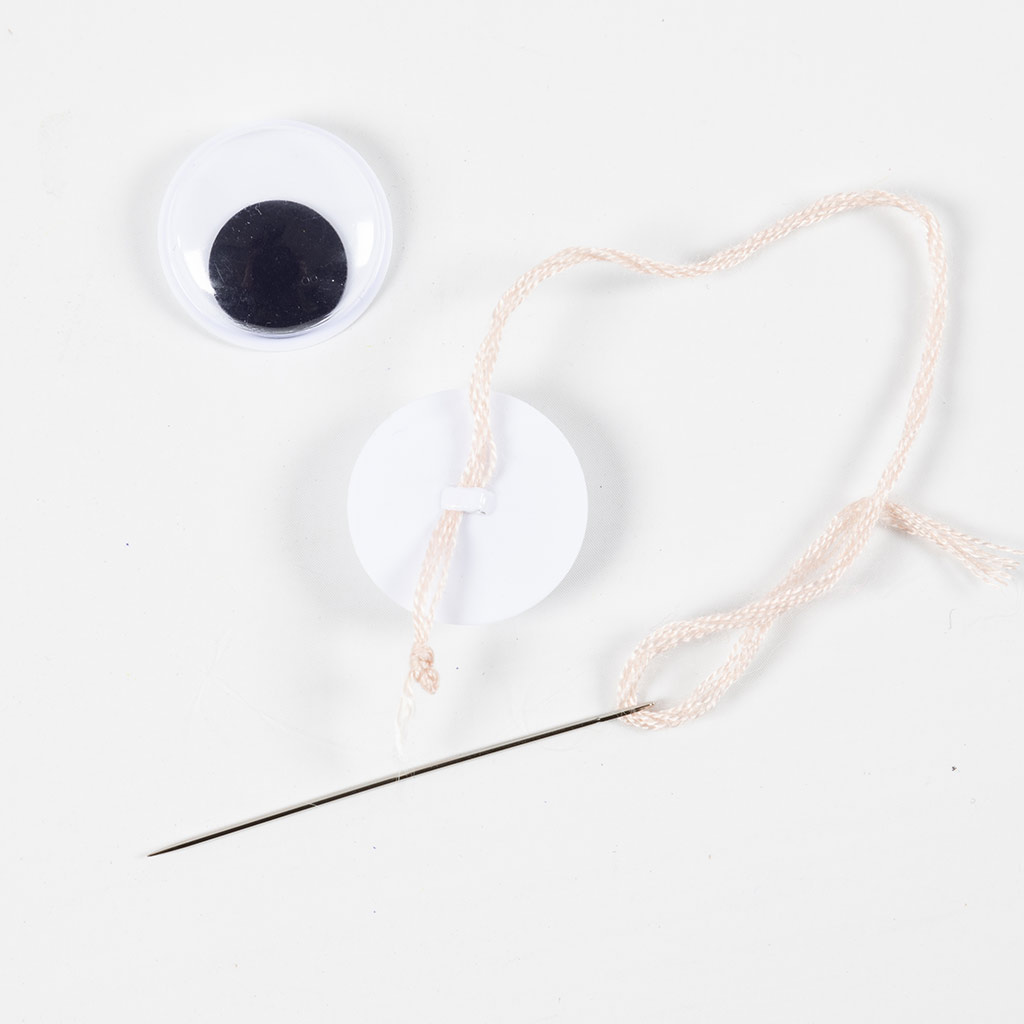 Sew on the eyes by pulling the thread and tying a knot at the end.
Sew on the eyes by pulling the thread and tying a knot at the end.32 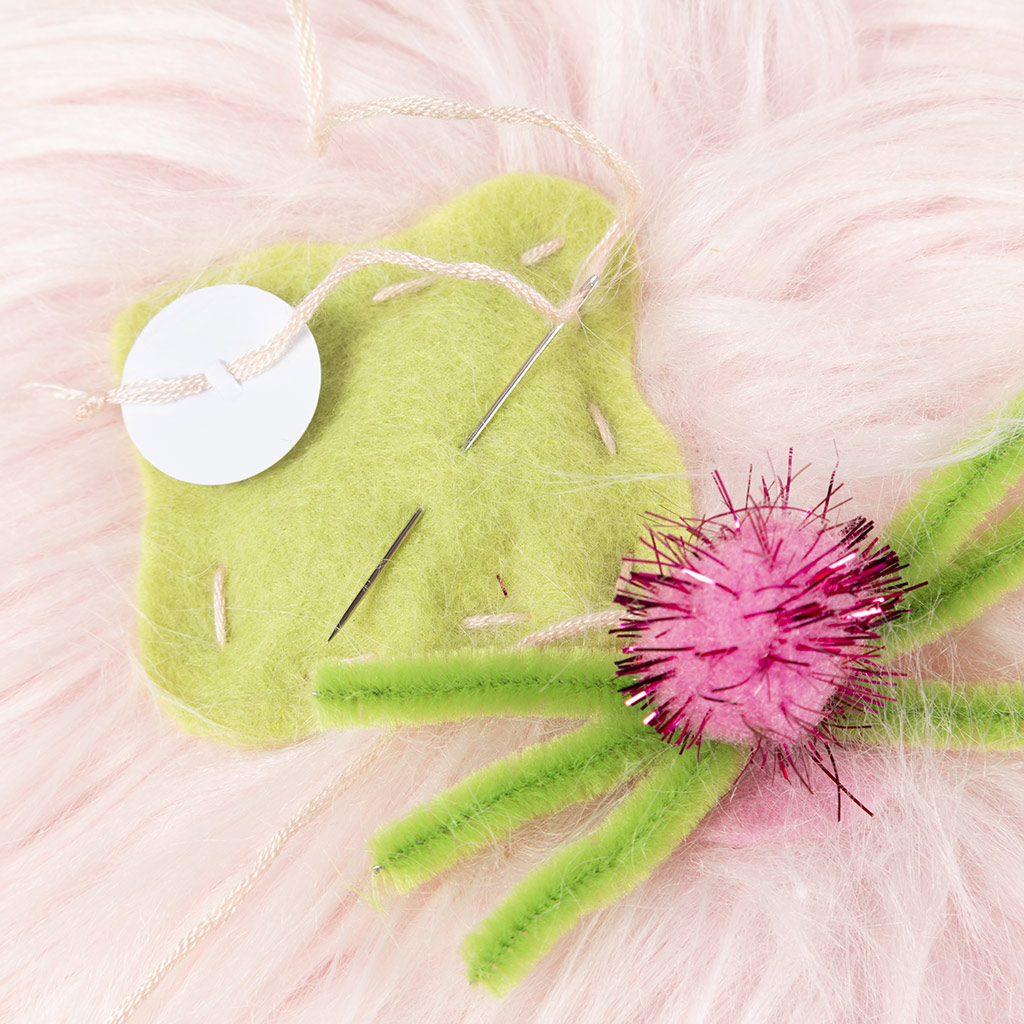 Sew the eye patch onto one of the eyes.
Sew the eye patch onto one of the eyes.33 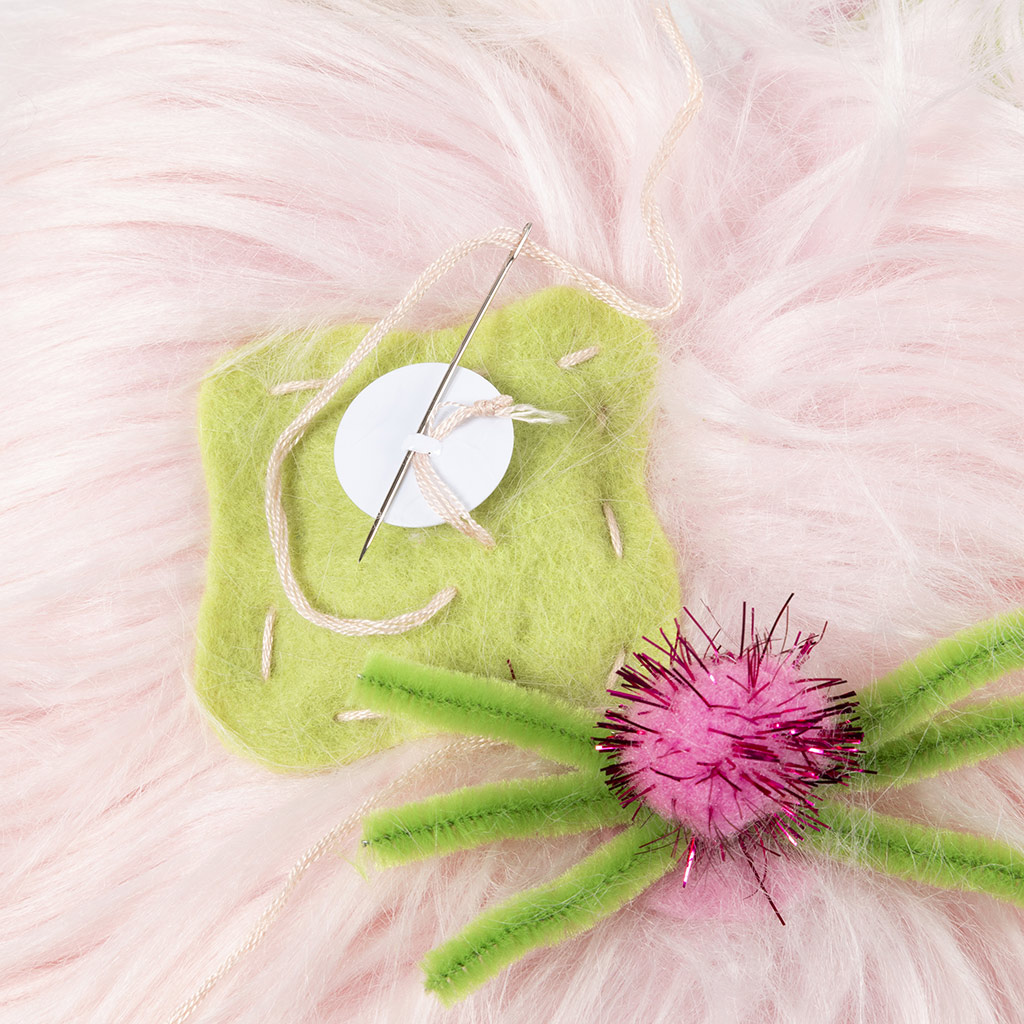 Sew a few stitches through the eye and eye patch.
Sew a few stitches through the eye and eye patch.34 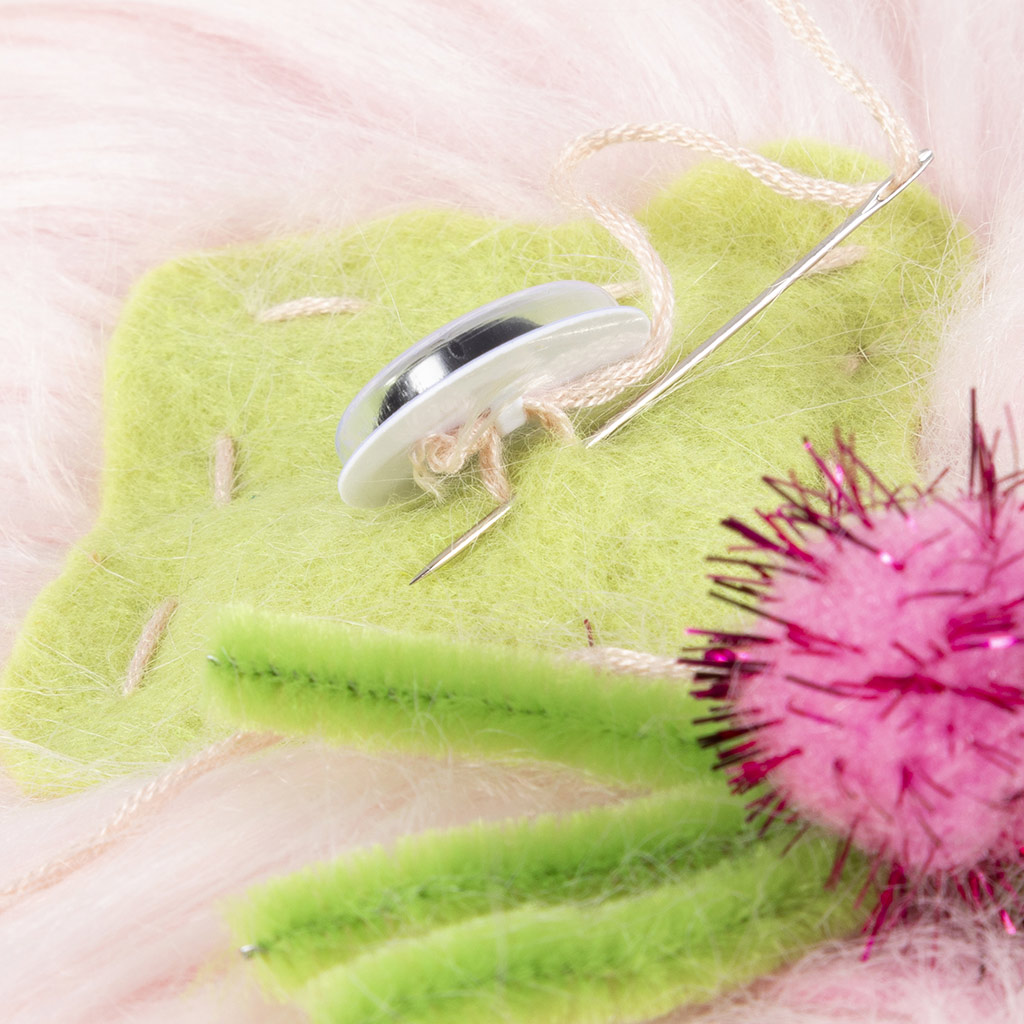 Fasten the thread under the eye.
Fasten the thread under the eye.35 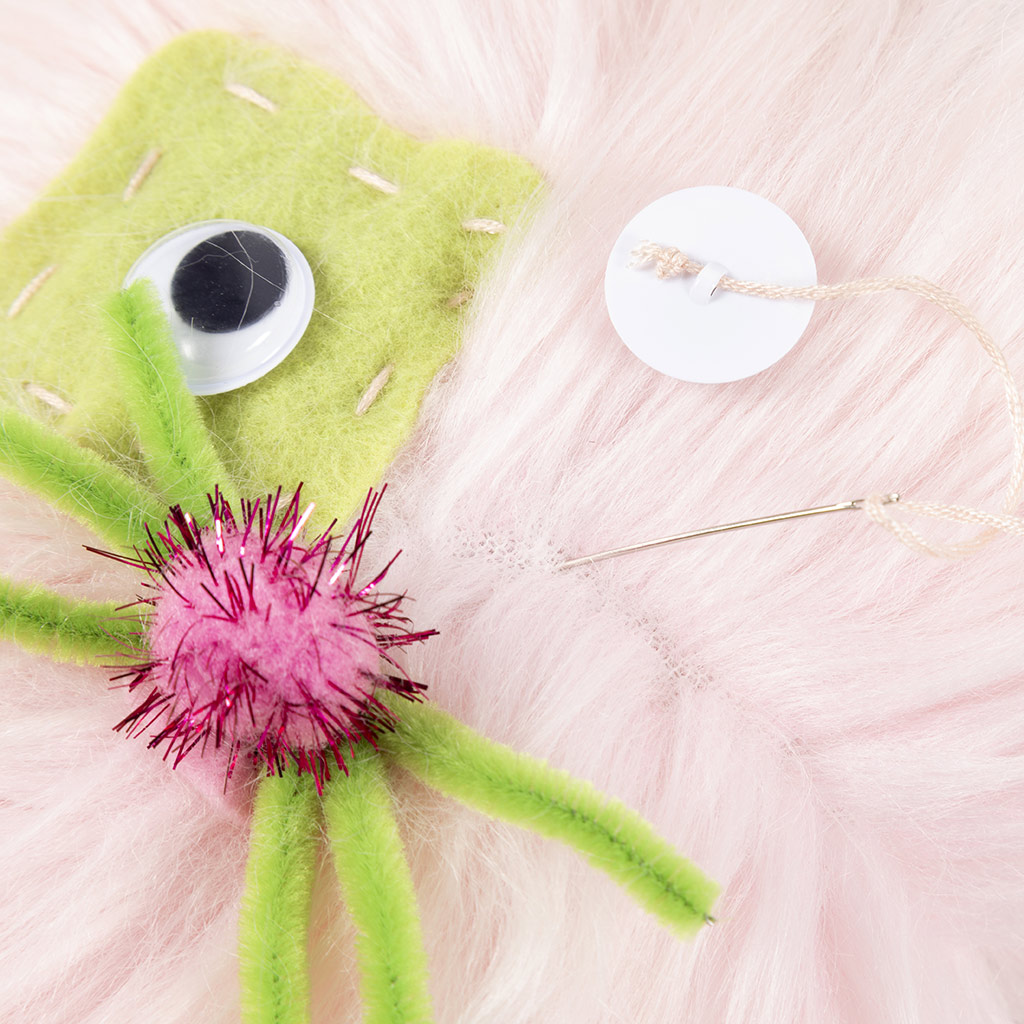 Divide the fur so that the fabric underneath can be seen. Now sew on the other eye as shown.
Divide the fur so that the fabric underneath can be seen. Now sew on the other eye as shown.36  Make your own personal cat name tag.
Make your own personal cat name tag.37 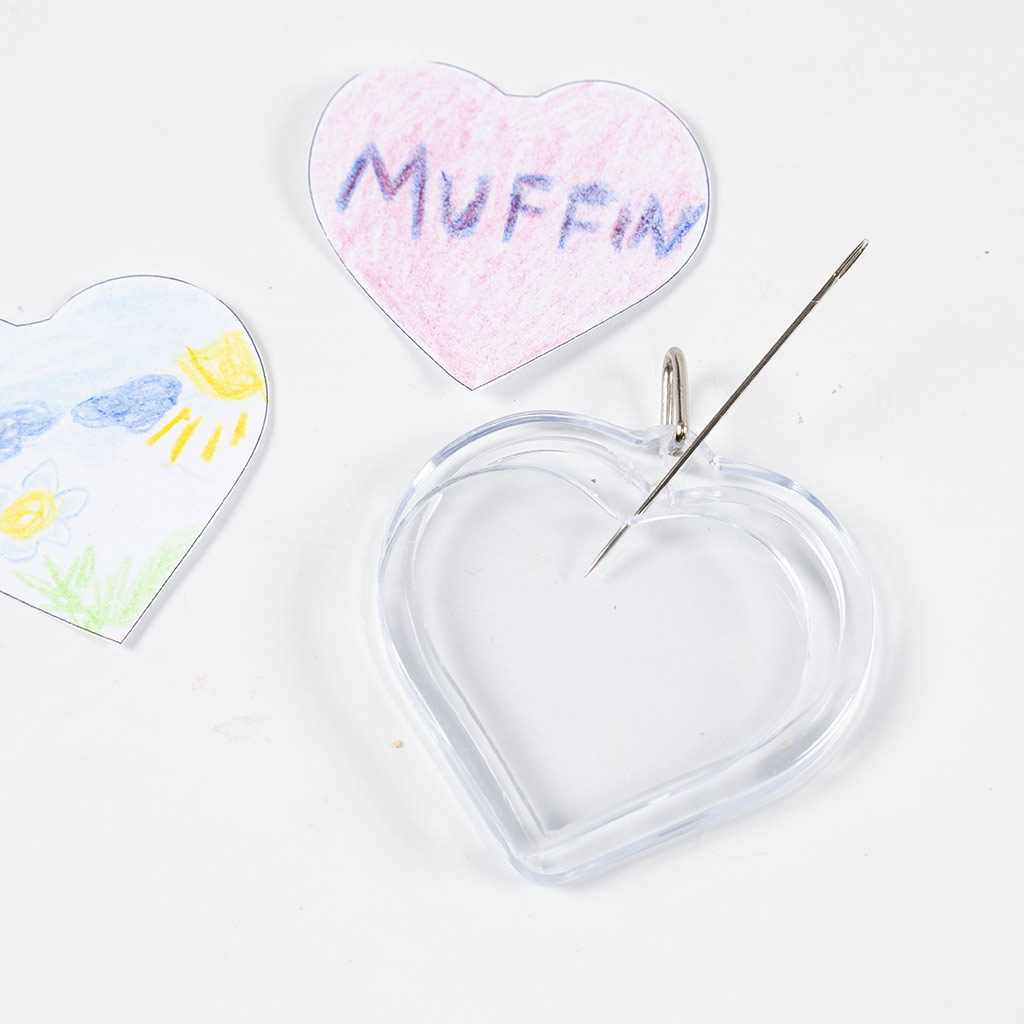 Open the heart using the needle. Insert the needle into the small hole at the top of the heart and tilt the needle to release the front.
Open the heart using the needle. Insert the needle into the small hole at the top of the heart and tilt the needle to release the front.38 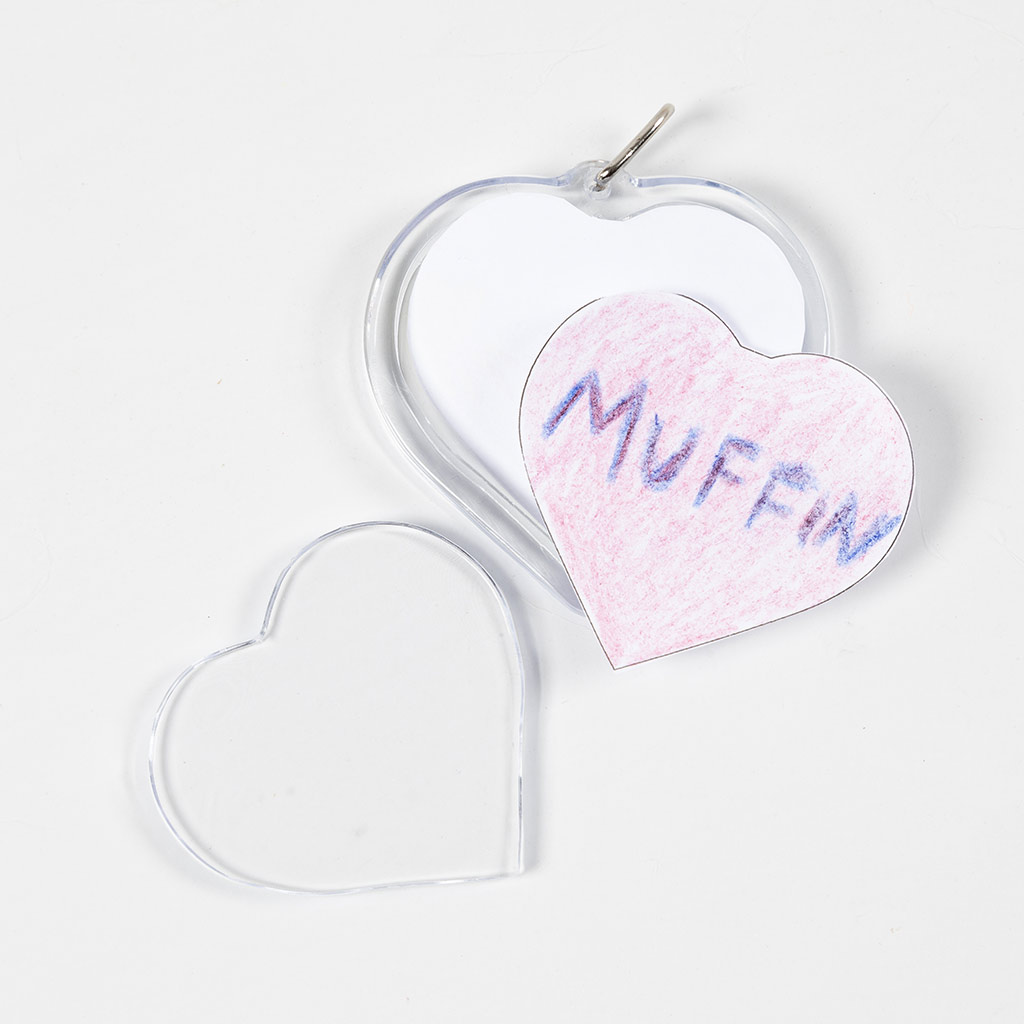 Place the drawing in the back cover with the back side up. Now place the name tag on top.
Place the drawing in the back cover with the back side up. Now place the name tag on top.39  Close the two parts of the hearts again.
Close the two parts of the hearts again.40 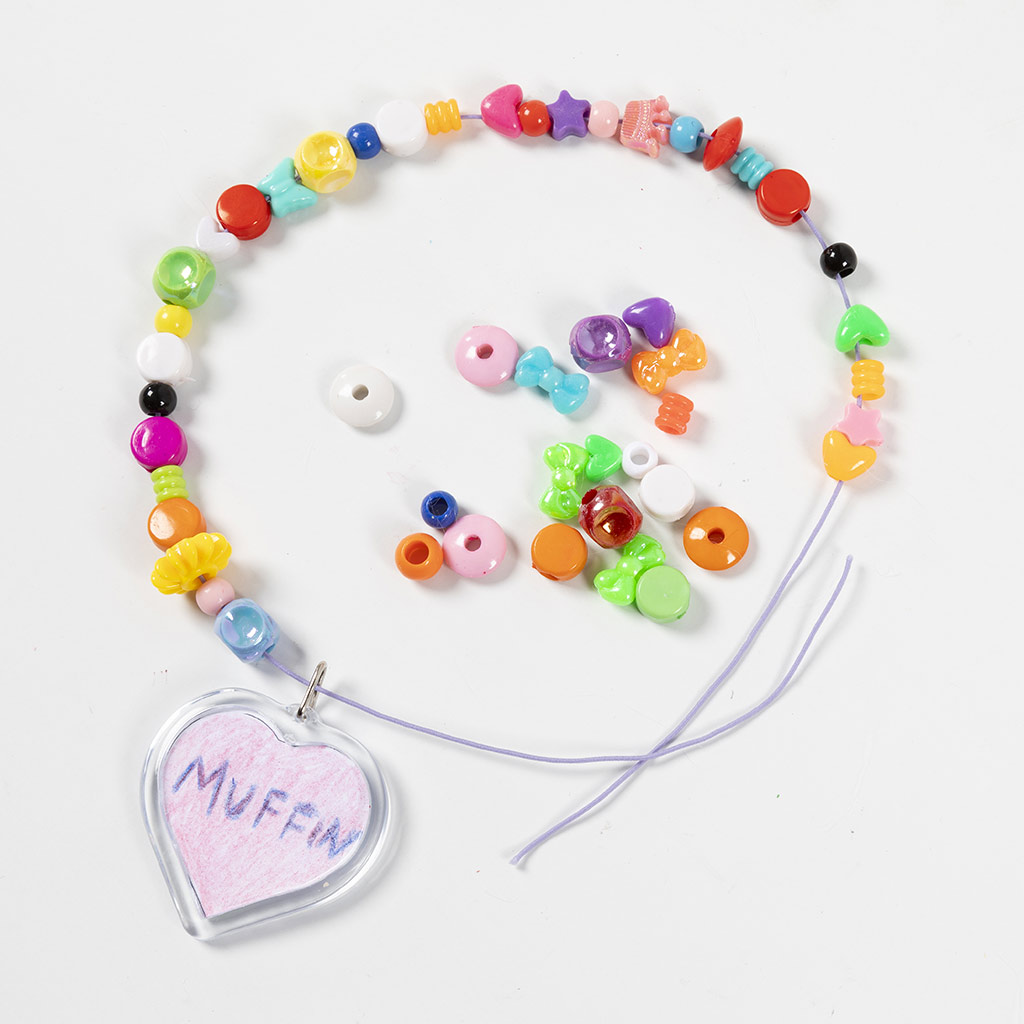 Make the necklace on elastic cord. Measure the circumference of the cat's neck.
Make the necklace on elastic cord. Measure the circumference of the cat's neck.41 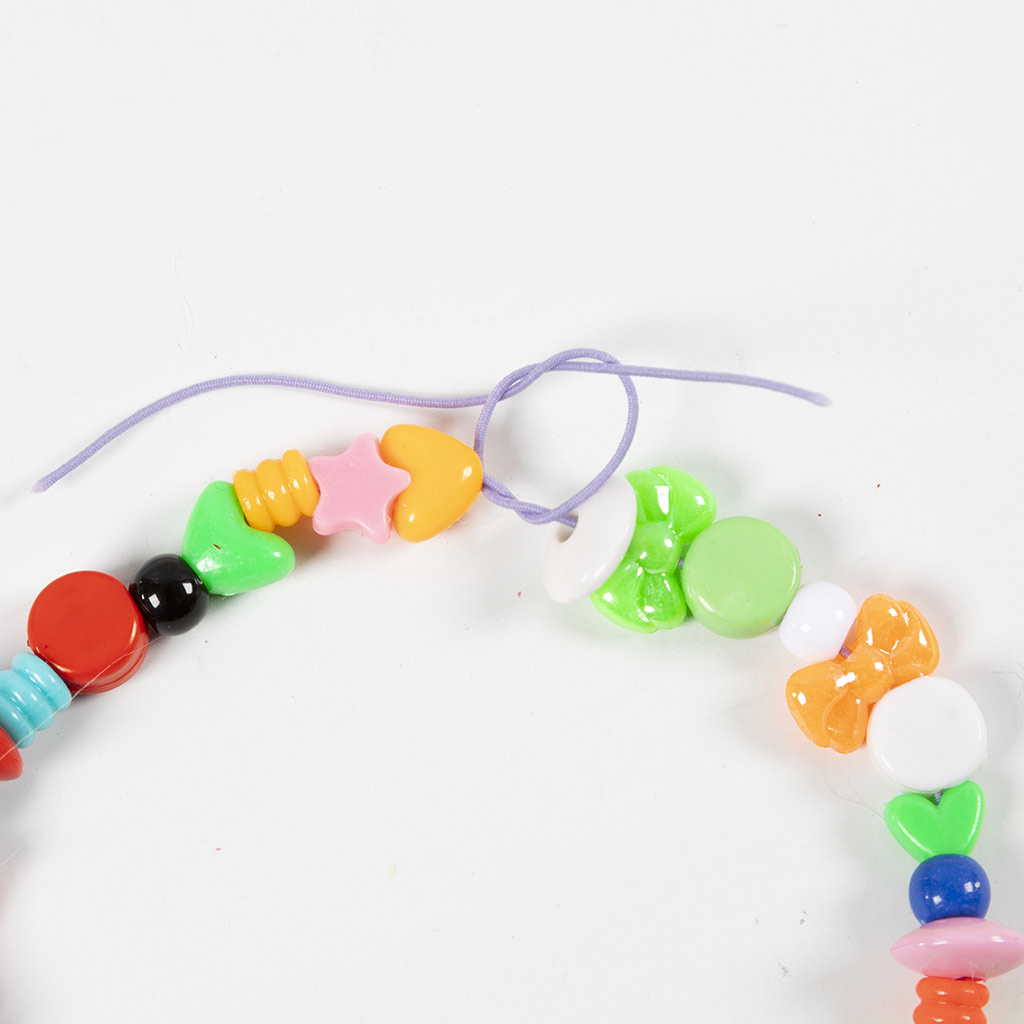 Tie it together with double knots.
Tie it together with double knots.42 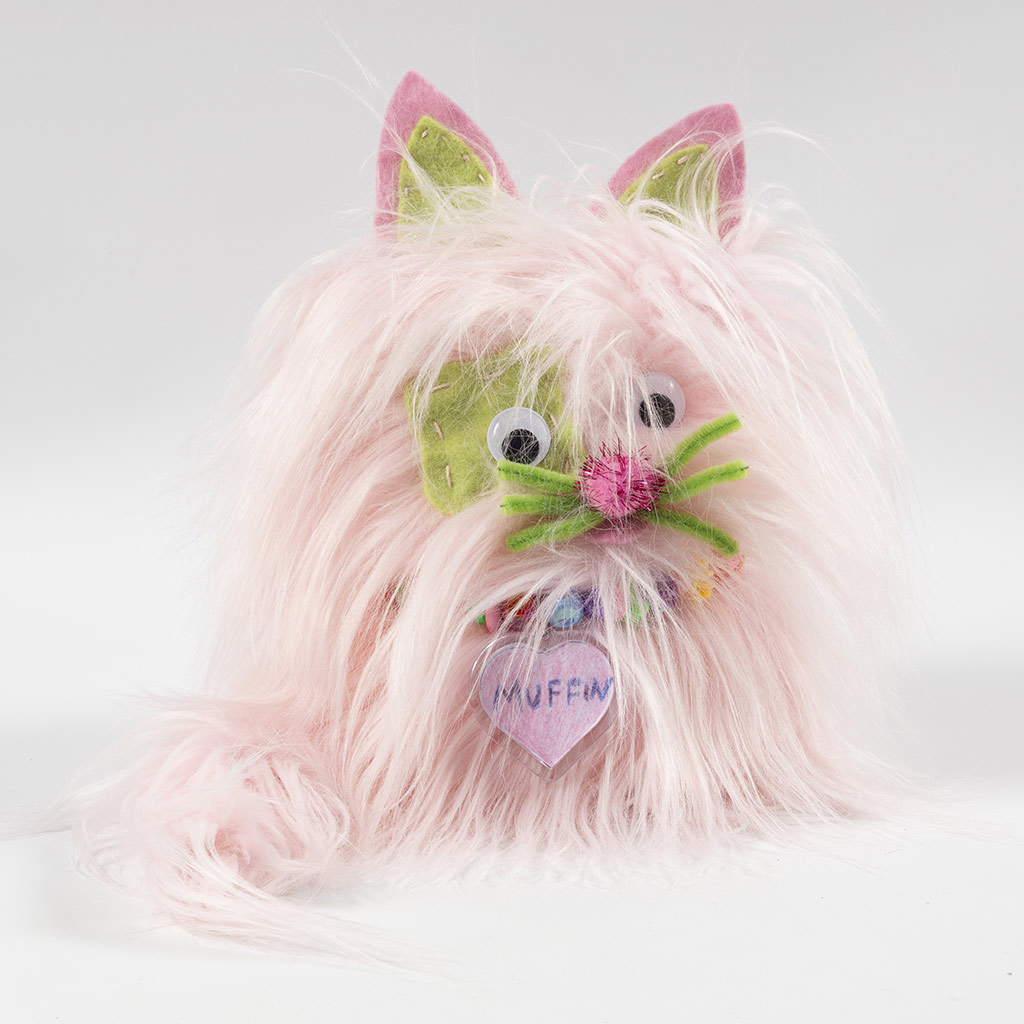 Put on the necklace with the name facing forward. Shake the cat a little so that the fur falls into place.
Put on the necklace with the name facing forward. Shake the cat a little so that the fur falls into place.Also go exploring in
