
Creative idea
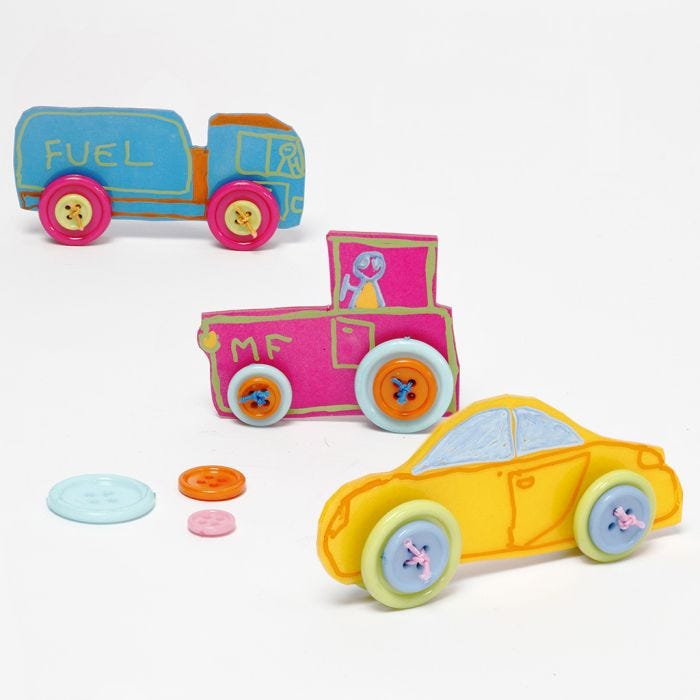
Cars made from decorated Shrink Plastic Sheet with Buttons for Wheels
#v15561
These cars are made from shrink plastic sheets decorated with Plus Color markers and cut out in different car shapes. Holes are made for buttons to be sewn on for wheels when the cars have shrunk to the right size in the oven.
#v15561
How to do it
1 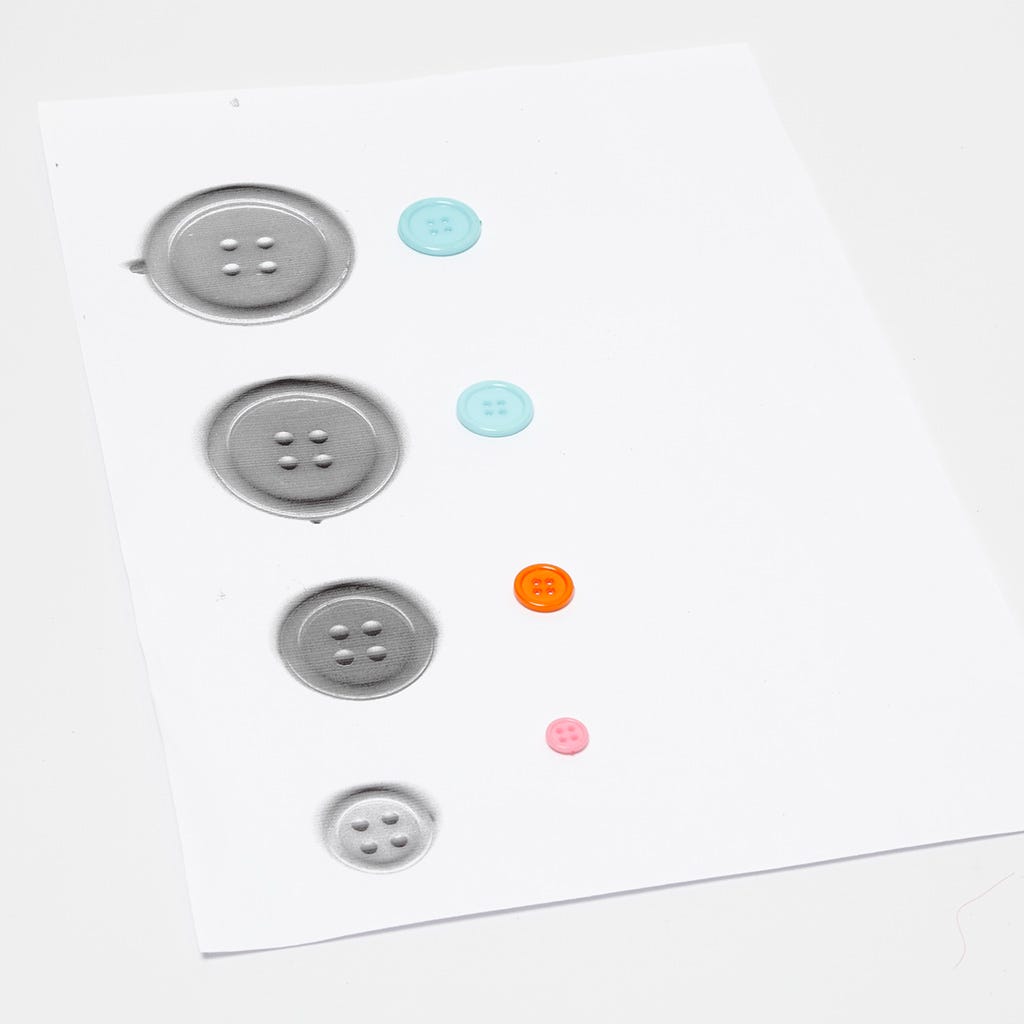 Print out the template which is available as a separate PDF file on this page. There are templates for cars (for inspiration regarding size) as well as 250% enlarged buttons as a guide to ensure that the proportions between the shrunk car and the buttons for the wheels match in case you want to design your own car.
Print out the template which is available as a separate PDF file on this page. There are templates for cars (for inspiration regarding size) as well as 250% enlarged buttons as a guide to ensure that the proportions between the shrunk car and the buttons for the wheels match in case you want to design your own car.2 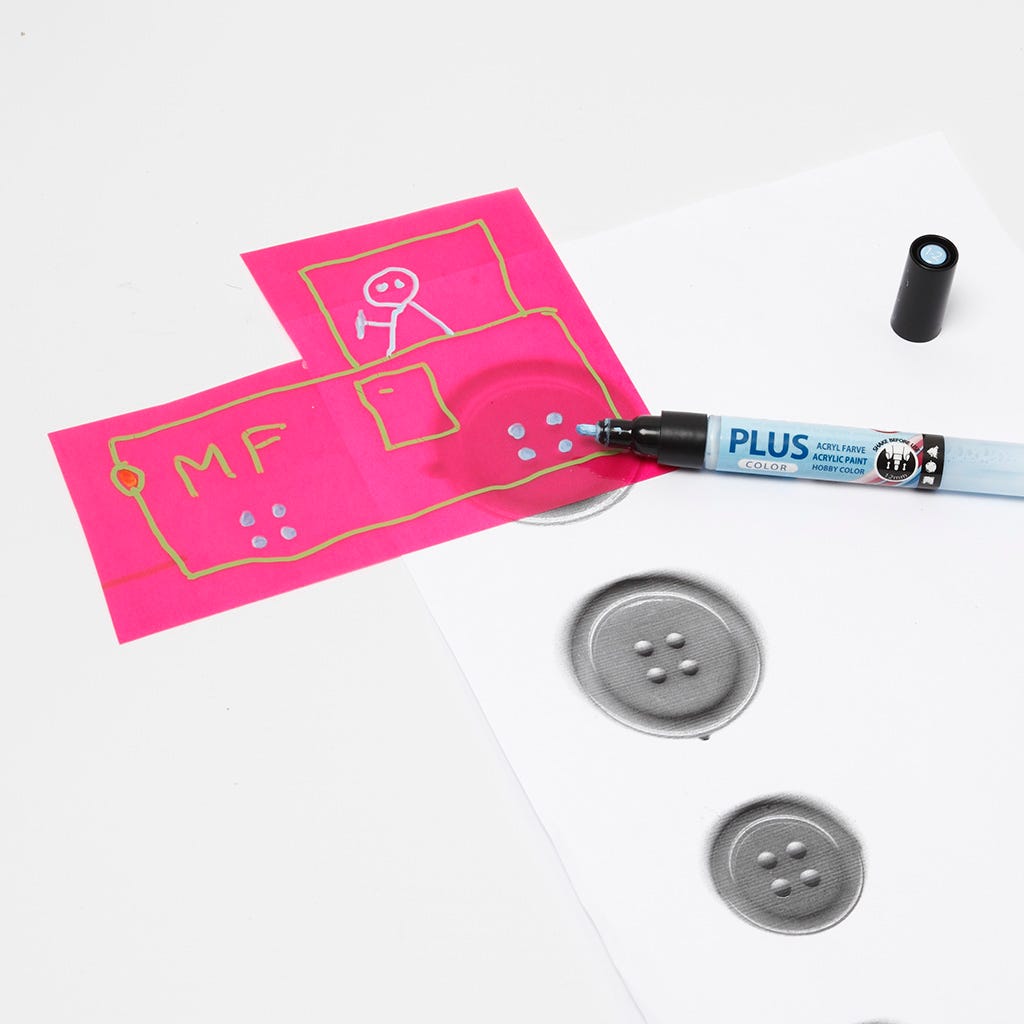 Draw a vehicle without wheels onto the transparent shrink plastic sheet and place the print of the enlarged buttons underneath the shrink plastic sheet. The print is used for getting the proportions and the position of the wheels right. Draw the holes of the buttons onto the shrink plastic car where you will be sewing on the buttons later. Use either colouring pencils on the matt side of the shrink plastic sheet or Plus Color markers on the
the glossy side of the shrink plastic sheet).
Draw a vehicle without wheels onto the transparent shrink plastic sheet and place the print of the enlarged buttons underneath the shrink plastic sheet. The print is used for getting the proportions and the position of the wheels right. Draw the holes of the buttons onto the shrink plastic car where you will be sewing on the buttons later. Use either colouring pencils on the matt side of the shrink plastic sheet or Plus Color markers on the
the glossy side of the shrink plastic sheet).3 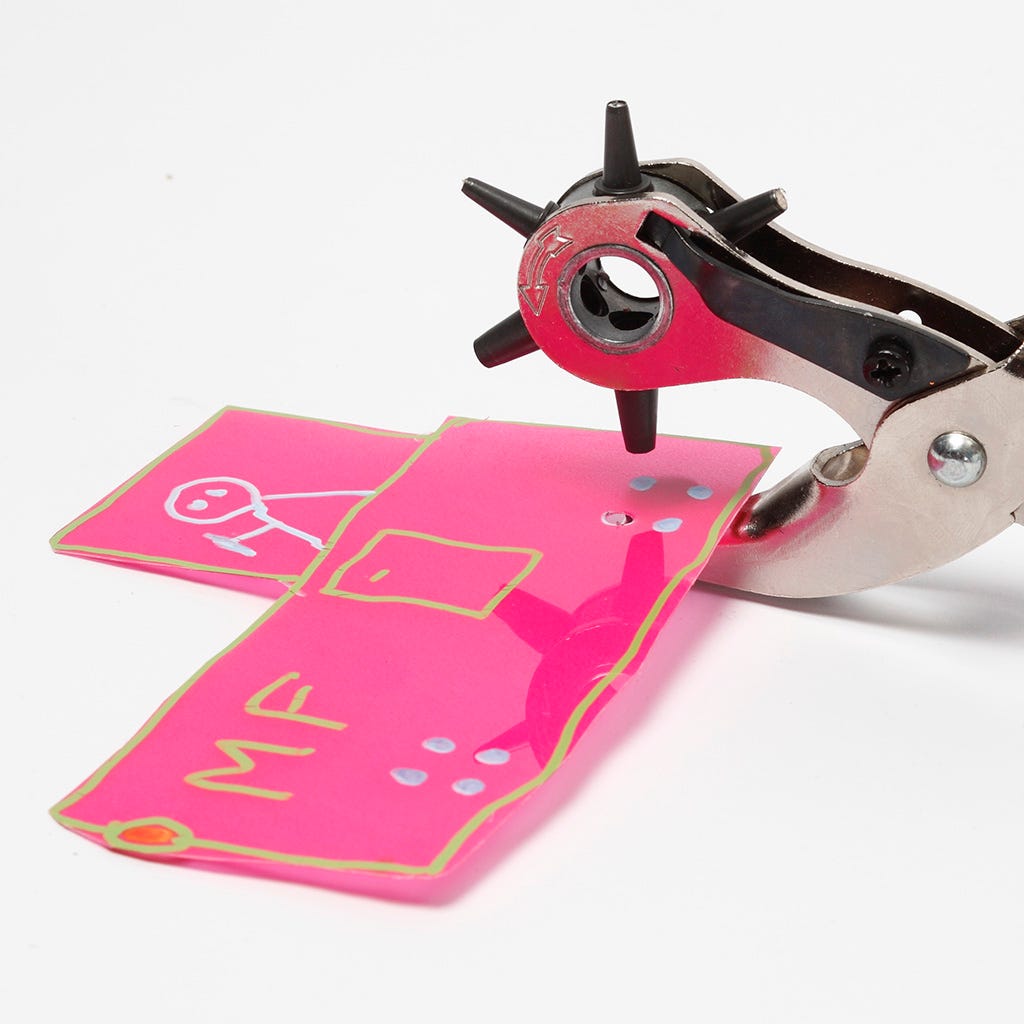 Cut out the vehicle as shown in the picture. Make holes with revolving punch pliers in the marked holes for the buttons. Use the second largest hole setting of the punch pliers as the hole will shrink in the oven as well.
Cut out the vehicle as shown in the picture. Make holes with revolving punch pliers in the marked holes for the buttons. Use the second largest hole setting of the punch pliers as the hole will shrink in the oven as well.4 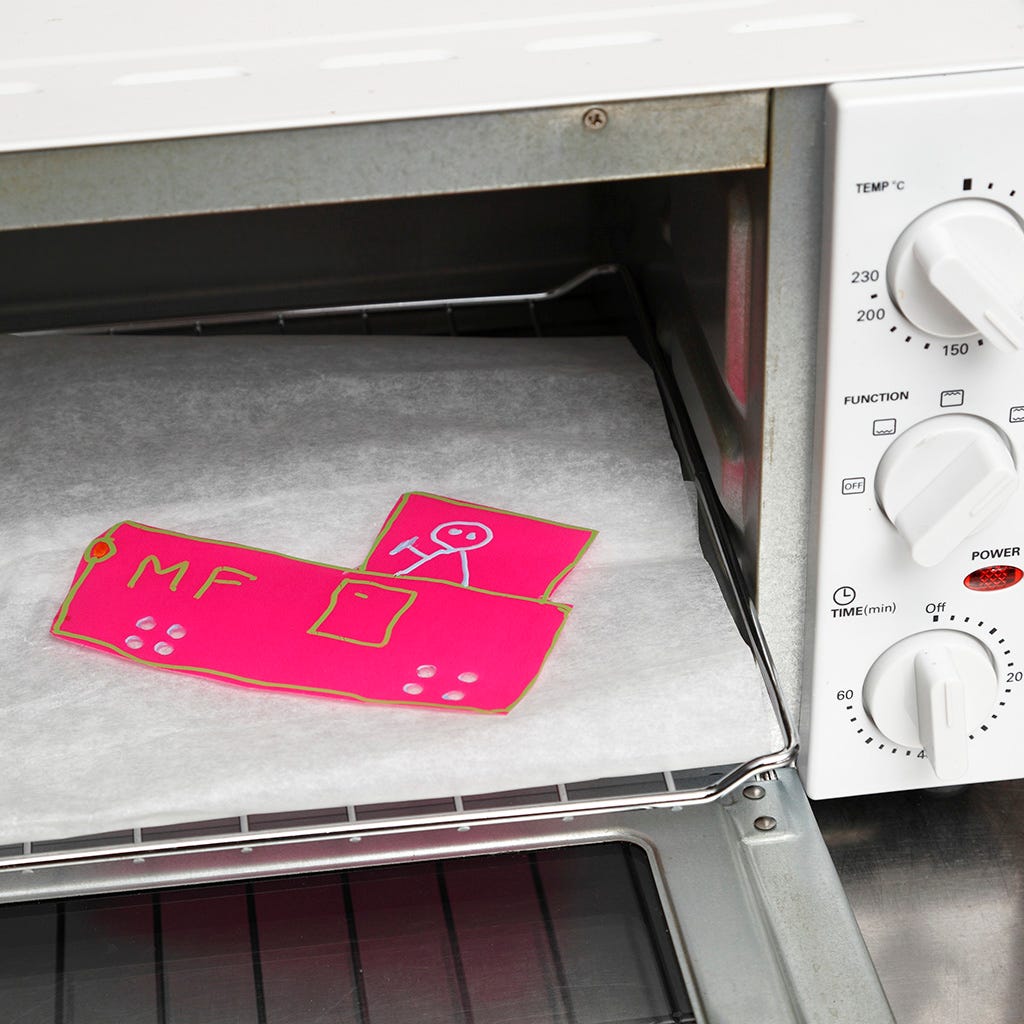 Shrink the car in a household oven on baking paper at 160°C. Keep an eye on it through the oven door as the shape curls up quickly. A TIP: Right after shrinking, press the car to make it completely flat. Press it for a short time (for example, using a potholder), giving it a completely flat finish.
Shrink the car in a household oven on baking paper at 160°C. Keep an eye on it through the oven door as the shape curls up quickly. A TIP: Right after shrinking, press the car to make it completely flat. Press it for a short time (for example, using a potholder), giving it a completely flat finish.5 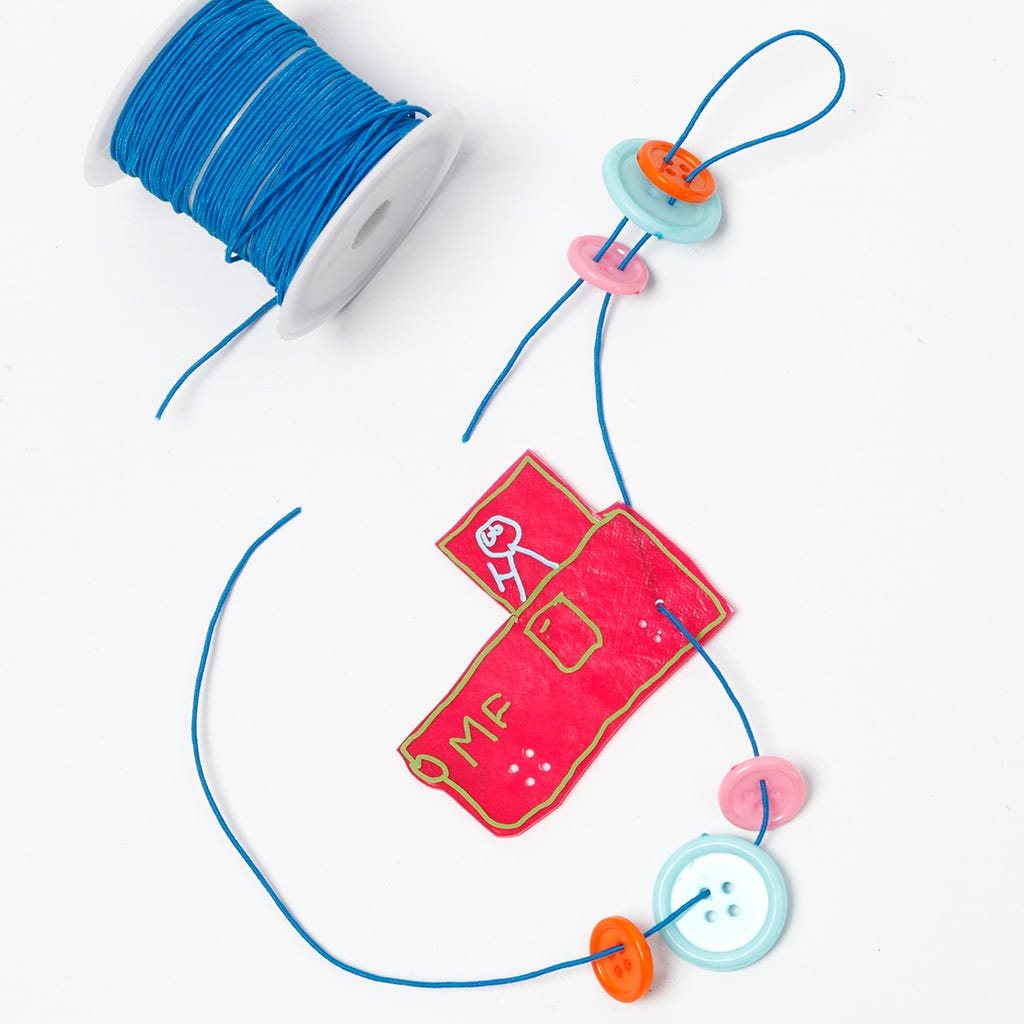 Sew on the buttons with a 1 mm thick elastic beading cord as illustrated in the picture.
Sew on the buttons with a 1 mm thick elastic beading cord as illustrated in the picture.A TIP: 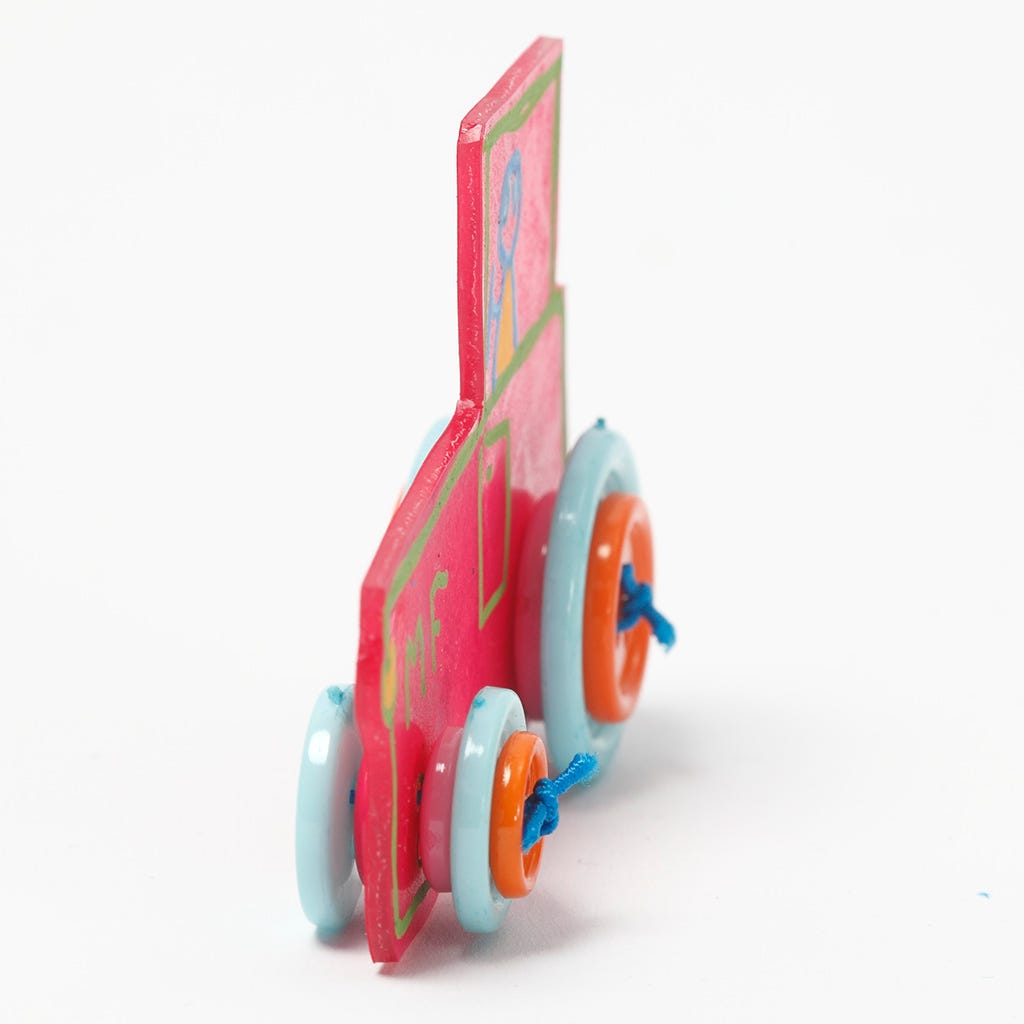 Using 2-3 buttons for each wheel on both sides of the car, enables the car to stand independently without falling over. Tie a knot on the front and trim the ends.
Using 2-3 buttons for each wheel on both sides of the car, enables the car to stand independently without falling over. Tie a knot on the front and trim the ends.Another variant  You may also use this technique with the buttons on other figures – for example for eyes.
You may also use this technique with the buttons on other figures – for example for eyes.Template  -
-
-Also go exploring in
