
Creative idea
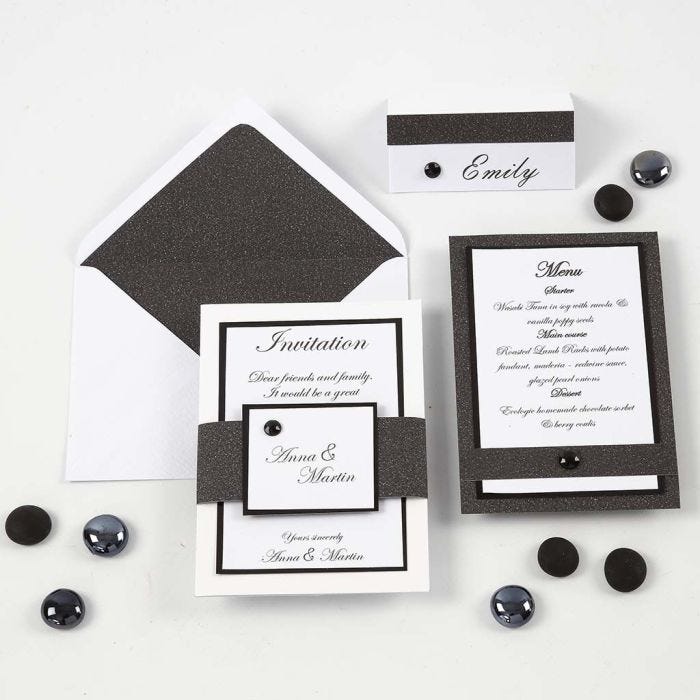
A black and white Invitation, Menu Card and Place Card
#v14487
An invitation made from a greeting card decorated with black design paper and white textured paper with printed text. Decorated with a matching waistband made from the same materials and a rhinestone sticker. The envelope is lined with glitter paper. The menu card and the place card are made in the same manner.
#v14487
How to do it
1 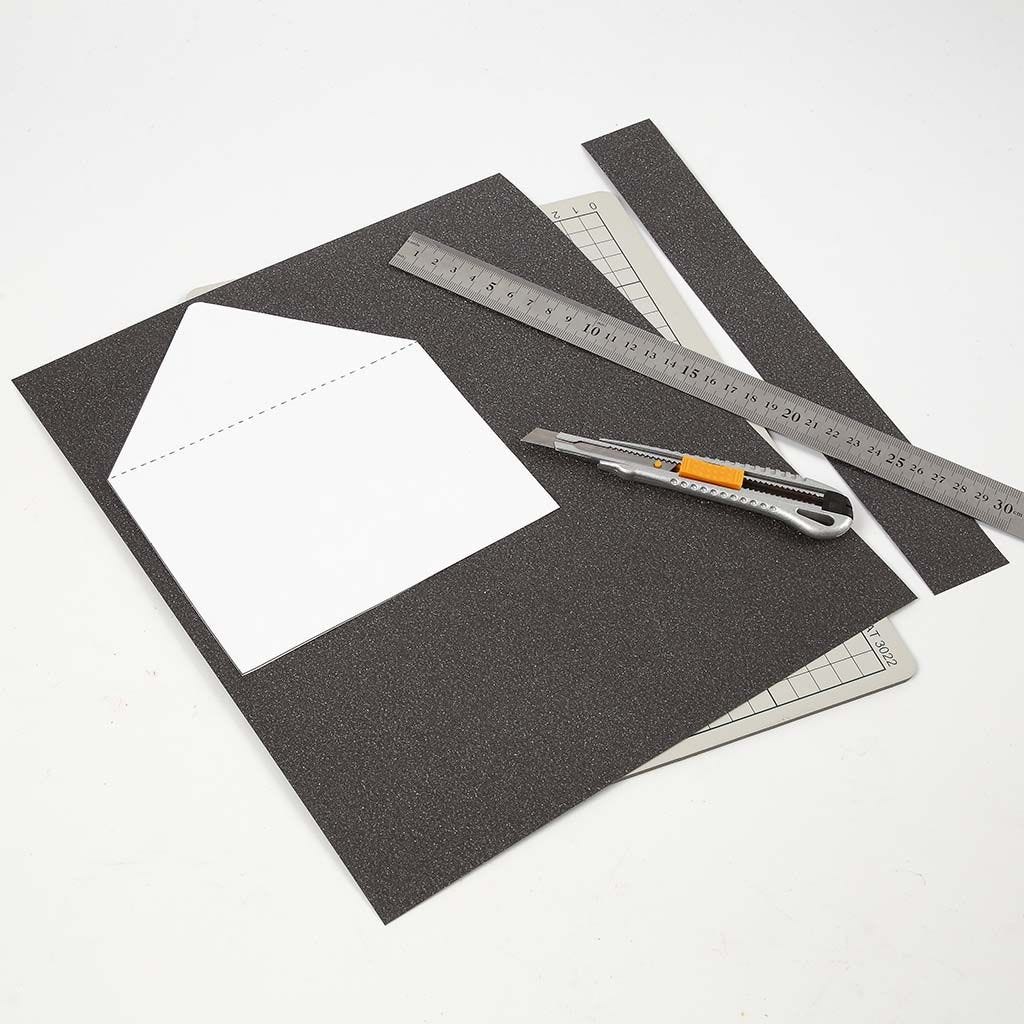 Make a waistband by cutting a 4cm wide piece of black design paper with glitter to the same width as the greeting card. Make a 'name tag' in the same manner as the invitation itself (see the next step). Make the lining for the envelope from the same paper using a template which is available as a separate PDF file for this idea. NB: the lining can be loosly placed inside the envelope or secured with tape.
Make a waistband by cutting a 4cm wide piece of black design paper with glitter to the same width as the greeting card. Make a 'name tag' in the same manner as the invitation itself (see the next step). Make the lining for the envelope from the same paper using a template which is available as a separate PDF file for this idea. NB: the lining can be loosly placed inside the envelope or secured with tape.2 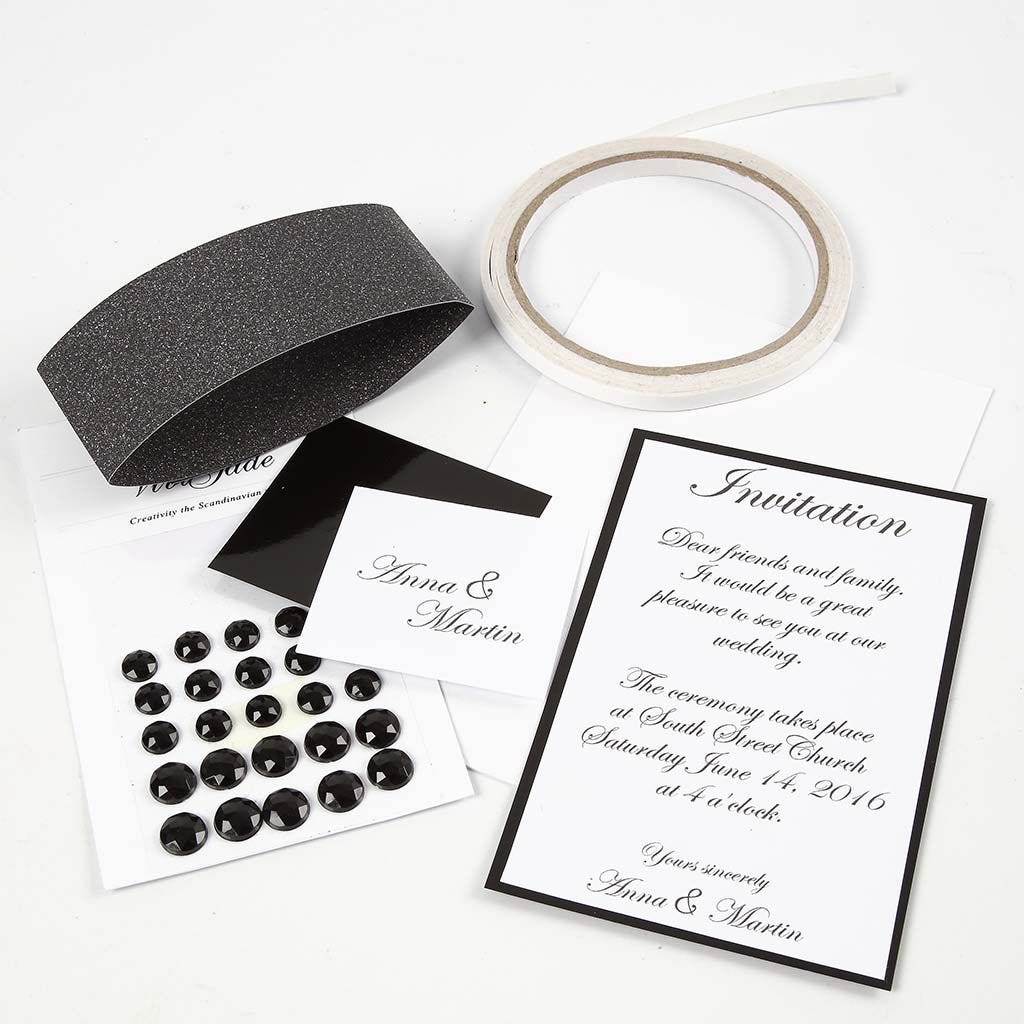 Print text on textured paper. Trim to make it slightly smaller than the sheet of glossy black design paper. Attach to the greeting card/waistband with double-sided adhesive tape (shown here on the front of the greeting card). Alternatively, attach inside the greeting card which can also be used as a wedding list etc.
Print text on textured paper. Trim to make it slightly smaller than the sheet of glossy black design paper. Attach to the greeting card/waistband with double-sided adhesive tape (shown here on the front of the greeting card). Alternatively, attach inside the greeting card which can also be used as a wedding list etc.3 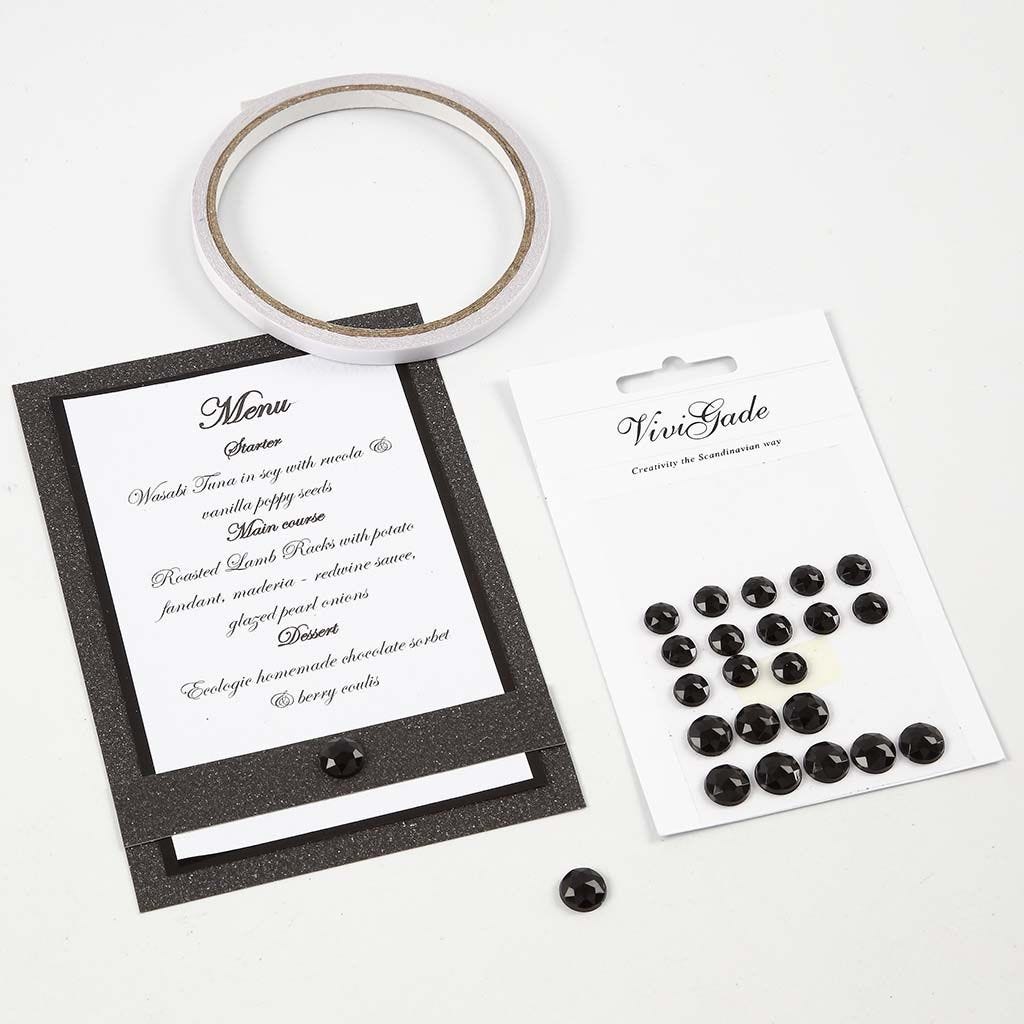 Cut a 10 x 14.5 cm piece and a 1.5 x 10 cm piece of black design paper with glitter to make the menu card. Cut a 9.3 x 13.8 cm piece of glossy black design paper. Print text onto textured paper. (NB: Ensure there is enough space for the narrow glitter border at the bottom). Trim to make it slightly smaller than the piece of glossy design paper. Assemble with double-sided adhesive tape.
Cut a 10 x 14.5 cm piece and a 1.5 x 10 cm piece of black design paper with glitter to make the menu card. Cut a 9.3 x 13.8 cm piece of glossy black design paper. Print text onto textured paper. (NB: Ensure there is enough space for the narrow glitter border at the bottom). Trim to make it slightly smaller than the piece of glossy design paper. Assemble with double-sided adhesive tape.4 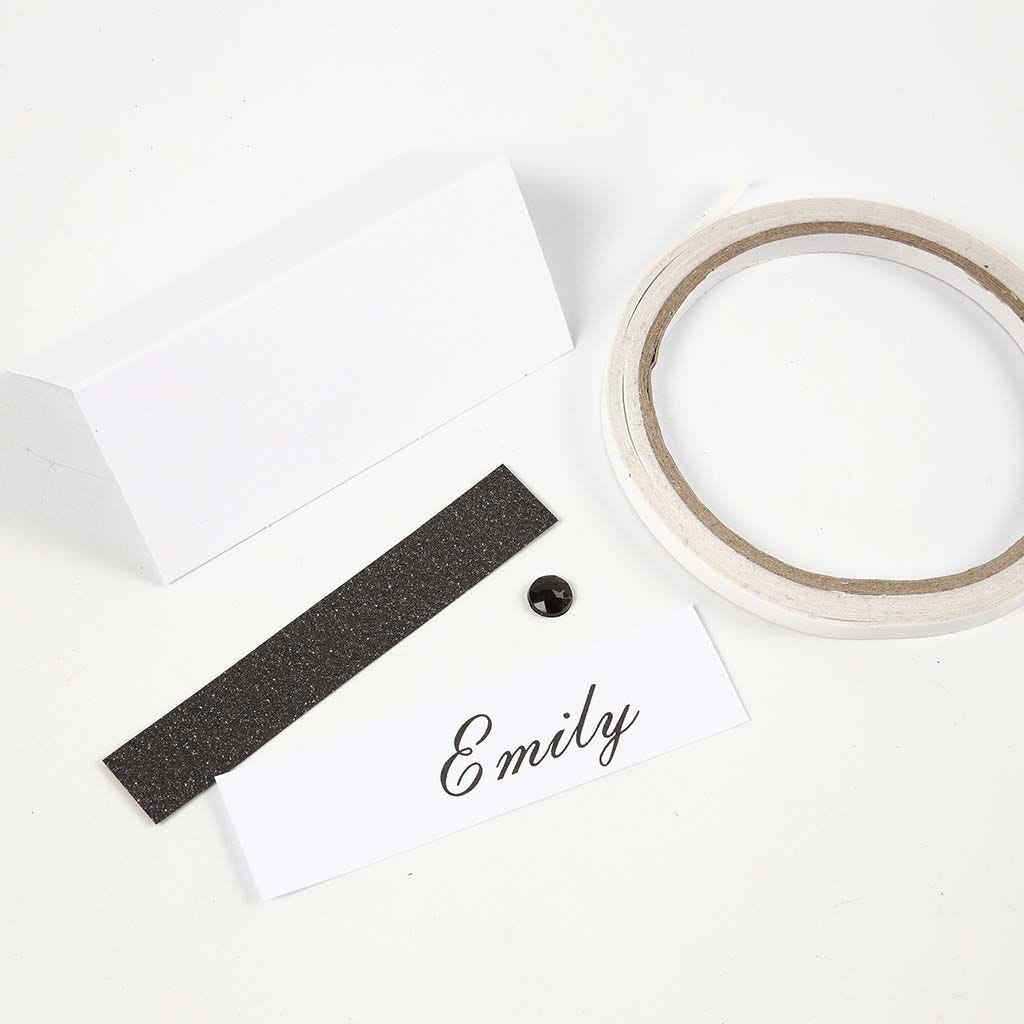 Print a name on textured paper, trim and attach it onto the place card along with a border made from design paper with glitter using double-sided adhesive tape. Add a rhinestone for decoration.
Print a name on textured paper, trim and attach it onto the place card along with a border made from design paper with glitter using double-sided adhesive tape. Add a rhinestone for decoration.Template  -
-
-Also go exploring in
