
Creative idea
Painted egg cups using the dot technique
#v16577
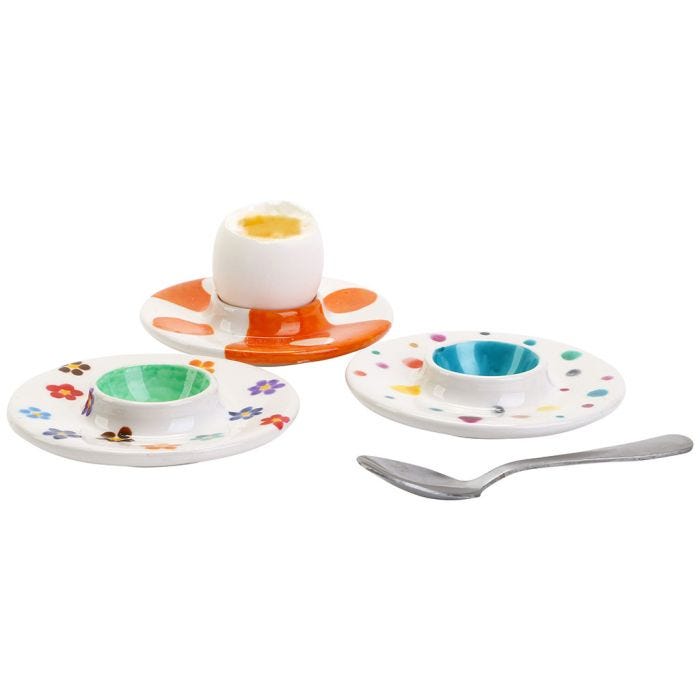
These pretty egg cups are made using the dot technique in three different levels of difficulty, so that even the youngest children can have a try while older ones can make their own designs. They make bright decorations for the breakfast table with all their beautiful colours.
#v16577
How to do it
Easy (with dots) Draw dots in different colours and sizes on the egg cup.
2 Put the egg cup in a conventional oven to cure the paint.
Intermediate (with flowers) Draw yellow dots all around the egg cup to make the centres of the flowers.
4 Draw 5–6 dots of the same colour around each yellow dot to make the flower's petals.
5 Put the egg cup in a conventional oven to cure the paint.
Hard (with alternating colours) Make a template to match the size of your dot.
7 Using the template, trace a circle on the egg cup in your chosen colour. Place the 4 circles with roughly equal gaps between them.
8 Fill 2 of the circles that are placed opposite each other with colour.
9 On the other 2 circles, use a marker to mark a boundary on the egg cup and 'outline' it with colour so that the circles remain uncoloured inside this field.
10 Put the egg cup in a conventional oven to cure the paint.
11 You can also draw your own dot/circle pattern on a piece of paper and transfer this to the egg cup.
12 If you find it helpful, you can use a marker cap or a roll of tape to make your template. This makes it easier to make a round circle shape.
Also go exploring in
