

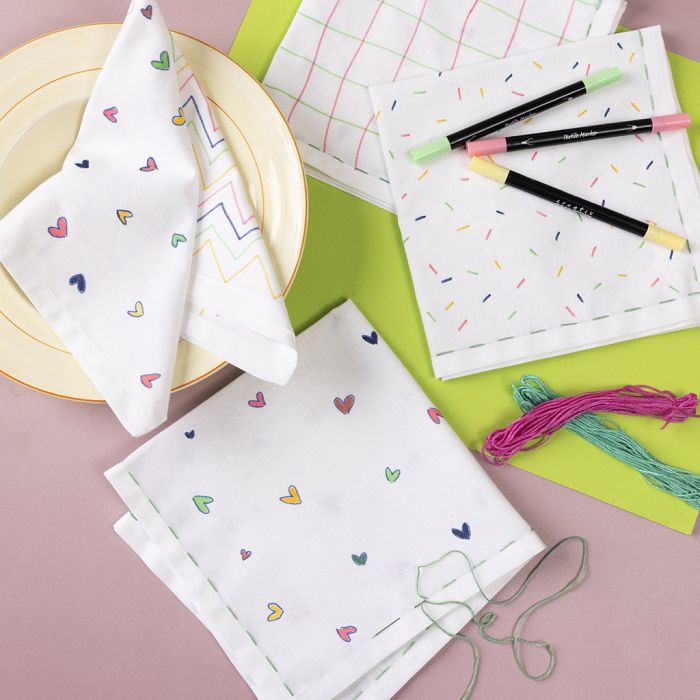
Fabric napkins with colourful designs
#v17246
Have the children decorate fabric napkins with colourful designs. Use textile markers to draw patterns and designs on the napkins - such as sprinkles, zigzag patterns and hearts. If you want to make the napkins more decorative, you can embroider simple stitches around the edges. Once the colours are iron fixed, the napkins can be washed and used again and again.
#v17246
1 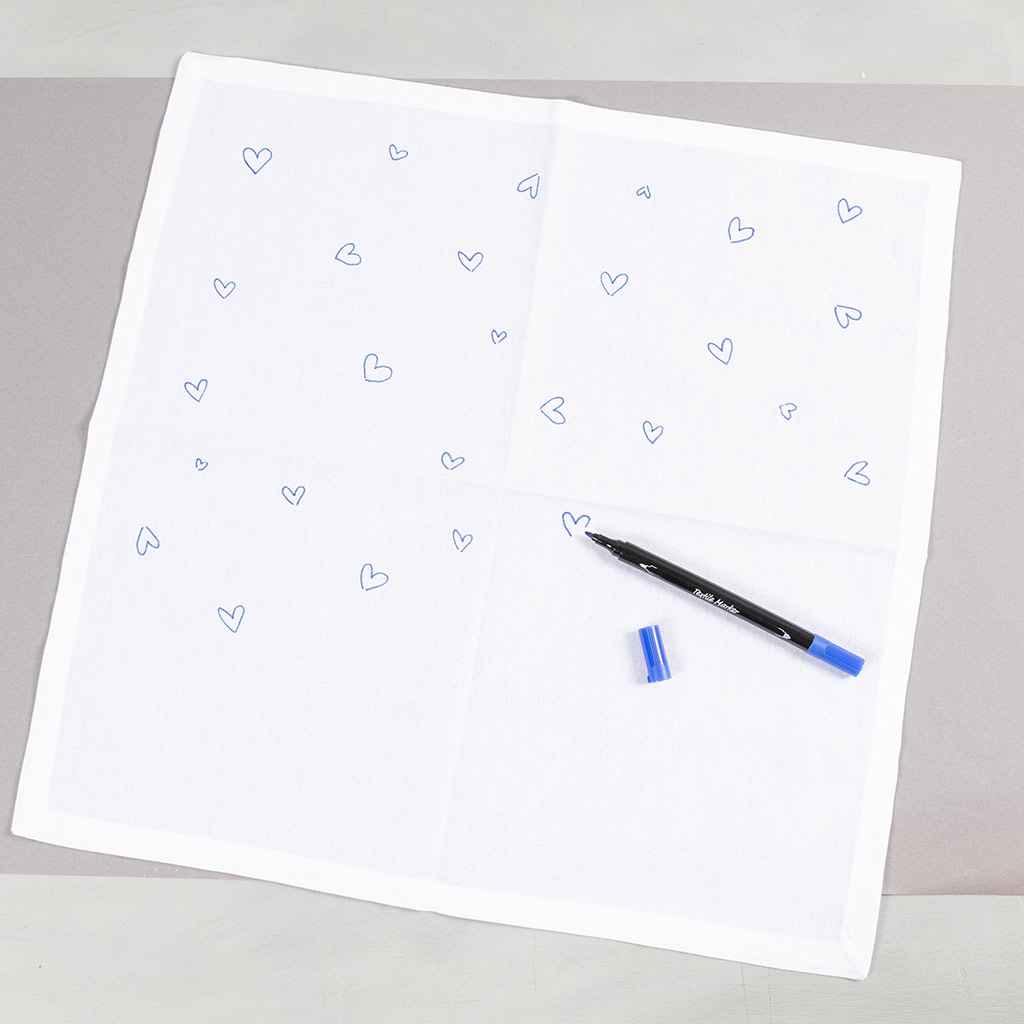 Place a piece of paper under the napkin before you start decorating to protect the surface below if the colour penetrates through the fabric. Choose your design and start drawing. Dark blue hearts are drawn here with the thin tip of the textile marker.
2 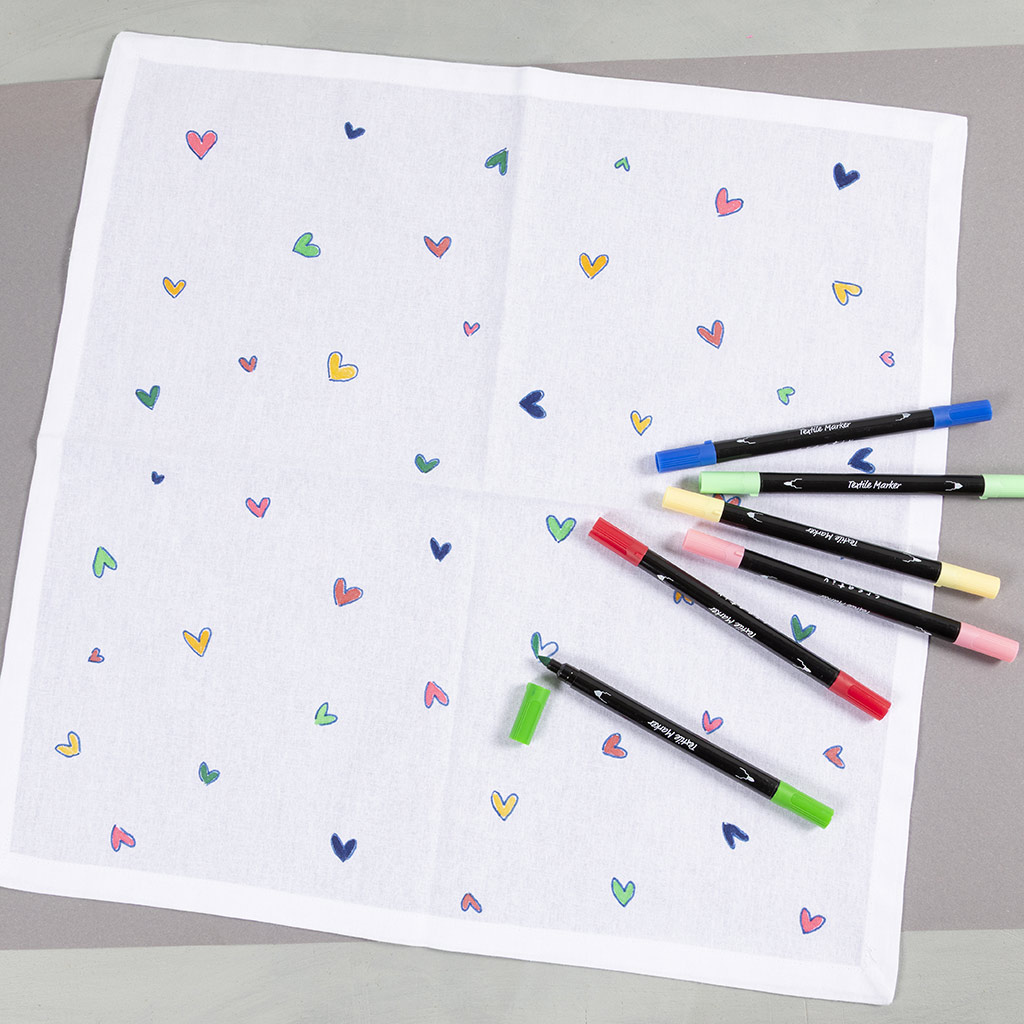 The hearts are then coloured in different colours.
3 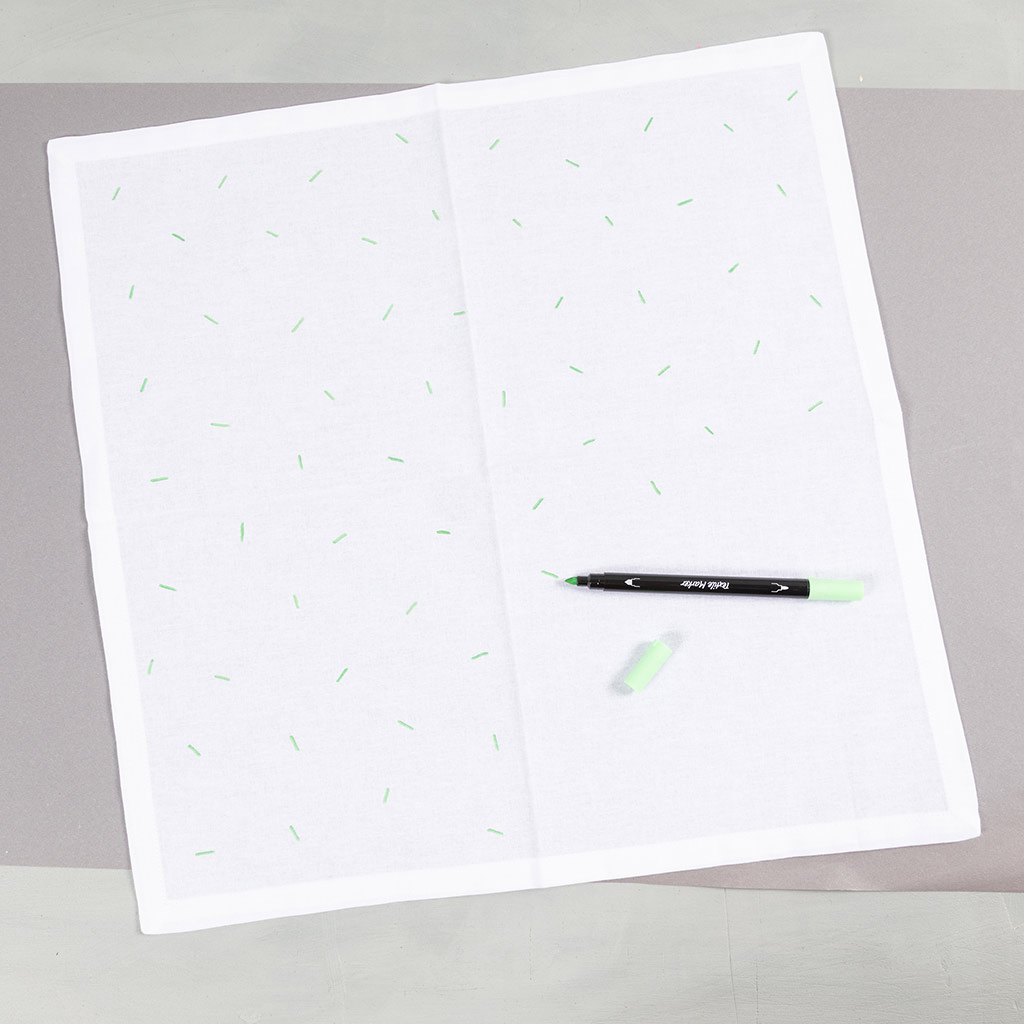 You can also draw a confetti pattern. Start with one colour and use the wide tip of the marker to make small random lines around the napkin.
4 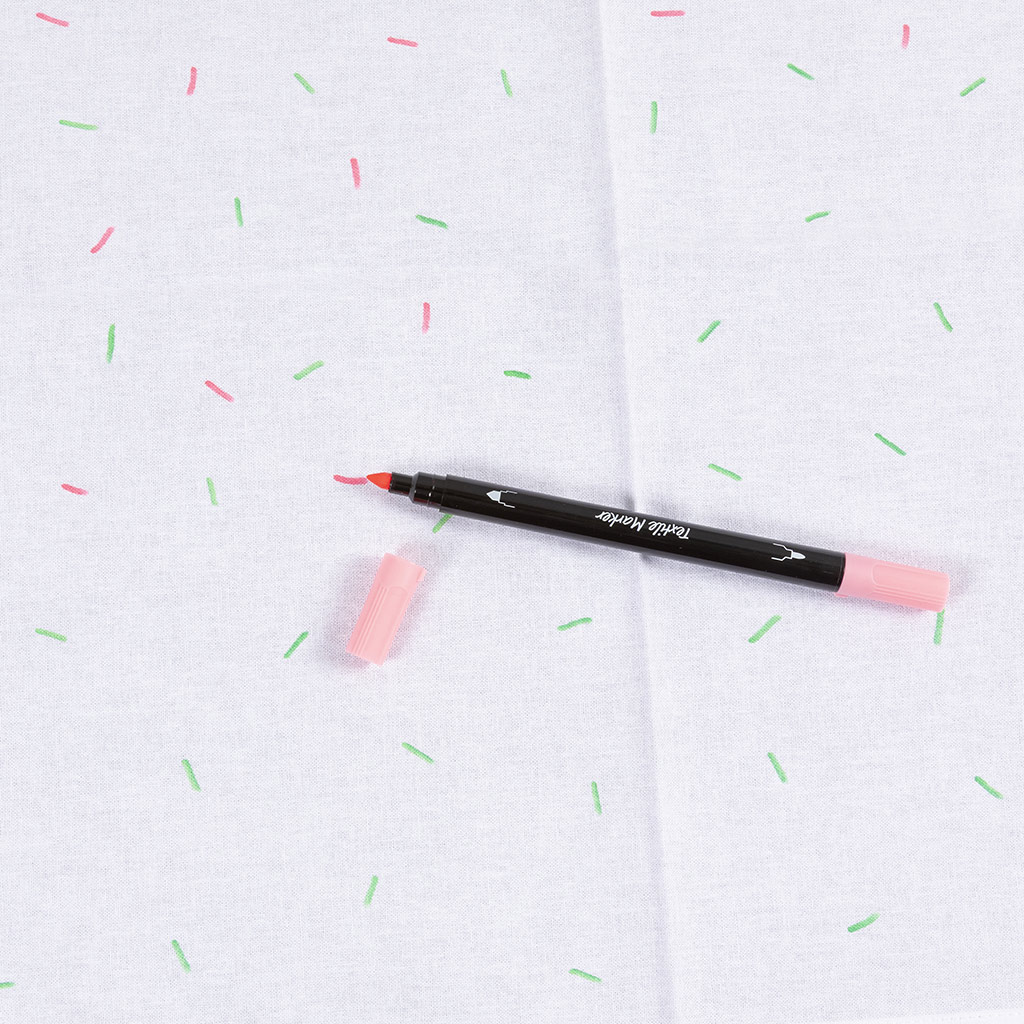 Draw corresponding lines with a new colour all around the napkin.
5 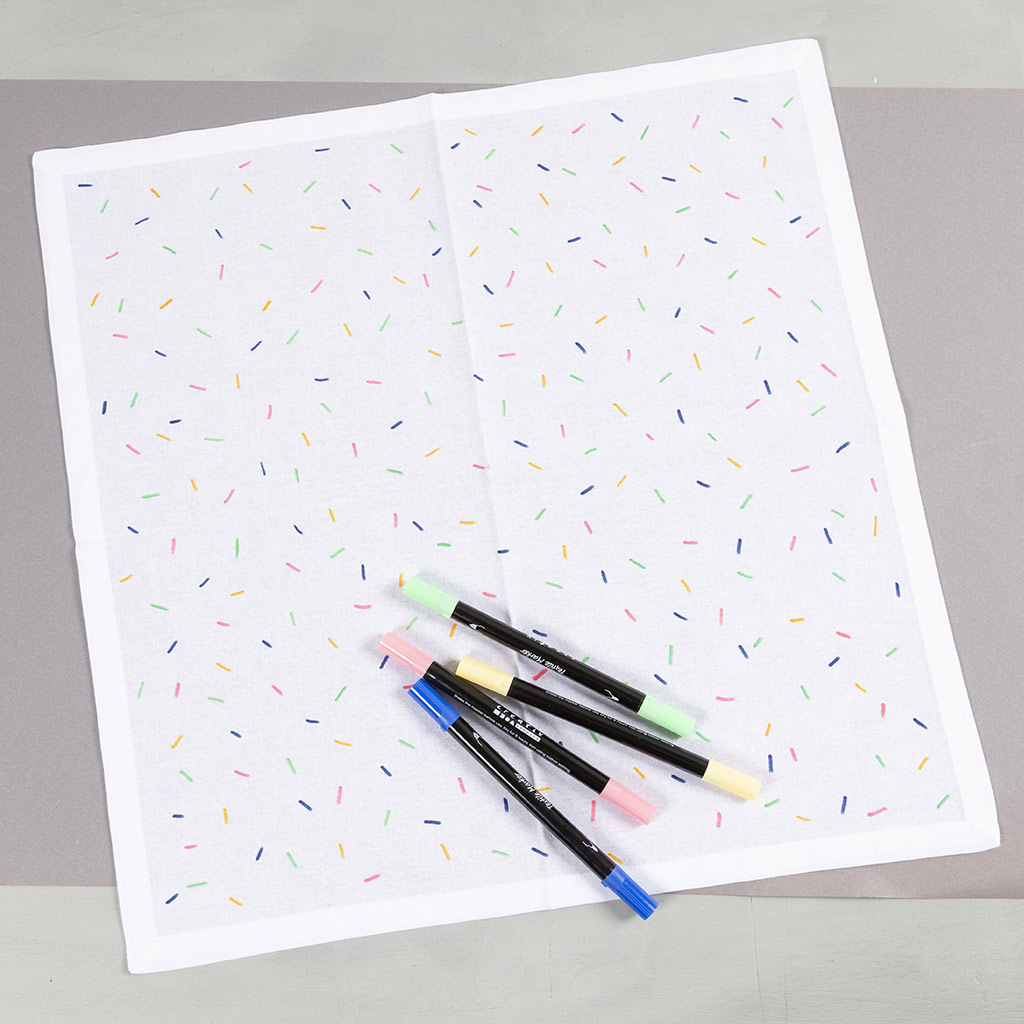 Repeat with the last two colours for a nice confetti effect.
6 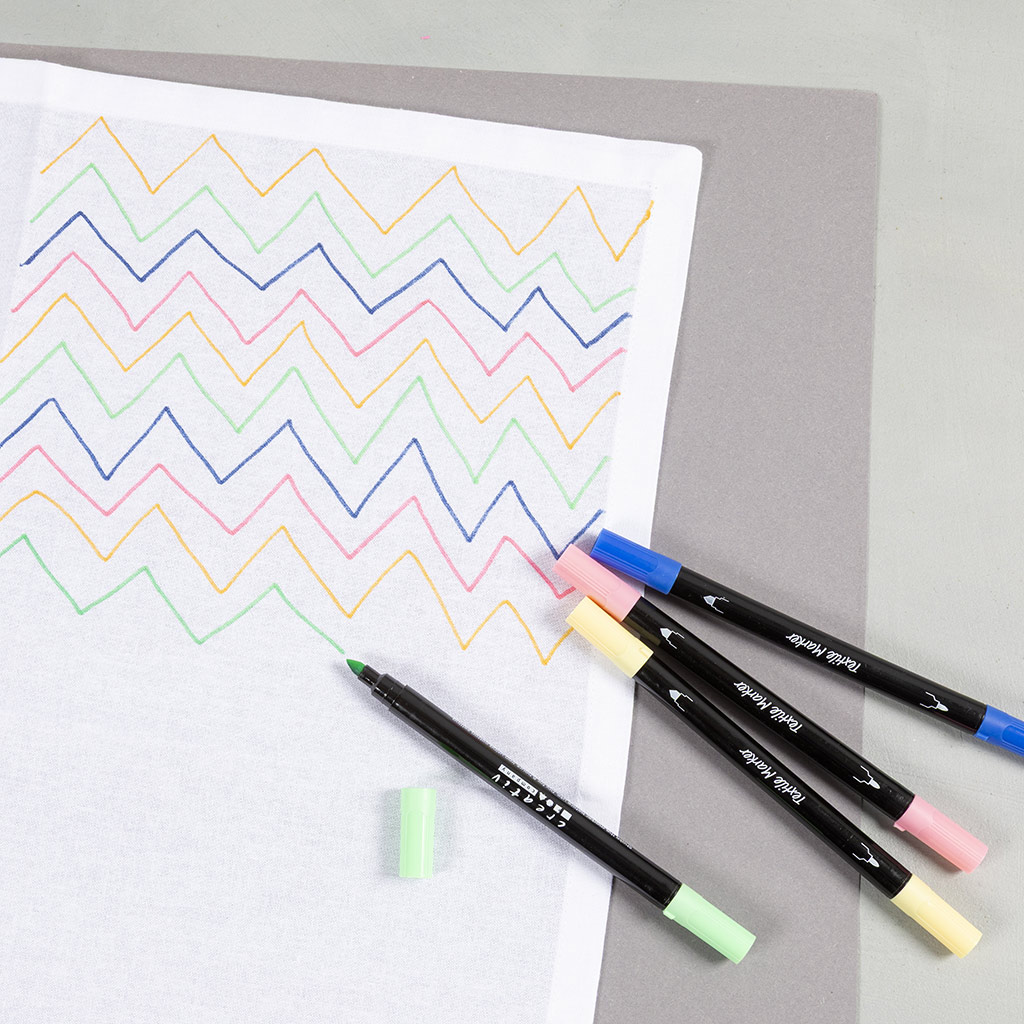 You can also choose to draw four designs on one napkin. This creates a nice effect when the napkin is folded. Use the folds of the napkin as a divider. Here, zigzag stripes are drawn in the first section. Alternate colours for an eye-catching design. For example, you can draw a confetti design in the next section.
 7 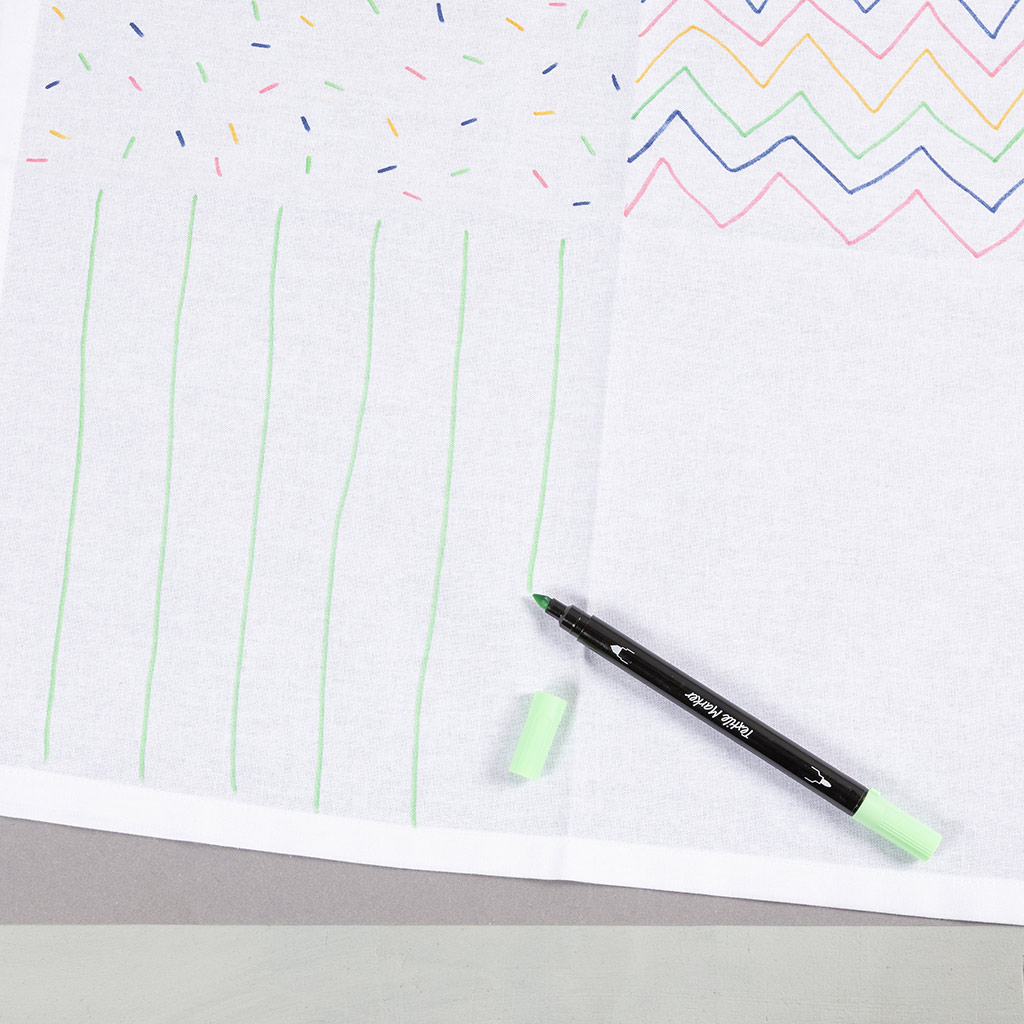 In the third section, you first draw vertical stripes with one colour.
8 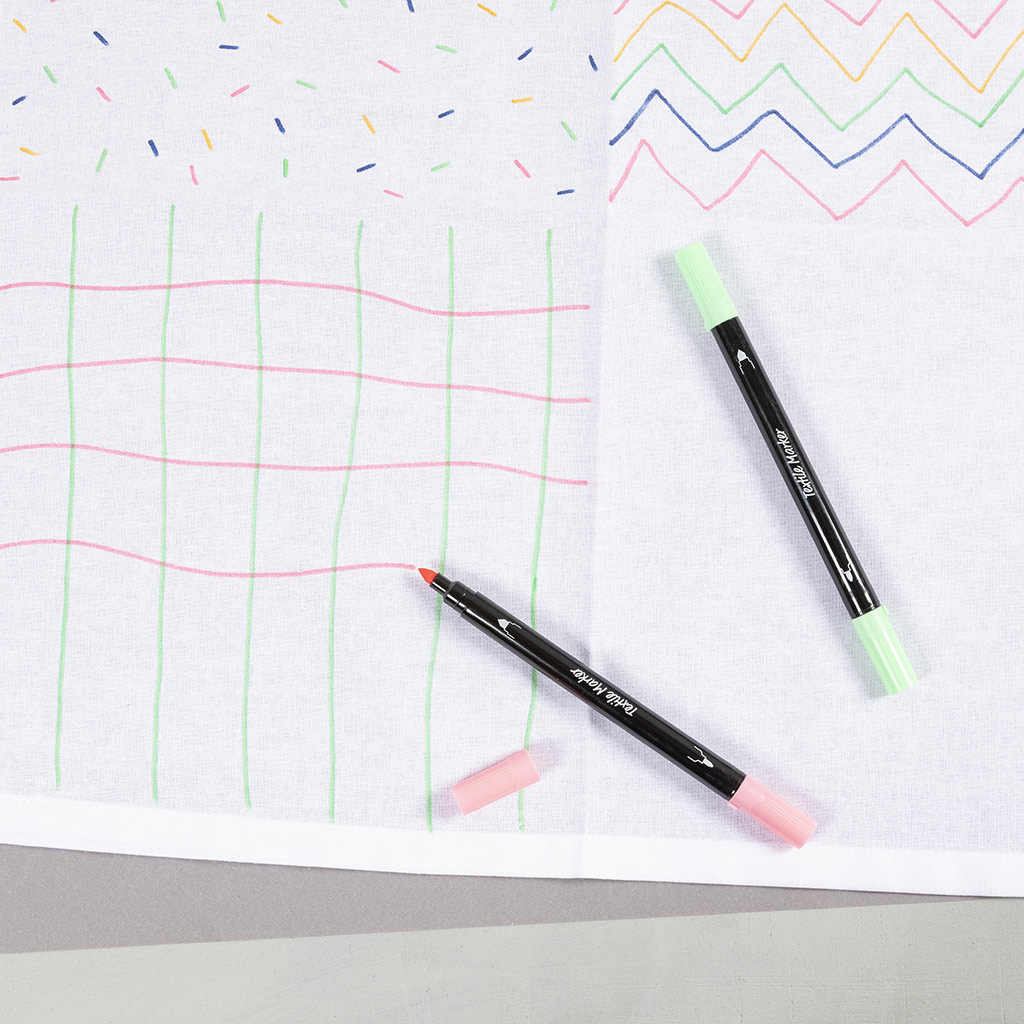 Now add horizontal stripes with a contrasting colour to create a check pattern.
9 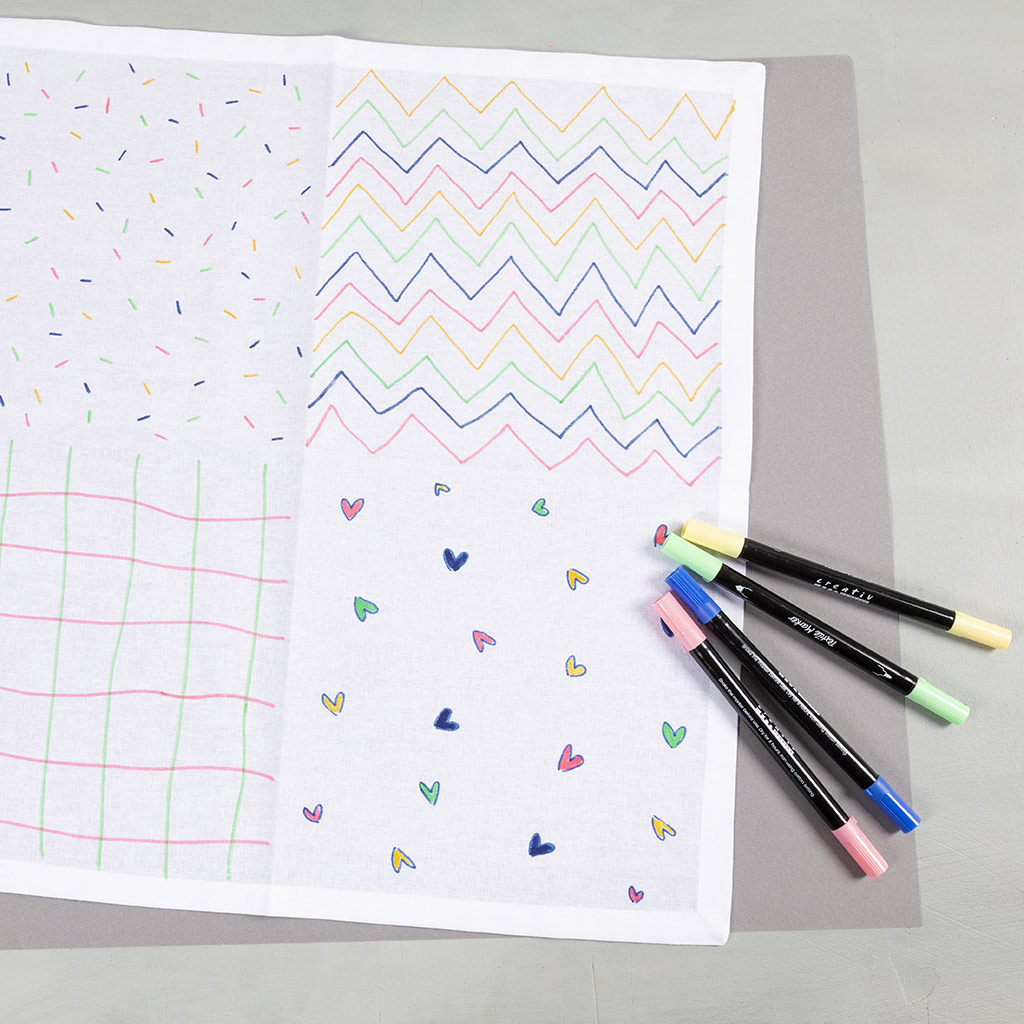 In the last section, you can draw hearts using the same technique as in steps 1 and 2.
10 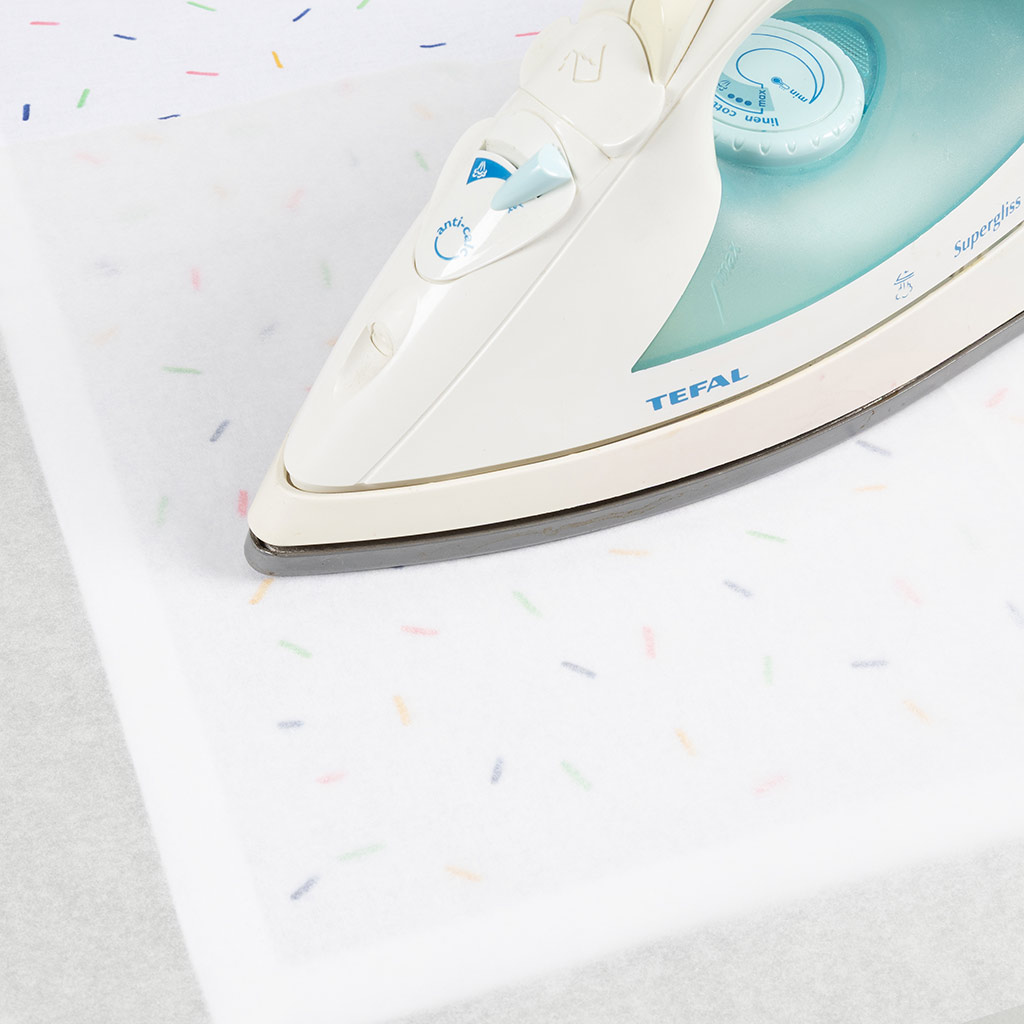 After decorating, allow the napkins to dry for 6 hours. Then place a piece of baking paper on top and set the colour for 5 minutes with an iron on the cotton setting.
11 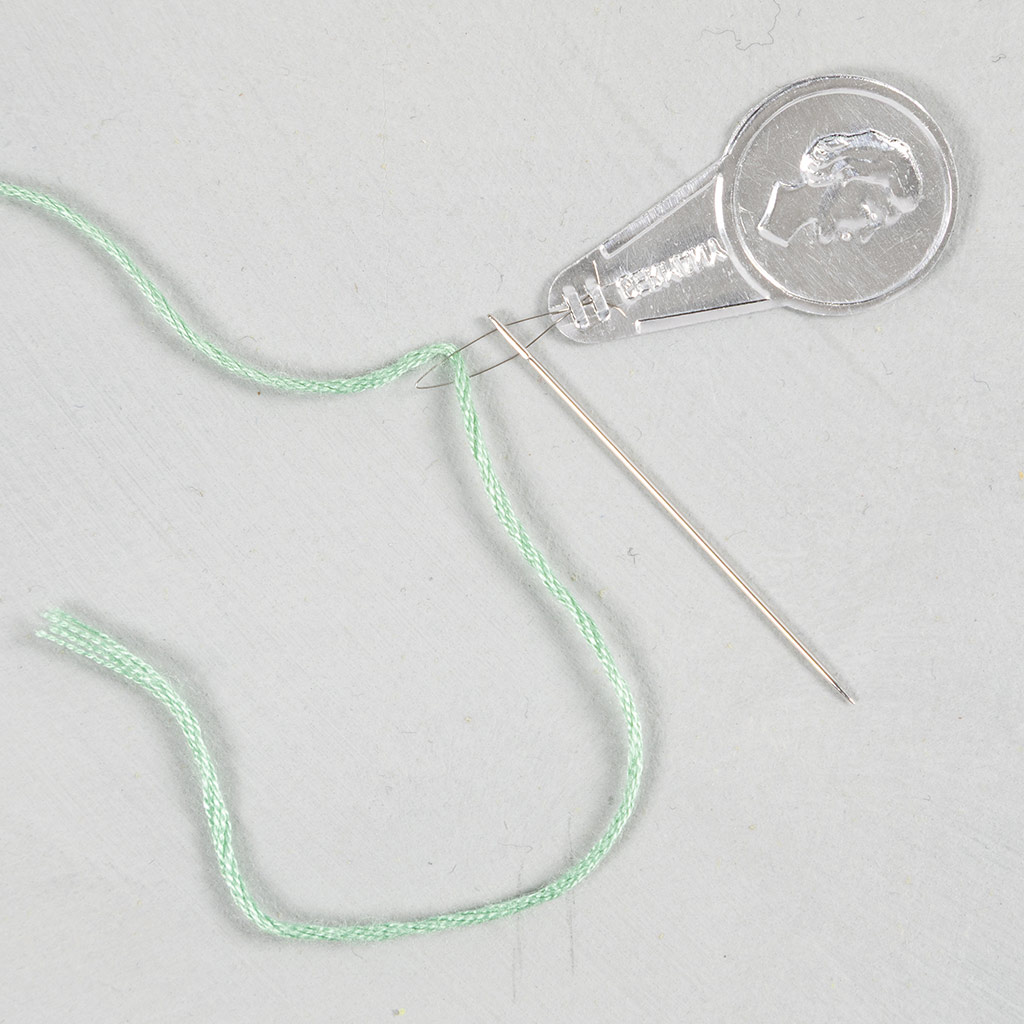 Cut a piece of embroidery thread to 50-60 cm. Pull the needle down over the needle threader and pull the thread through the loop.
12 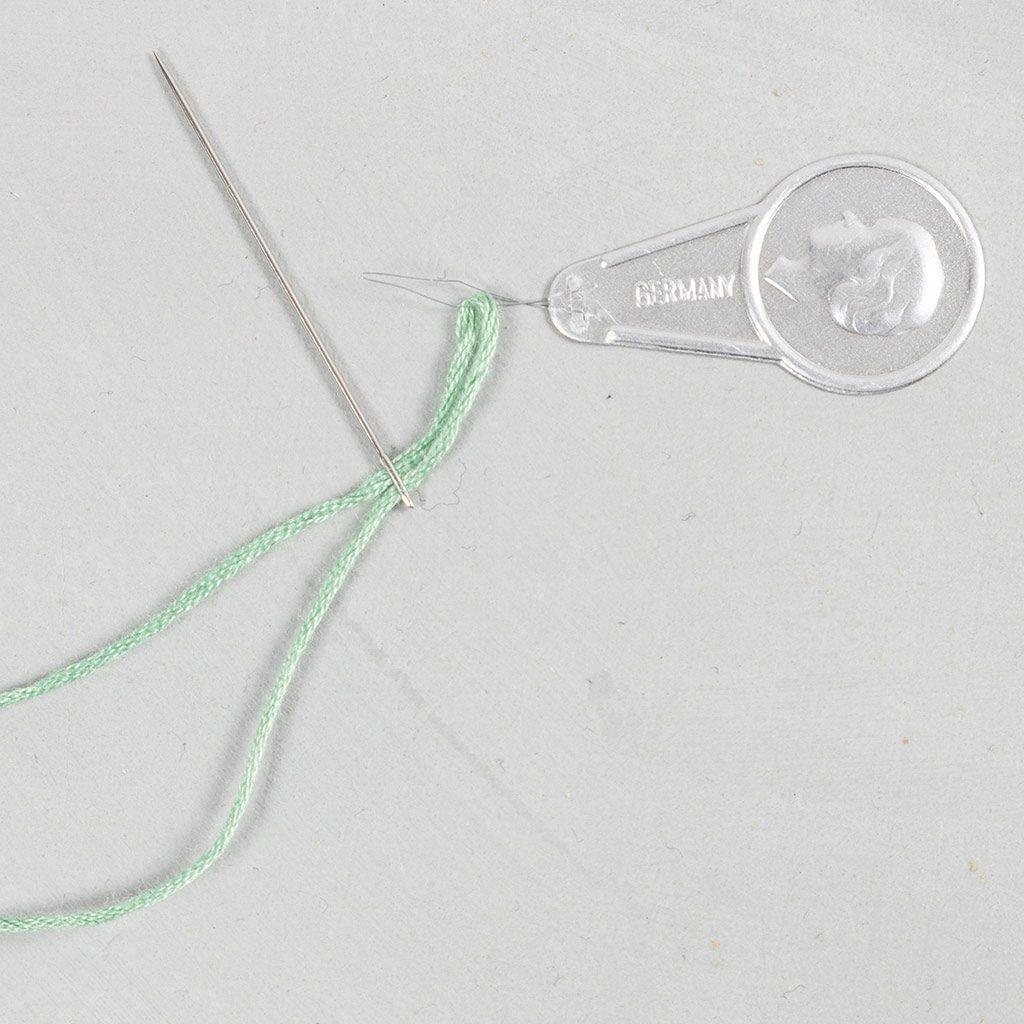 Pull the needle over the thread.
13 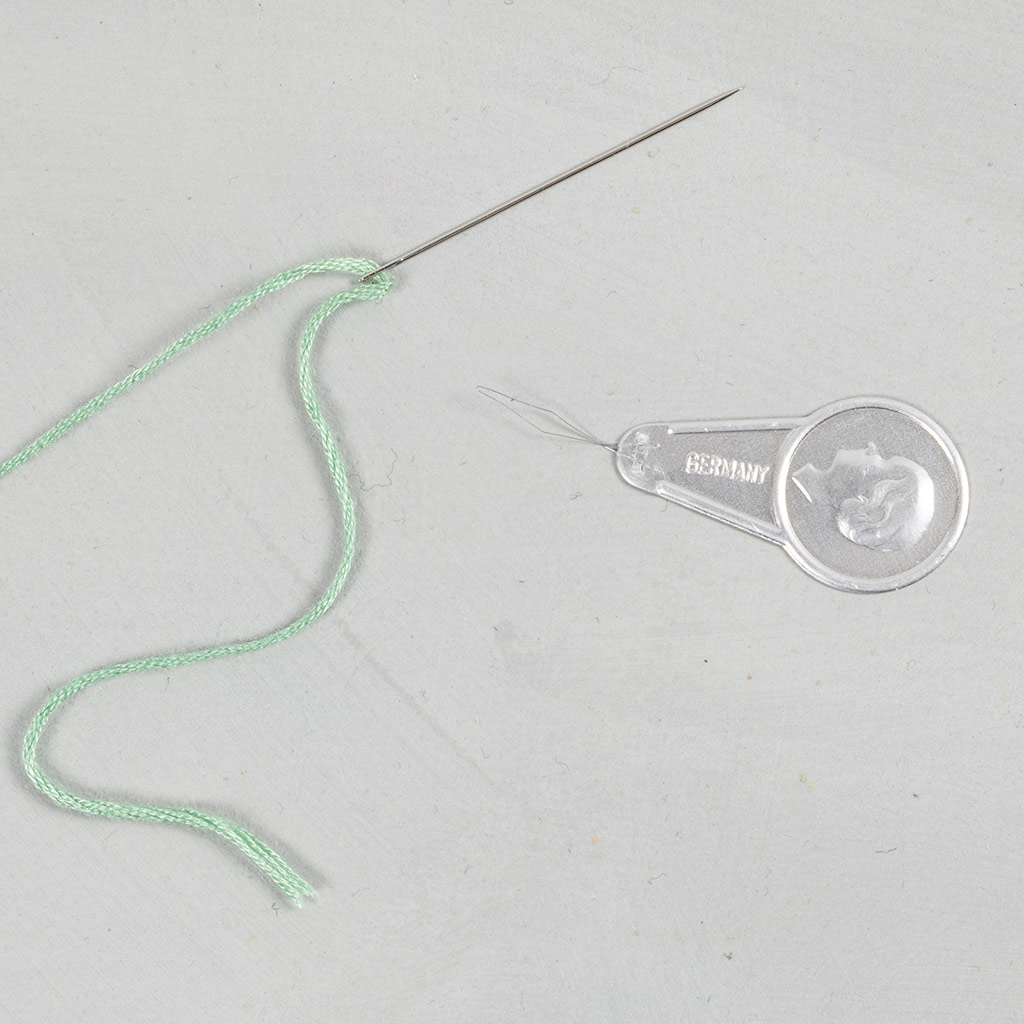 Remove the needle threader.
14 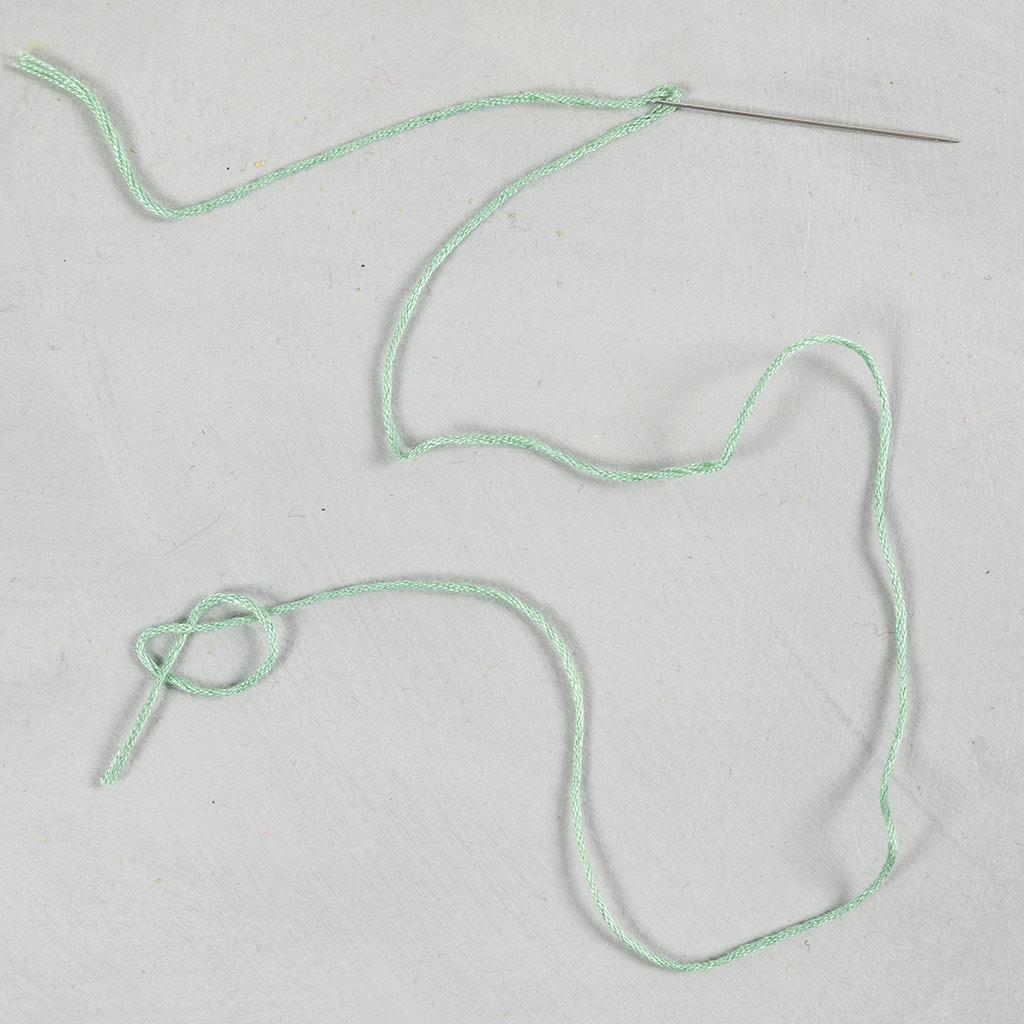 Tie a knot at the end of the thread.
15 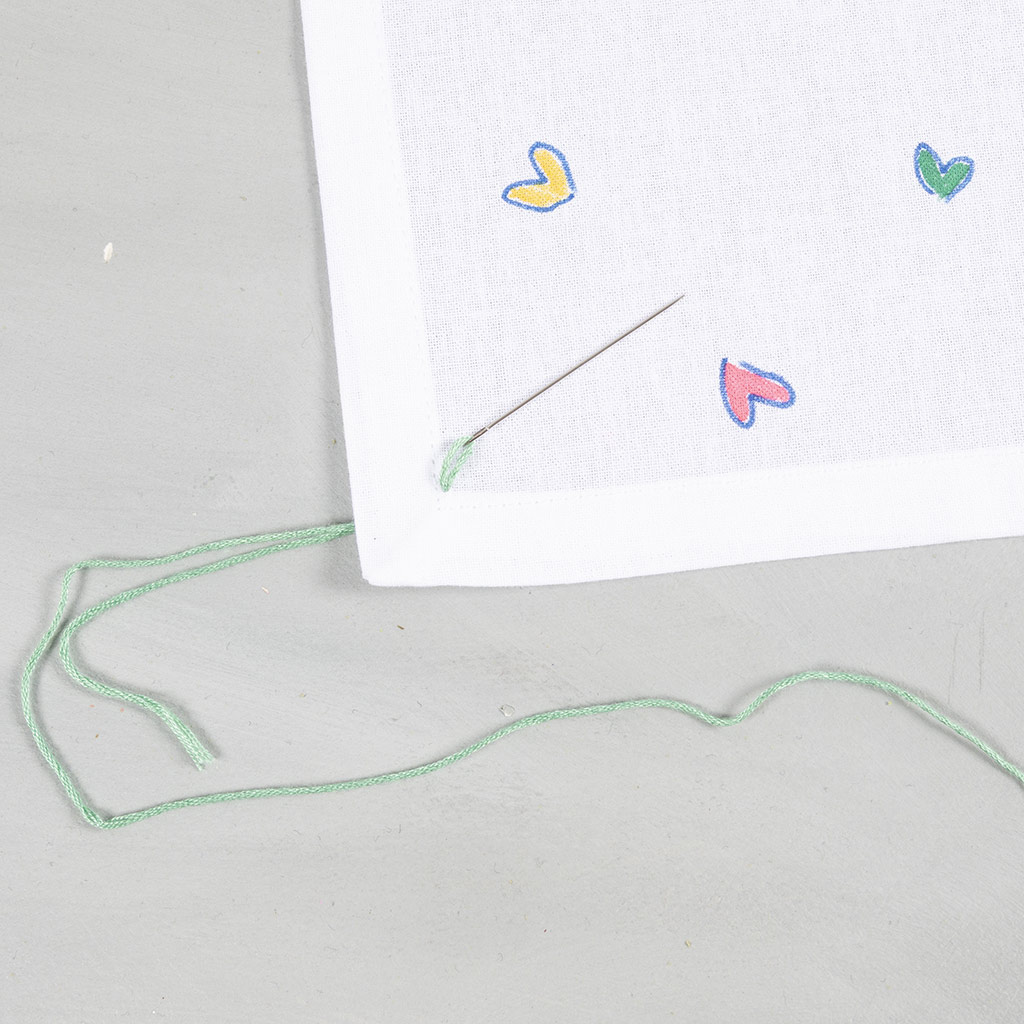 Starting at the bottom corner of the napkin, insert the needle up through the fabric from the back just above the hem.
16 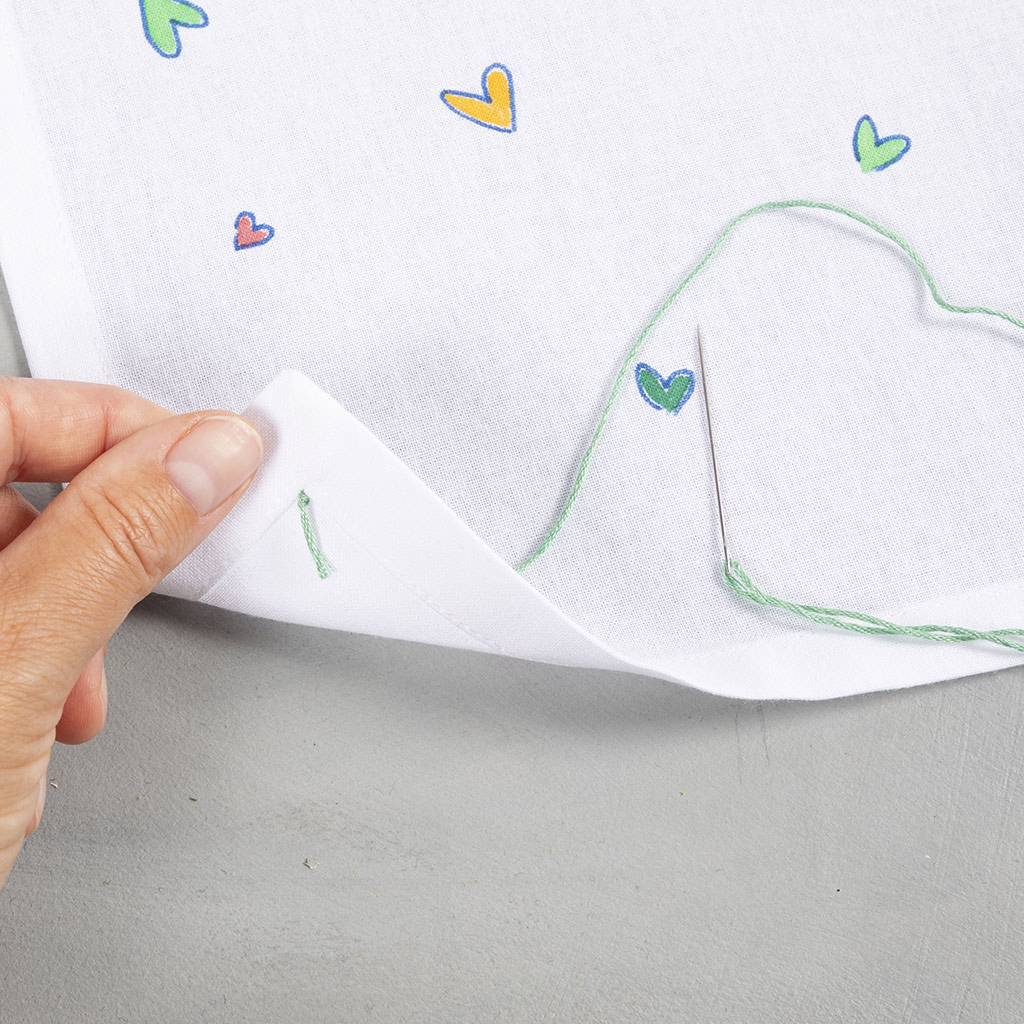 Pull the needle so that the knot is on the back.
17 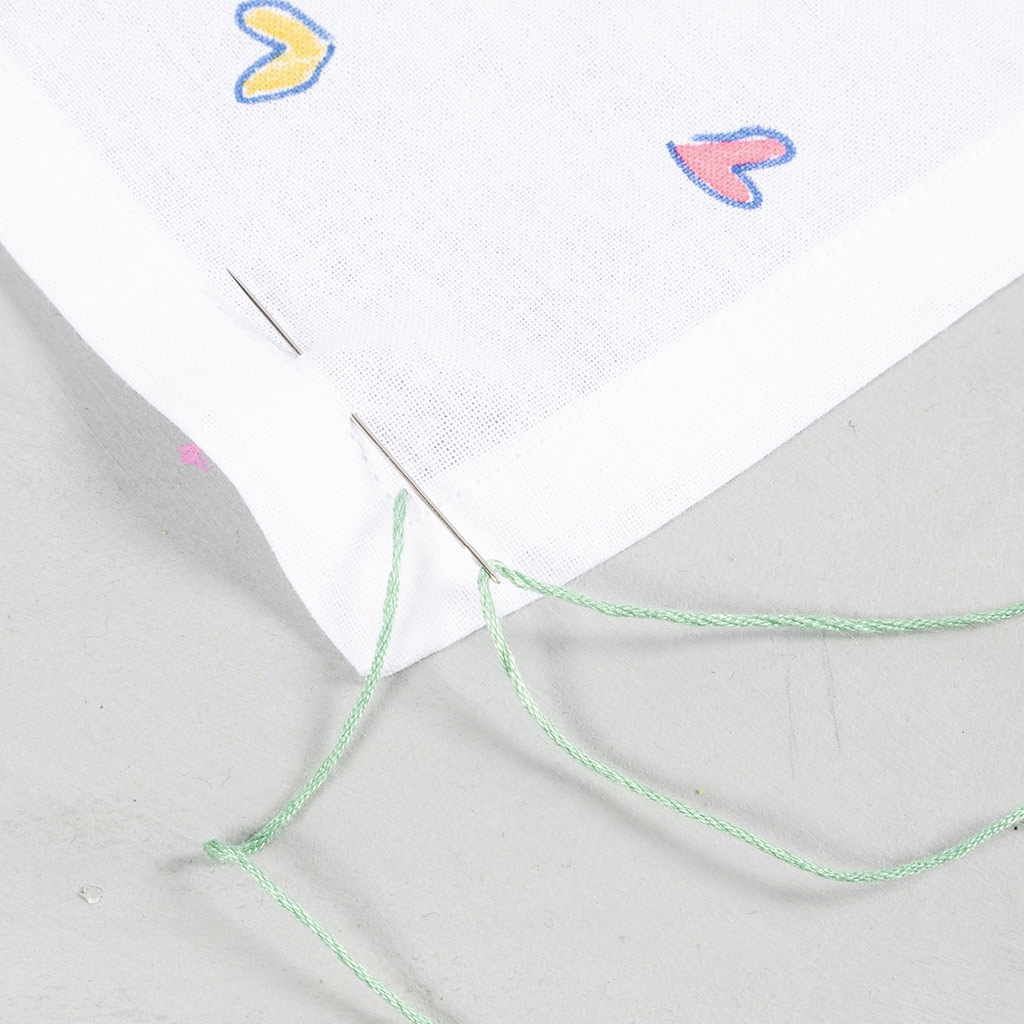 Now make small stitches along the edges of the napkin by inserting the needle down through the fabric and up again at a distance of about 1 to 1.5 cm.
18 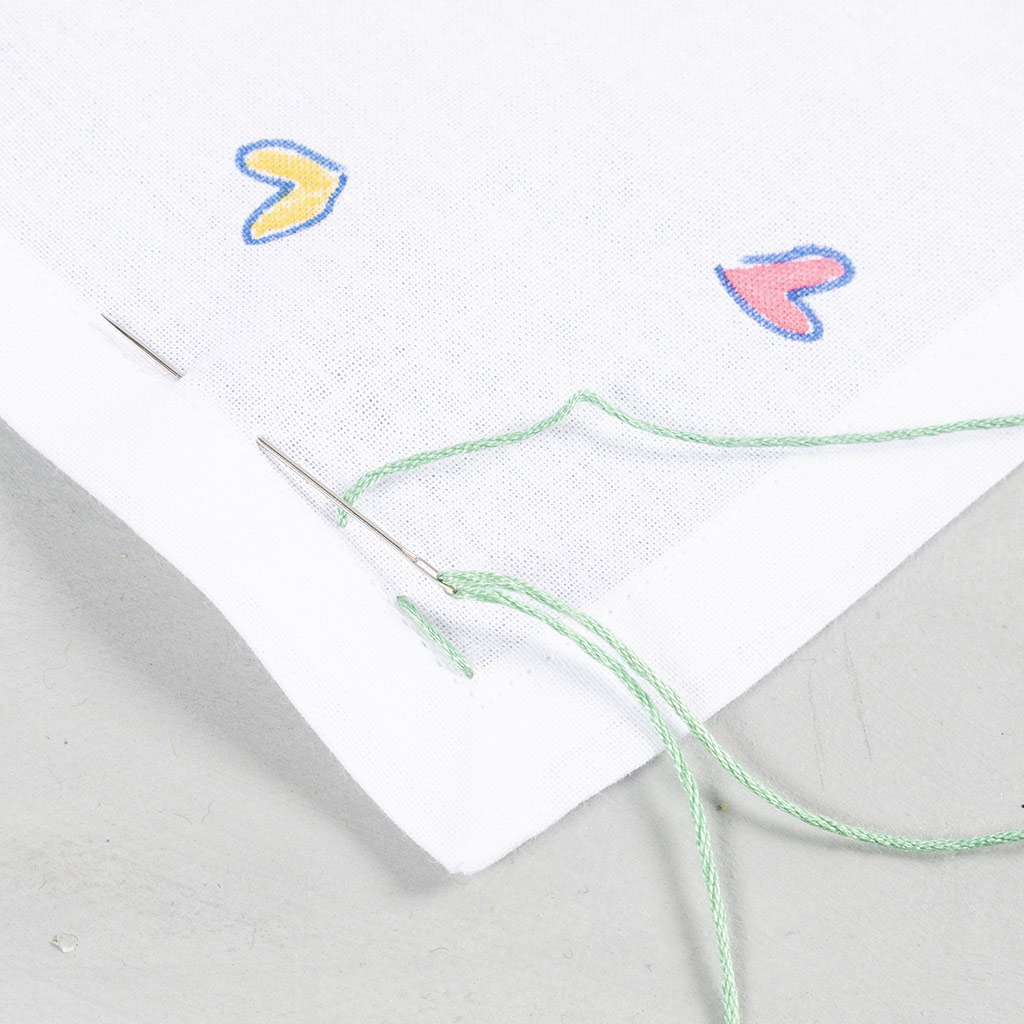 Continue around the entire placemat.
19 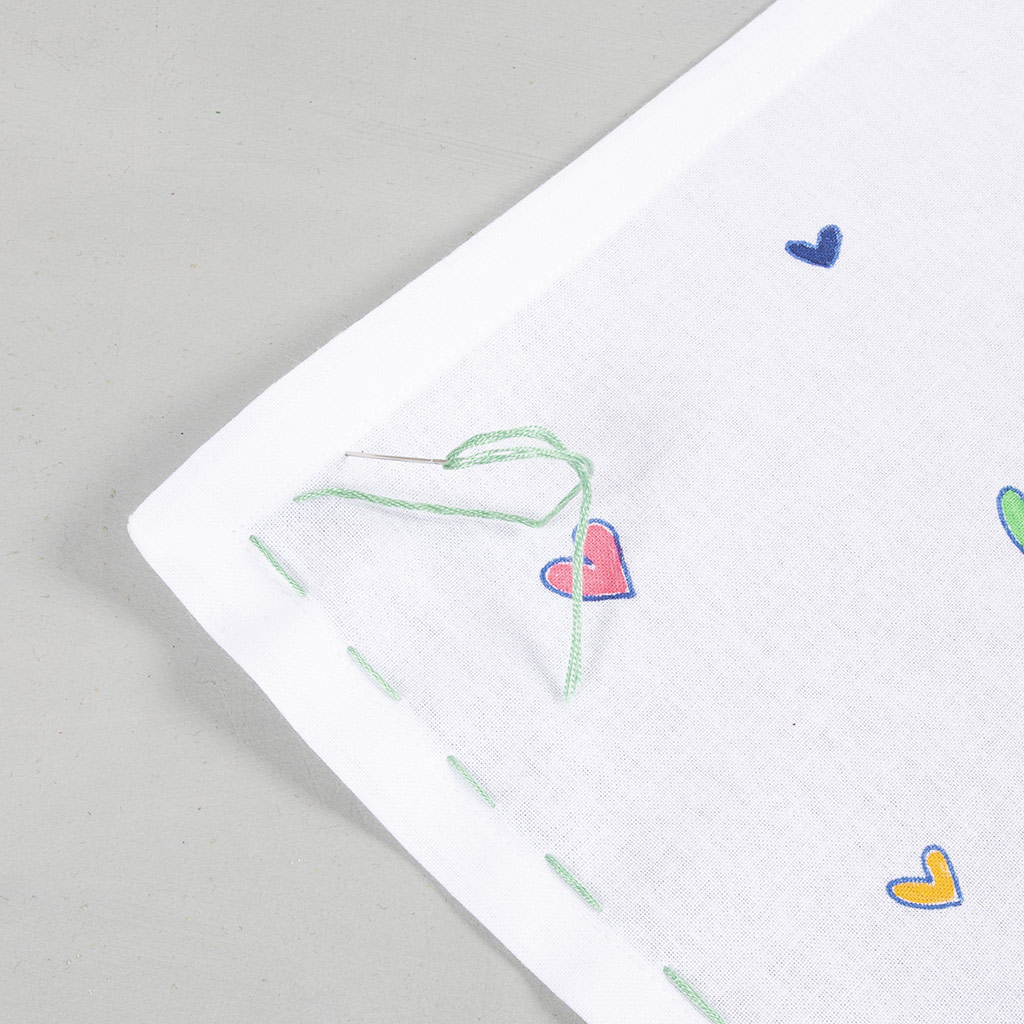 When you run out of thread, insert the needle through the fabric from the front.
20 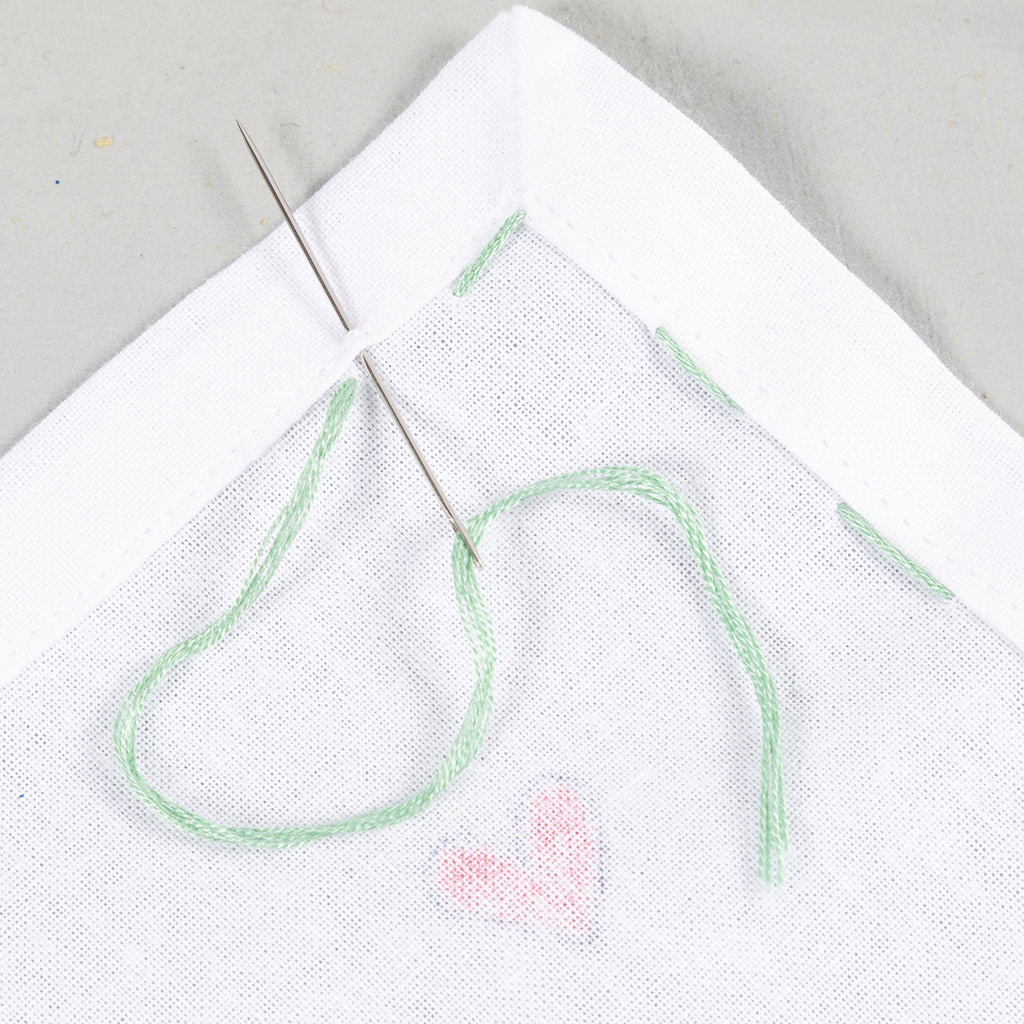 Secure the end on the back by stitching a small stitch up through the hem.
21 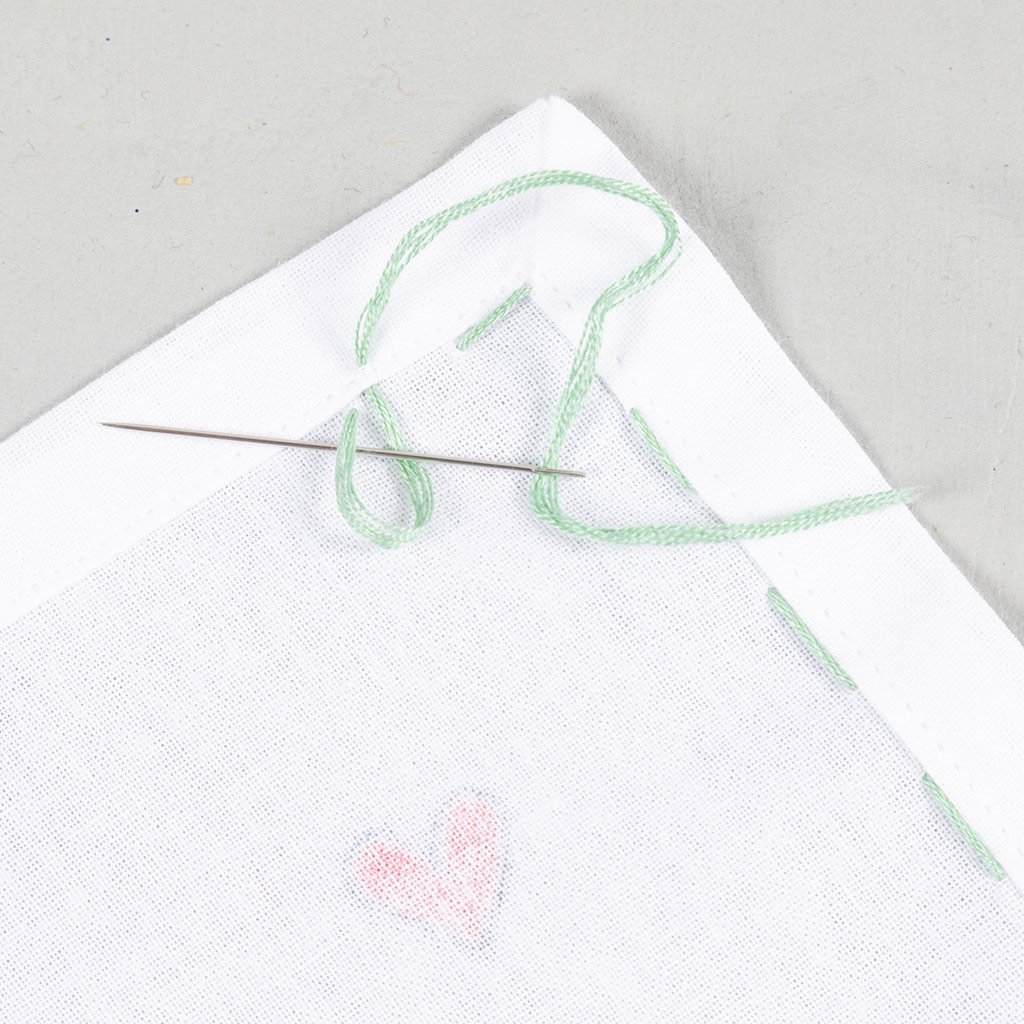 Pull the needle through the loop before pulling the thread all the way through.
22 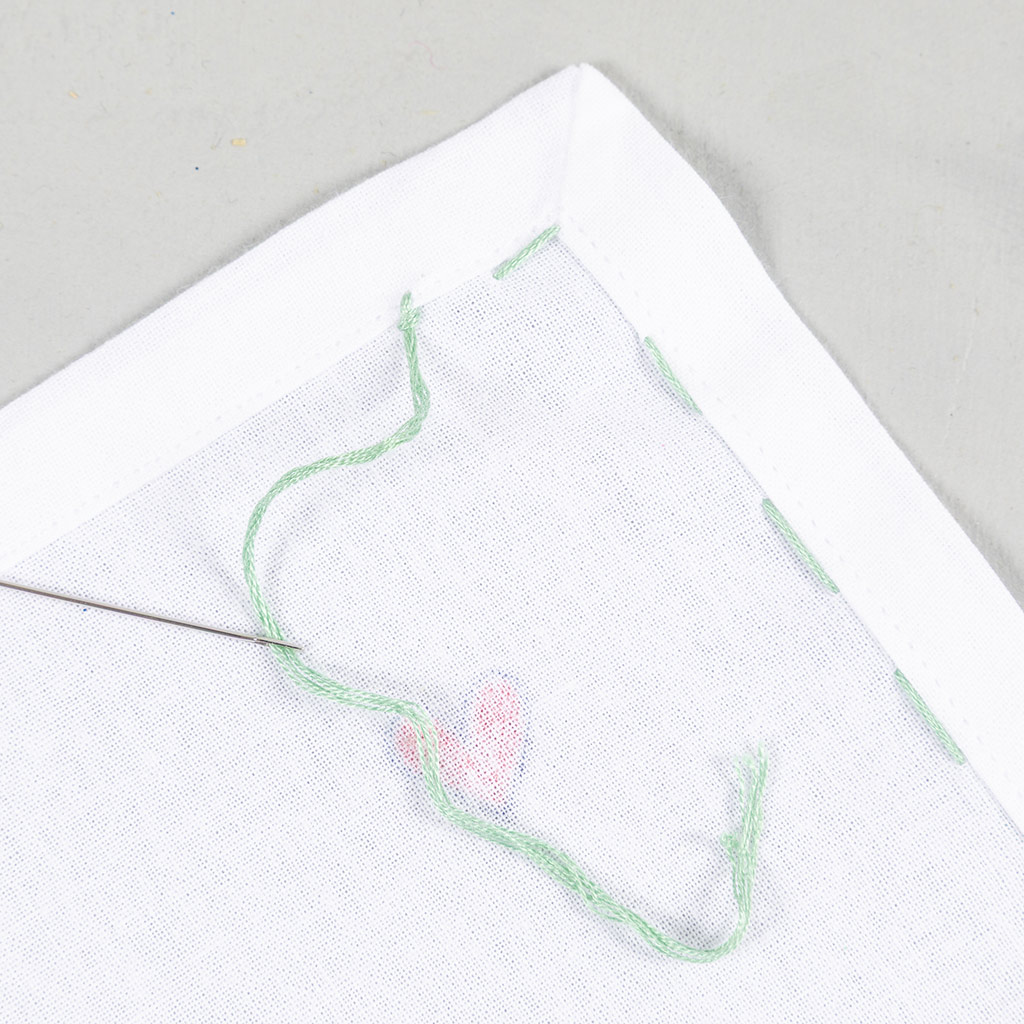 This will form a small knot. Repeat to make two knots on the thread.
23 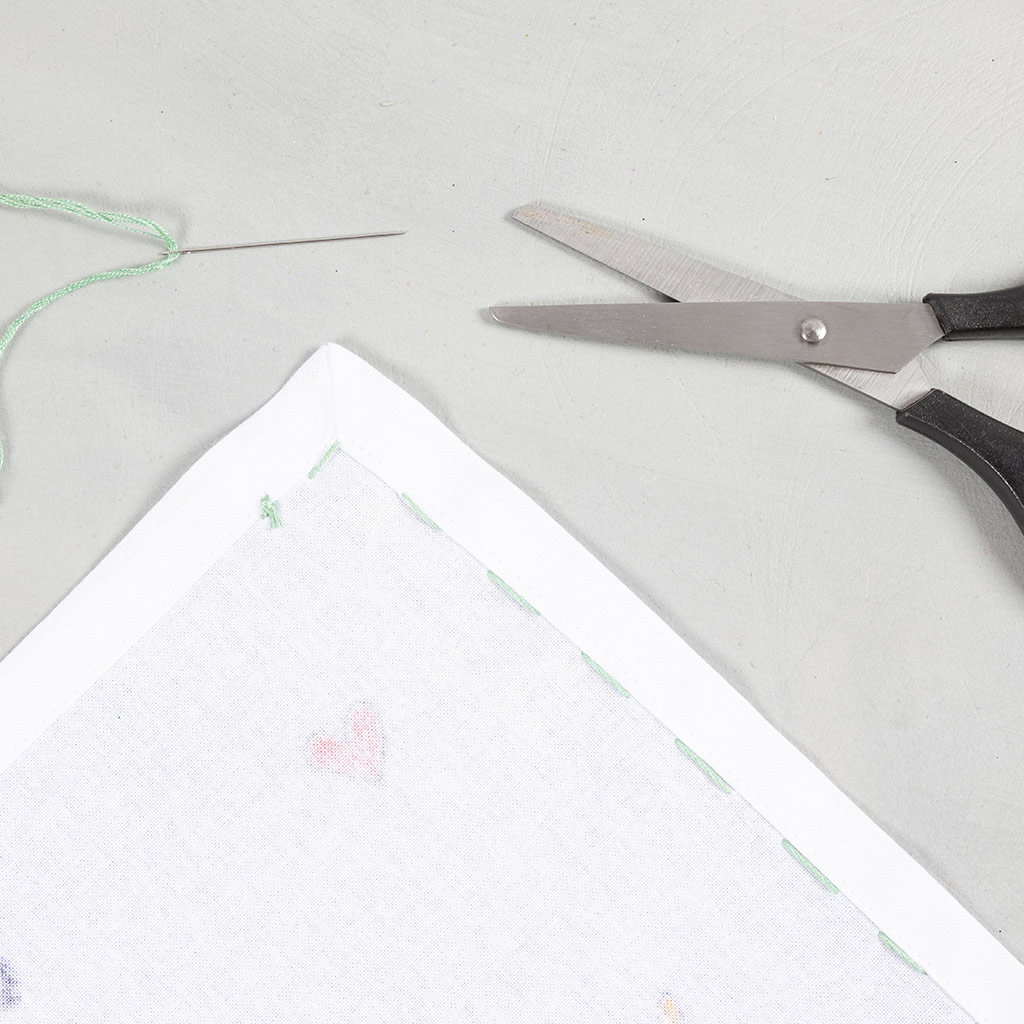 Cut the thread.
24 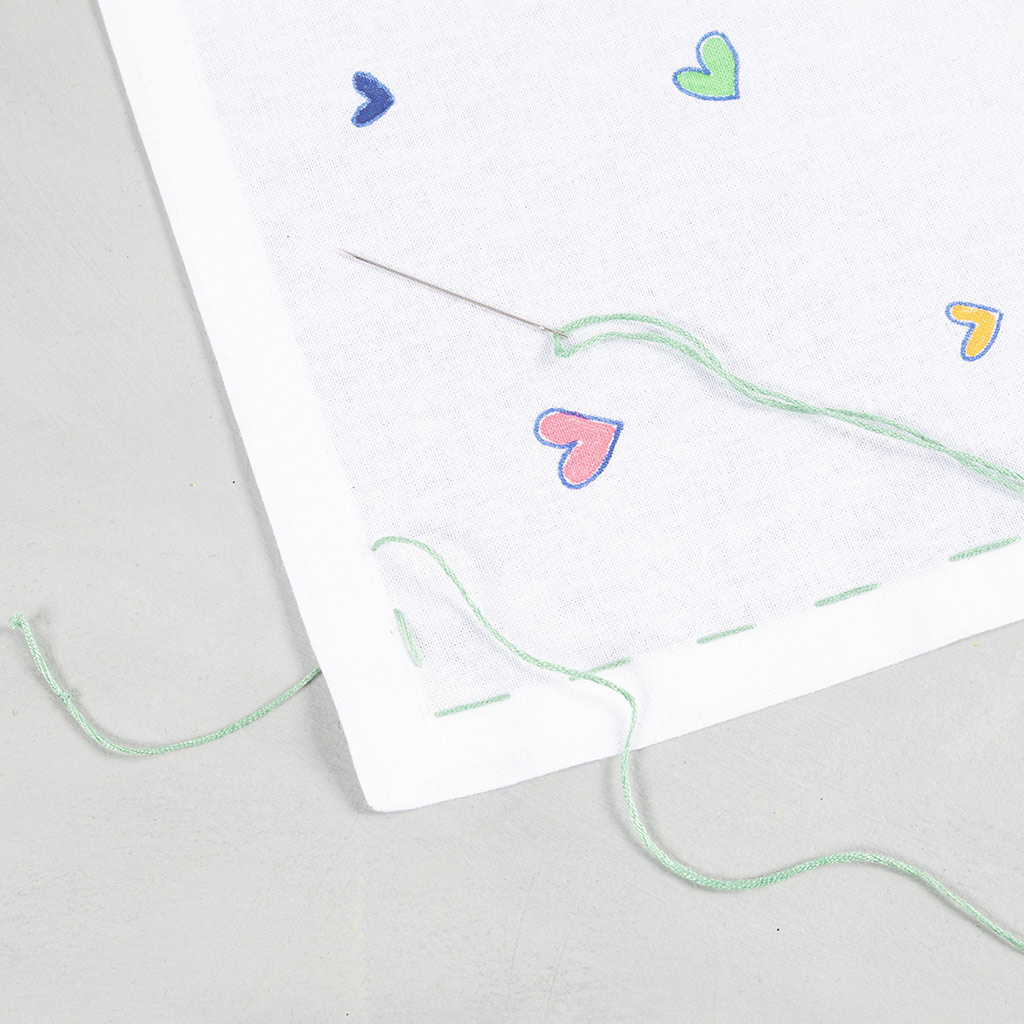 Thread a new piece of thread, tie a knot at the end and insert the needle up through the fabric from the back right next to the stitch. Continue stitching along the edges.
25 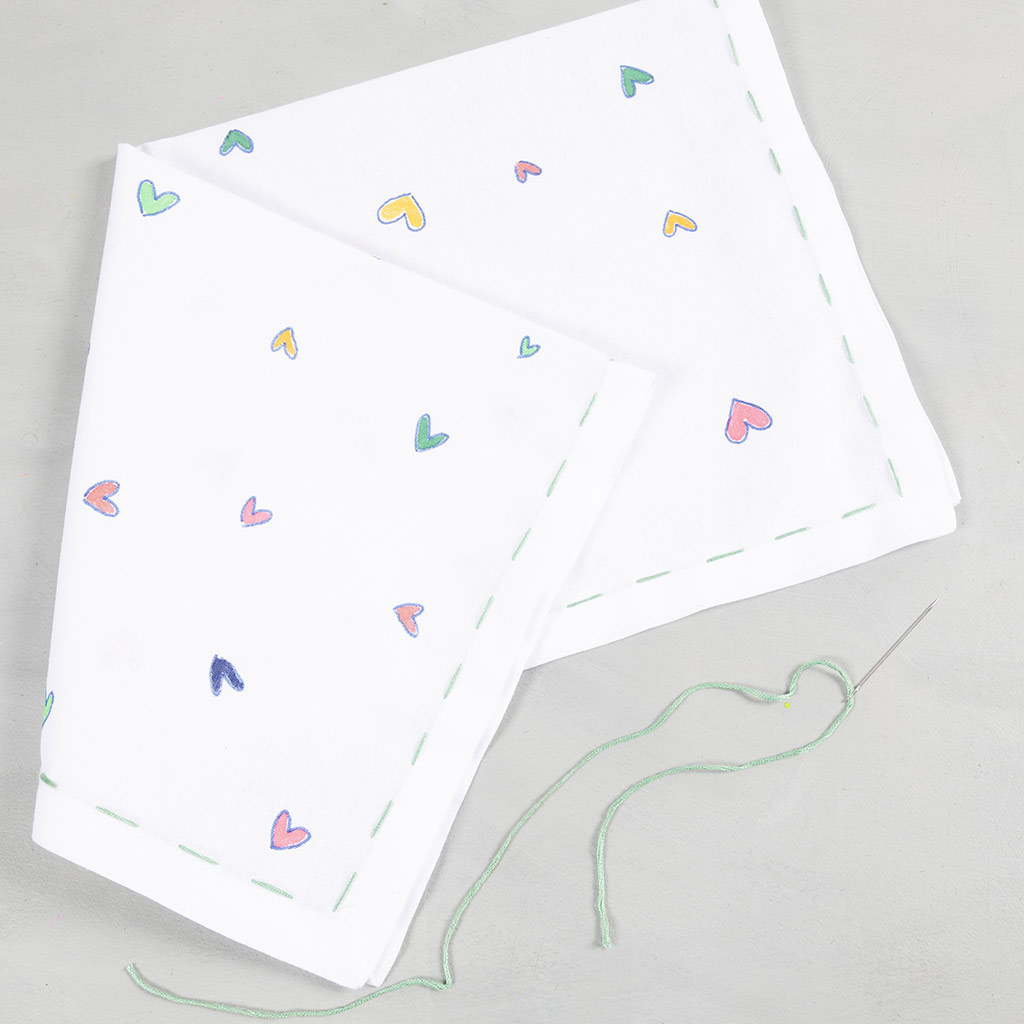 Once you have gone all the way around, secure the end as before and cut the thread. You now have a napkin that will beautifully decorate any dinner table. Fixing by iron makes the napkins suitable for washing as delicates up to 40 degrees.
Free Step-by-Step Guide
Sign up to our newsletter and get access to this creative idea – plus plenty of inspiration, news and great offers delivered straight to your inbox. You can unsubscribe at any time.
Already subscribed? View the guide
Read our Privacy Policy
Also go exploring in
